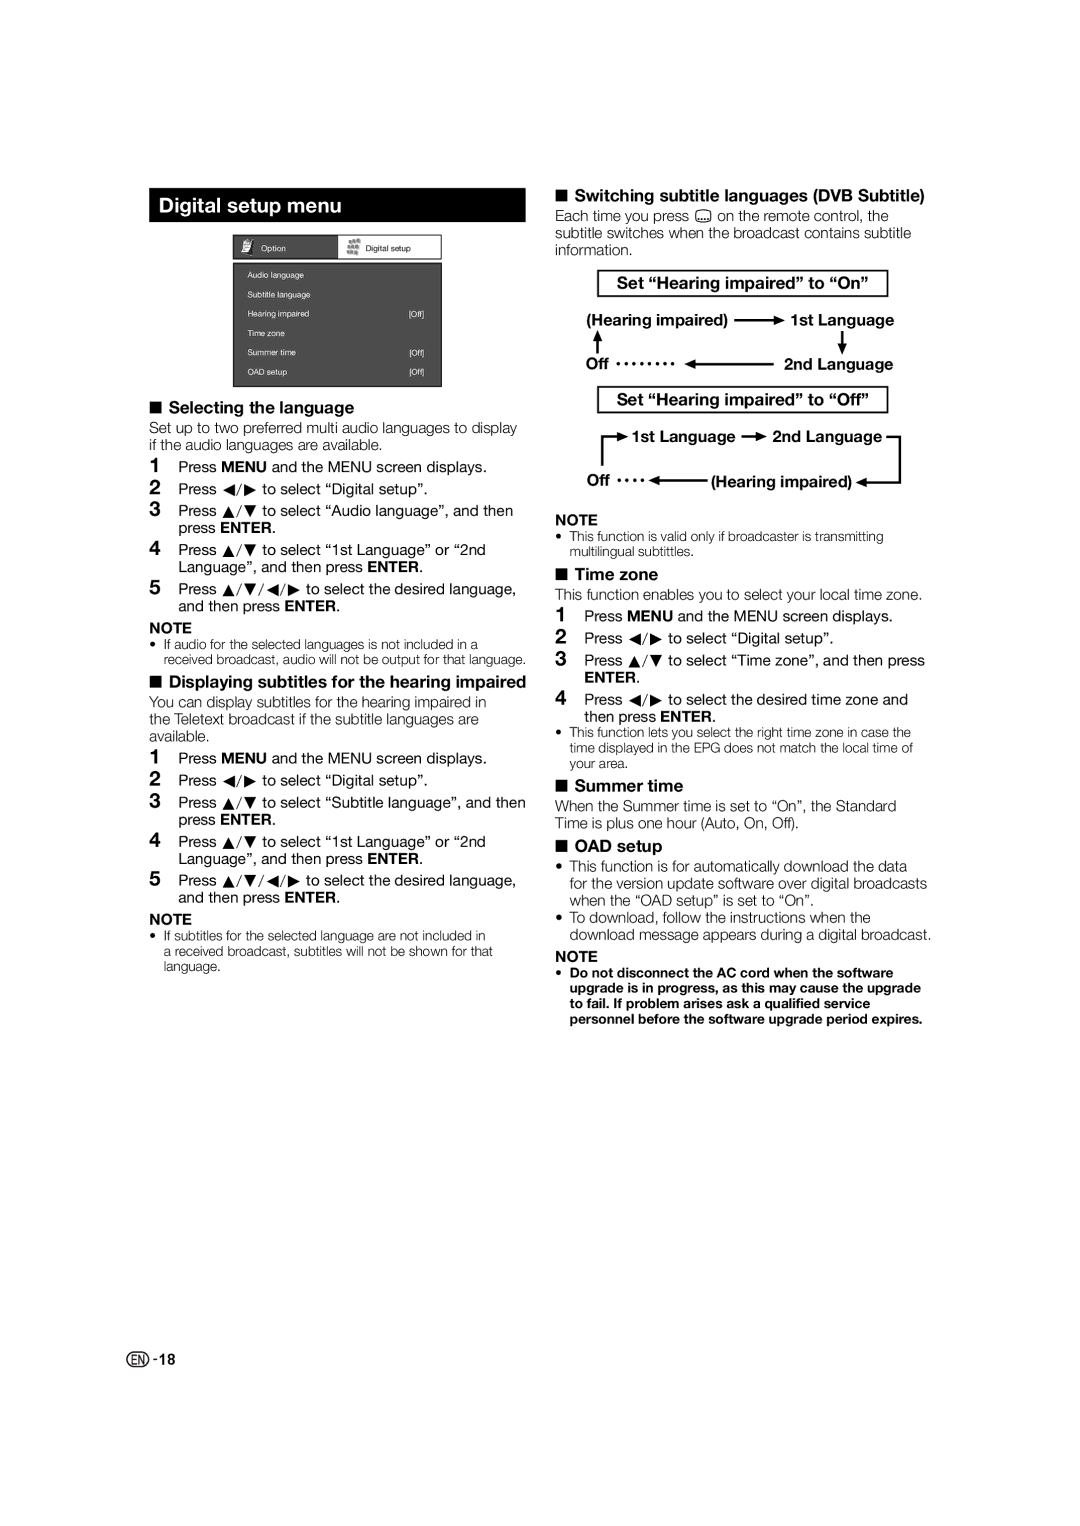
Digital setup menu
Option | Digital setup |
|
|
Audio language |
|
Subtitle language |
|
Hearing impaired | [Off] |
Time zone |
|
Summer time | [Off] |
OAD setup | [Off] |
|
|
■Selecting the language
Set up to two preferred multi audio languages to display if the audio languages are available.
1Press MENU and the MENU screen displays.
2Press c/d to select “Digital setup”.
3Press a/b to select “Audio language”, and then press ENTER.
4Press a/b to select “1st Language” or “2nd Language”, and then press ENTER.
5Press a/b/c/d to select the desired language, and then press ENTER.
NOTE
•If audio for the selected languages is not included in a received broadcast, audio will not be output for that language.
■Displaying subtitles for the hearing impaired
You can display subtitles for the hearing impaired in the Teletext broadcast if the subtitle languages are available.
1 Press MENU and the MENU screen displays.
2 Press c/d to select “Digital setup”.
3Press a/b to select “Subtitle language”, and then press ENTER.
4Press a/b to select “1st Language” or “2nd Language”, and then press ENTER.
5Press a/b/c/d to select the desired language, and then press ENTER.
NOTE
•If subtitles for the selected language are not included in a received broadcast, subtitles will not be shown for that language.
■Switching subtitle languages (DVB Subtitle)
Each time you press [ on the remote control, the subtitle switches when the broadcast contains subtitle information.
Set “Hearing impaired” to “On”
(Hearing impaired) ![]() 1st Language
1st Language
Off s s s s s s s s |
|
|
|
| 2nd Language | ||||||
|
|
|
| ||||||||
|
|
|
|
|
|
|
|
| |||
| Set “Hearing impaired” to “Off” |
| |||||||||
|
|
|
|
|
|
|
|
|
| ||
|
| 1st Language |
| 2nd Language |
| ||||||
|
|
|
| ||||||||
|
|
|
|
|
|
|
|
| |||
Off s s s s |
|
| (Hearing impaired) |
|
| ||||||
|
|
|
|
| |||||||
NOTE
•This function is valid only if broadcaster is transmitting multilingual subtittles.
■Time zone
This function enables you to select your local time zone.
1Press MENU and the MENU screen displays.
2Press c/d to select “Digital setup”.
3Press a/b to select “Time zone”, and then press
ENTER.
4Press c/d to select the desired time zone and
then press ENTER.
•This function lets you select the right time zone in case the time displayed in the EPG does not match the local time of your area.
■Summer time
When the Summer time is set to “On”, the Standard Time is plus one hour (Auto, On, Off).
■OAD setup
•This function is for automatically download the data for the version update software over digital broadcasts when the “OAD setup” is set to “On”.
•To download, follow the instructions when the download message appears during a digital broadcast.
NOTE
•Do not disconnect the AC cord when the software upgrade is in progress, as this may cause the upgrade to fail. If problem arises ask a qualified service personnel before the software upgrade period expires.
![]()
![]() 18
18
