MD-MT877H specifications
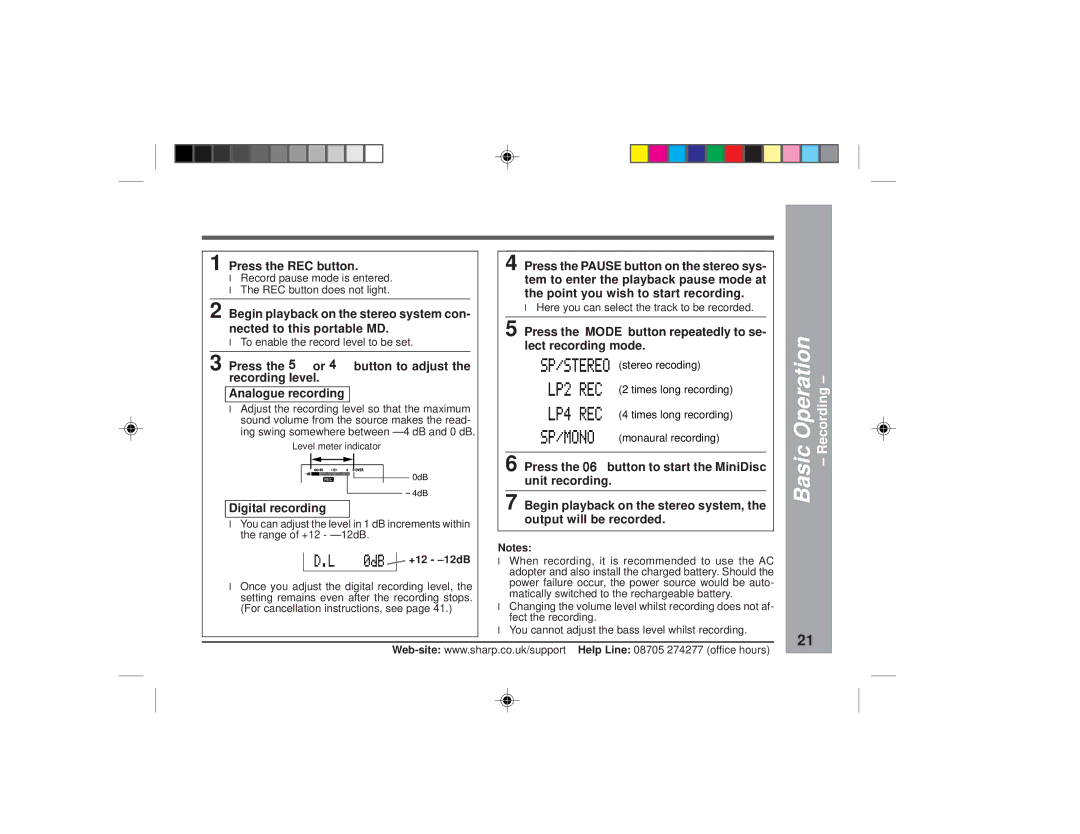
The Sharp MD-MT877H is a sophisticated mini-disc player and recorder that showcases Sharp's commitment to high-quality audio technology and a compact design. This device is an advanced iteration in the mini-disc line, appealing to audiophiles and users who appreciate superior sound quality in a portable format.One of the standout features of the MD-MT877H is its outstanding playback and recording capabilities. It supports the MiniDisc format, allowing for near-CD quality audio in a manageable size. This device is not only capable of playing pre-recorded MiniDiscs but also allows users to record their own audio, making it versatile for both personal use and professional applications. The ability to record directly from various sources, such as radios or external microphones, makes it a flexible choice for music enthusiasts and field recorders alike.
In terms of sound quality, the MD-MT877H is equipped with Sharp's advanced digital signal processing technologies, which enhance audio clarity and depth. The support for various audio formats and features like pitch control further adds to its versatility, catering to musicians who require precision in playback speed. The sophisticated anti-shock mechanism also ensures that playback remains smooth and uninterrupted, even during sudden movements.
Another important feature of the Sharp MD-MT877H is its ergonomic design. The device is lightweight and portable, making it easy to carry for on-the-go listening. The interface is user-friendly, with easy navigation through the different menus and settings, allowing users to create custom playlists and manage their recordings seamlessly. The LCD display provides clear visibility of song titles, track numbers, and recording time, ensuring users can easily keep track of their audio.
Additionally, the MD-MT877H includes a powerful built-in rechargeable battery, offering extended playback and recording times without the need for constant recharging. This convenience is complemented by various connectivity options, including headphone and line-out jacks, allowing users to connect the device to home audio systems or headphones with ease.
Overall, the Sharp MD-MT877H is an excellent choice for individuals seeking a reliable and high-performing mini-disc player and recorder. With its superb audio quality, user-friendly design, and versatile recording options, it stands out as a premier option for both casual listeners and serious audiophiles. Whether for personal enjoyment or professional use, the MD-MT877H embodies the best of what mini-disc technology has to offer.

