3. CONNECTING THE POWER CORD / POWER ON
If you use the unit in a country other than the country where the unit was purchased, you will need to make sure that your local power supply is compatible with your model. If you plug the unit into an incompatible power supply, irreparable damage to the unit will result.
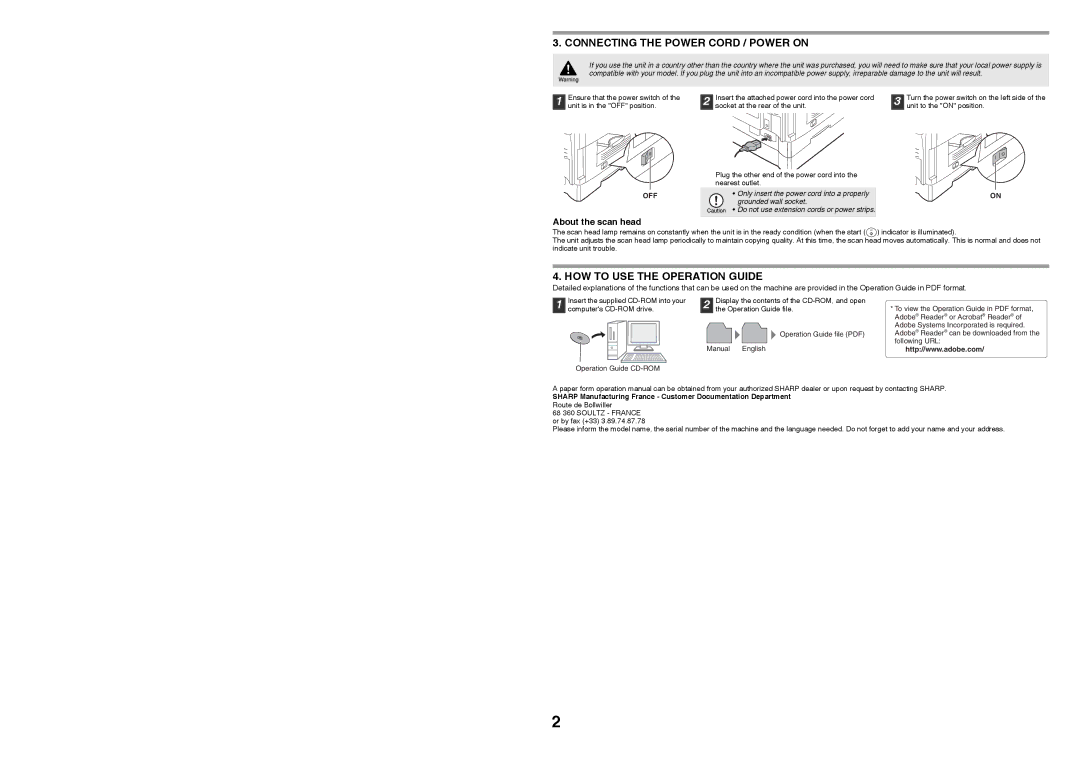
| Ensure that the power switch of the | |
1 | ||
unit is in the "OFF" position. |
2 | Insert the attached power cord into the power cord |
socket at the rear of the unit. |
| Turn the power switch on the left side of the | |
3 | ||
unit to the "ON" position. |
OFF
About the scan head
Plug the other end of the power cord into the nearest outlet.
• Only insert the power cord into a properly grounded wall socket.
• Do not use extension cords or power strips.
ON
The scan head lamp remains on constantly when the unit is in the ready condition (when the start ( ![]() ) indicator is illuminated).
) indicator is illuminated).
The unit adjusts the scan head lamp periodically to maintain copying quality. At this time, the scan head moves automatically. This is normal and does not indicate unit trouble.
4. HOW TO USE THE OPERATION GUIDE
Detailed explanations of the functions that can be used on the machine are provided in the Operation Guide in PDF format.
1 | Insert the supplied | 2 | Display the contents of the |
computer's | the Operation Guide file. |
Operation Guide file (PDF)
Manual English
Operation Guide CD-ROM
*To view the Operation Guide in PDF format, Adobe® Reader® or Acrobat® Reader® of Adobe Systems Incorporated is required. Adobe® Reader® can be downloaded from the following URL:
http://www.adobe.com/
A paper form operation manual can be obtained from your authorized SHARP dealer or upon request by contacting SHARP.
SHARP Manufacturing France - Customer Documentation Department
Route de Bollwiller
68 360 SOULTZ - FRANCE or by fax (+33) 3.89.74.87.78
Please inform the model name, the serial number of the machine and the language needed. Do not forget to add your name and your address.
2