DIGITAL MULTIFUNCTIONAL SYSTEM
START GUIDE
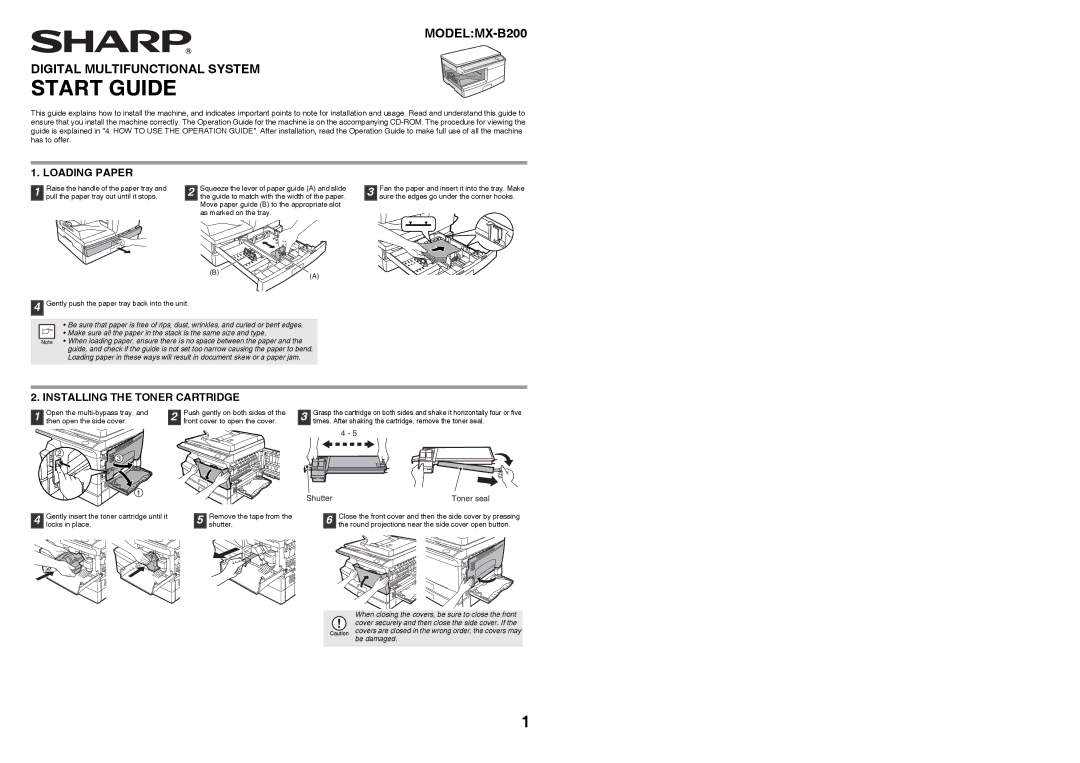
This guide explains how to install the machine, and indicates important points to note for installation and usage. Read and understand this guide to ensure that you install the machine correctly. The Operation Guide for the machine is on the accompanying
1. LOADING PAPER
1 | Raise the handle of the paper tray and |
pull the paper tray out until it stops. |
2 | Squeeze the lever of paper guide (A) and slide |
the guide to match with the width of the paper. |
Move paper guide (B) to the appropriate slot as marked on![]() the tray.
the tray.
3 | Fan the paper and insert it into the tray. Make | ||
sure the edges go under the corner hooks. | |||
|
|
|
|
(B) | (A) |
|
4 Gently push the paper tray back into the unit.
• Be sure that paper is free of rips, dust, wrinkles, and curled or bent edges.
• Make sure all the paper in the stack is the same size and type.
• When loading paper, ensure there is no space between the paper and the guide, and check if the guide is not set too narrow causing the paper to bend. Loading paper in these ways will result in document skew or a paper jam.
2. INSTALLING THE TONER CARTRIDGE
1 | Open the |
then open the side cover. |
| Push gently on both sides of the | |
2 | ||
front cover to open the cover. |
| Grasp the cartridge on both sides and shake it horizontally four or five | |
3 | ||
times. After shaking the cartridge, remove the toner seal. |
|
|
|
|
|
| 4 - 5 |
| 2 | 3 |
|
|
|
|
|
|
|
|
|
| |
|
| 1 |
|
| Shutter | Toner seal |
|
|
|
|
| ||
4 | Gently insert the toner cartridge until it | 5 | Remove the tape from the | 6 | Close the front cover and then the side cover by pressing | |
locks in place. |
| shutter. | the round projections near the side cover open button. | |||
When closing the covers, be sure to close the front cover securely and then close the side cover. If the covers are closed in the wrong order, the covers may be damaged.
1
