
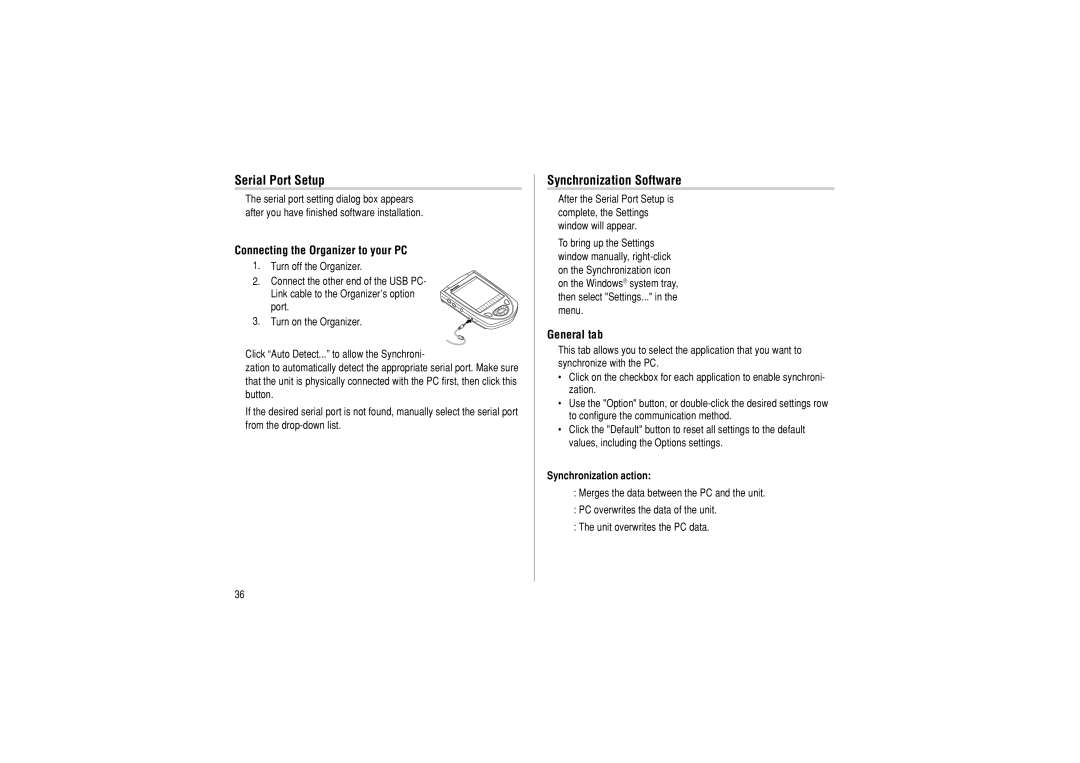
OZ-290HII specifications
The Sharp OZ-290HII is a remarkable addition to the world of handheld computing, known for its innovative features and versatile capabilities. Released in the early 1990s, this device was ahead of its time, blending advanced technologies with user-friendly design.One of the standout characteristics of the Sharp OZ-290HII is its lightweight and compact form factor. Weighing just around 150 grams, it is designed for portability, making it an ideal companion for professionals and students alike. The device features a sleek, ergonomic design that fits comfortably in the user's hand, ensuring ease of use during extended periods.
Equipped with a high-contrast LCD screen, the OZ-290HII offers clear visibility even in challenging lighting conditions. The display allows for easy navigation through menus and applications, enhancing the overall user experience. The device boasts a memory capacity of up to 512KB, providing ample space for storing notes, contacts, and other essential information.
The Sharp OZ-290HII incorporates advanced note-taking capabilities, allowing users to create, edit, and organize their thoughts efficiently. With its built-in diary and calendar functions, users can effectively manage their schedules and appointments. The device also supports a variety of text formats, making it compatible with other digital platforms.
Additionally, the OZ-290HII features a robust set of utilities, including a calculator, world time clock, and even an address book. This multifunctionality adds to its appeal as a productivity tool. The device utilizes a unique input system that simplifies data entry, making it accessible for all users, regardless of their technical expertise.
One of the key technologies behind the Sharp OZ-290HII is its efficient battery management system. It operates on just two AA batteries, offering extended usage time while minimizing power consumption. This energy-efficient design allows users to rely on the device for longer periods without the constant need for recharging.
In conclusion, the Sharp OZ-290HII stands out as a pioneering handheld device that combines portability, functionality, and user-friendly features. Its high-contrast display, robust memory capacity, and versatile utilities make it a valuable tool for anyone looking to enhance their productivity on the go. A true testament to Sharp's commitment to innovation, the OZ-290HII paved the way for future advancements in personal digital assistants.