Setting up the PC

To use the touch panel, the touch panel driver must be installed from the supplied CD-ROM and the touch panel must be connected to your PC.

Installing the touch panel driver

The touch panel driver is a program that enables you to use to the touch panel to operate the PC that is connected to the touch panel. Settings for touch panel operation can also be configured.

Caution

This can only be done by a user with administrator authority.

If an older version of the touch panel driver is installed, remove (uninstall) the old version before installing the touch panel driver. (See page 8.)

If you are using a USB hub, use a self-powered hub (a hub capable of supplying a 500 mA current). The touch panel will not operate correctly if a bus-powered USB hub is used.

Do not connect the USB cable until after you have installed the touch panel driver.

Do not touch the touch panel when connecting the USB cable.

If you touch the touch panel, this may be detected as an element failure in the infrared transmitter/receiver and malfunctioning will result. In this case, disconnect and then reconnect the USB cable.

1.Start your PC.

2.Exit all applications that are running.

3.Insert the supplied CD-ROM into the CD-ROM drive of your PC.

4.Open the CD-ROM drive in “Computer” or “My Computer”.

5.Double-click the “TouchPanel” folder.

6.Double-click the install file.

If you are using a 32-bit operating system, double-click “TPdrvSetup_x86.msi”.

If you are using a 64-bit operating system, double-click “TPdrvSetup_x64.msi”.

7.Click “Next”.

Follow the on-screen instructions to install the driver.

When the “User Account Control” screen appears, click “Yes” (or “Allow”).

If the “Windows Security” screen appears, click “Install this driver software anyway”.

If the “Software Installation” screen appears, click “Continue Anyway”.

8.When the installation finished screen appears, click “Close”.

9.If a screen appears prompting you to restart your PC, click “Yes”.

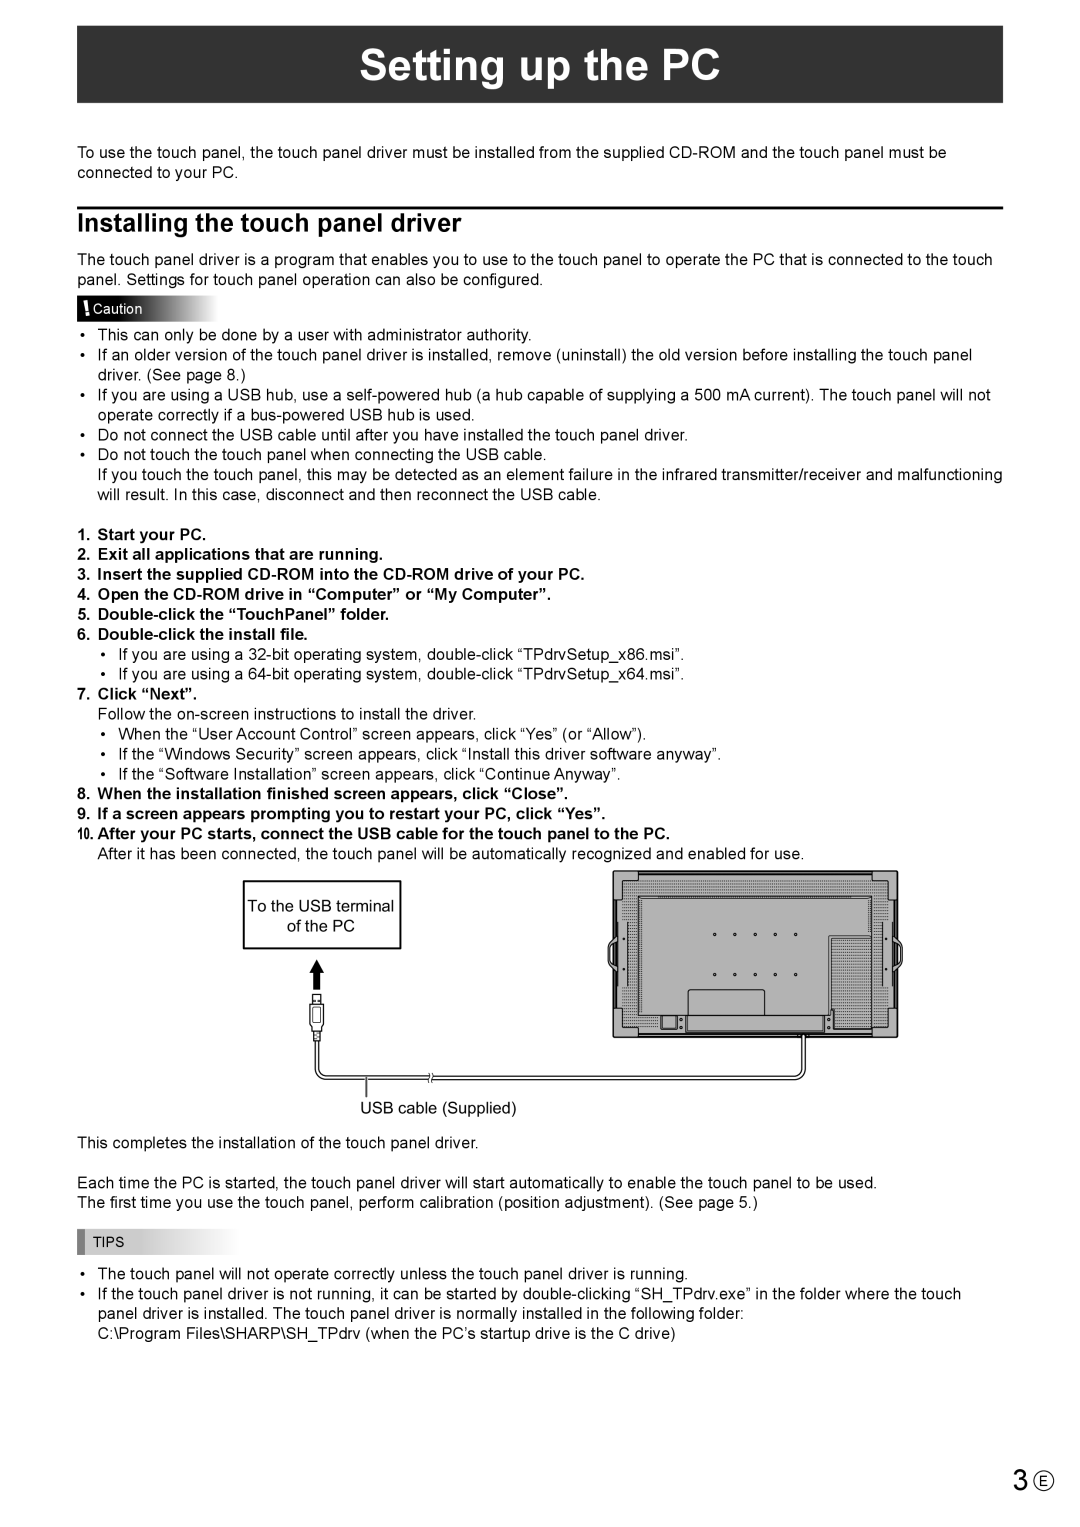
10. After your PC starts, connect the USB cable for the touch panel to the PC.

After it has been connected, the touch panel will be automatically recognized and enabled for use.

To the USB terminal

of the PC

USB cable (Supplied)

This completes the installation of the touch panel driver.

Each time the PC is started, the touch panel driver will start automatically to enable the touch panel to be used. The first time you use the touch panel, perform calibration (position adjustment). (See page 5.)

TIPS

The touch panel will not operate correctly unless the touch panel driver is running.

If the touch panel driver is not running, it can be started by double-clicking “SH_TPdrv.exe” in the folder where the touch panel driver is installed. The touch panel driver is normally installed in the following folder:

C:\Program Files\SHARP\SH_TPdrv (when the PC’s startup drive is the C drive)

3 E

Page 3
Image 3
Sharp PN-L601B operation manual Setting up the PC, Installing the touch panel driver

PN-L601B specifications

The Sharp PN-L601B is a versatile 60-inch interactive display designed to enhance collaboration in educational and professional environments. One of its standout features is the Pen-on-Paper technology, which allows users to write directly on the screen with precision, providing a natural and engaging experience. The display offers Full HD resolution (1920 x 1080), ensuring clear and vibrant visuals that are ideal for presentations and teaching. The PN-L601B supports multi-touch capability, accommodating up to 10 simultaneous touch points, enabling multiple users to interact with the display at the same time.

Another key feature of the PN-L601B is its built-in system-on-chip (SoC) technology, which allows users to run applications directly on the display without needing an external PC. This feature increases usability and decreases setup complexity. It also integrates with various collaborative software solutions, enhancing interactivity during meetings or classroom sessions. The display is equipped with HDMI, USB, and DisplayPort ports for seamless connections to different devices.

Complementing the PN-L601B is the PN-ZB01, a dedicated wireless presentation system designed to facilitate easy sharing of content from multiple devices to the display. The PN-ZB01 enables users to connect via Wi-Fi and supports various operating systems, including Windows, macOS, Android, and iOS. This flexibility makes it an essential tool for business settings and classrooms alike, allowing participants to share their screens effortlessly.

The SIICA10260 is an interactive software suite that further enhances the functionality of Sharp displays. It provides a user-friendly interface for creating dynamic lessons and engaging presentations. With features such as screen recording, annotation, and the ability to integrate multimedia content, SIICA10260 transforms standard presentations into interactive experiences. It supports various file types and allows easy sharing and collaboration among users, making it a valuable addition for both educational and corporate settings.

In summary, the combination of the Sharp PN-L601B, PN-ZB01, and SIICA10260 creates a comprehensive solution for modern collaborative environments, promoting interaction, engagement, and productivity. These technologies together cater to the needs of users seeking efficient and effective ways to present and share information.