RK-12S30 specifications
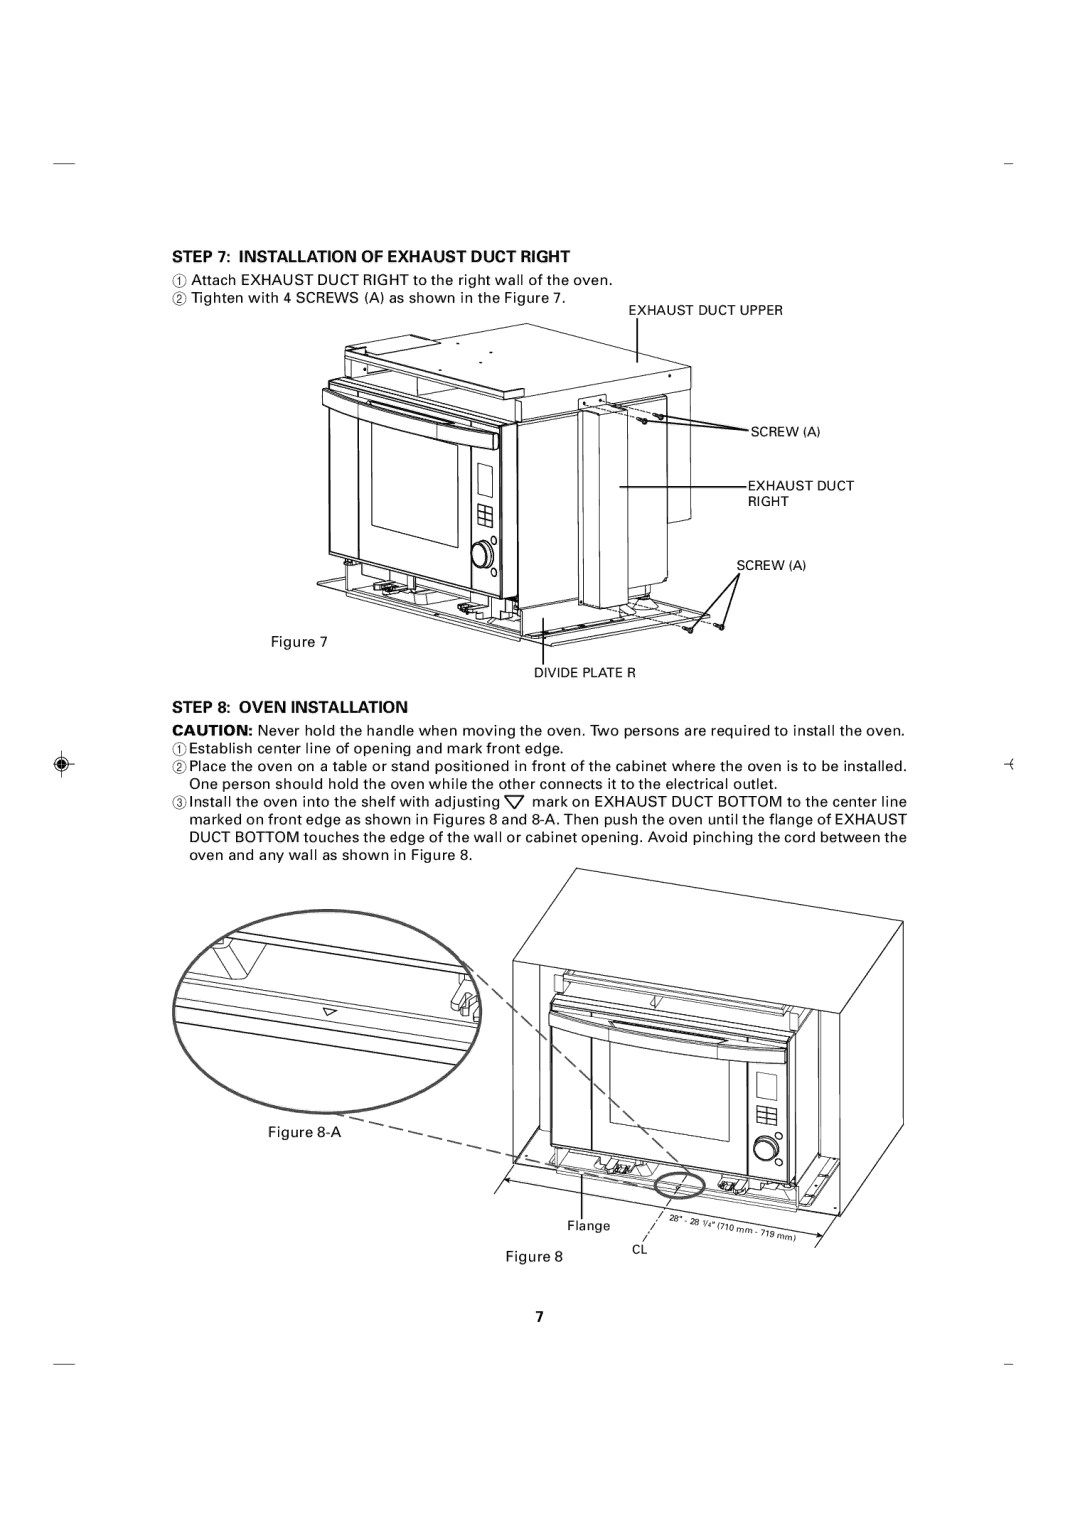
The Sharp RK-12S30 is a standout model in the realm of kitchen appliances, particularly noted for its impressive design, advanced features, and efficiency. This multi-functional rice cooker is perfect for home chefs looking to simplify their cooking process while ensuring delicious results.One of the main features of the Sharp RK-12S30 is its versatile cooking capabilities. It not only cooks rice but also offers a variety of settings to prepare different grains, such as quinoa and steamed vegetables, allowing users to explore a plethora of culinary options. The cooker comes equipped with preset programs tailored to specific types of rice, including white, brown, and sushi rice, ensuring optimal texture and flavor.
The RK-12S30 boasts a user-friendly interface, complete with a clear LCD display and intuitive buttons. This makes it easy for anyone to operate, from seasoned chefs to cooking novices. The built-in timer and keep-warm function further enhance usability, enabling users to plan meals ahead and keep them warm until serving without compromising quality.
One of the key technologies utilized in the Sharp RK-12S30 is its induction heating system. This innovative approach ensures even heat distribution throughout the cooking process, resulting in perfectly cooked rice with an ideal consistency. Additionally, the cooker features advanced steam technology that allows for an efficient steam release system, preventing overflow and ensuring safe operation.
The design of the RK-12S30 is both stylish and functional, featuring a sleek exterior that easily complements various kitchen décors. Its compact size also makes it suitable for kitchens with limited space. The non-stick pot is another significant advantage, making cleanup effortless and ensuring that food doesn’t stick or burn.
In terms of safety, the Sharp RK-12S30 is equipped with multiple safeguards, such as a thermal fuse and lid lock, ensuring that users can cook with confidence. Its energy-efficient operation is an added bonus, appealing to environmentally conscious consumers looking to reduce their overall energy consumption.
Overall, the Sharp RK-12S30 rice cooker embodies a blend of versatility, technology, and user-centric design. With its advanced cooking features and robust performance, it is an excellent addition to any kitchen, transforming the way users prepare and enjoy their meals. Whether steaming vegetables or preparing a perfect pot of rice, this appliance is sure to deliver satisfying results every time.

