
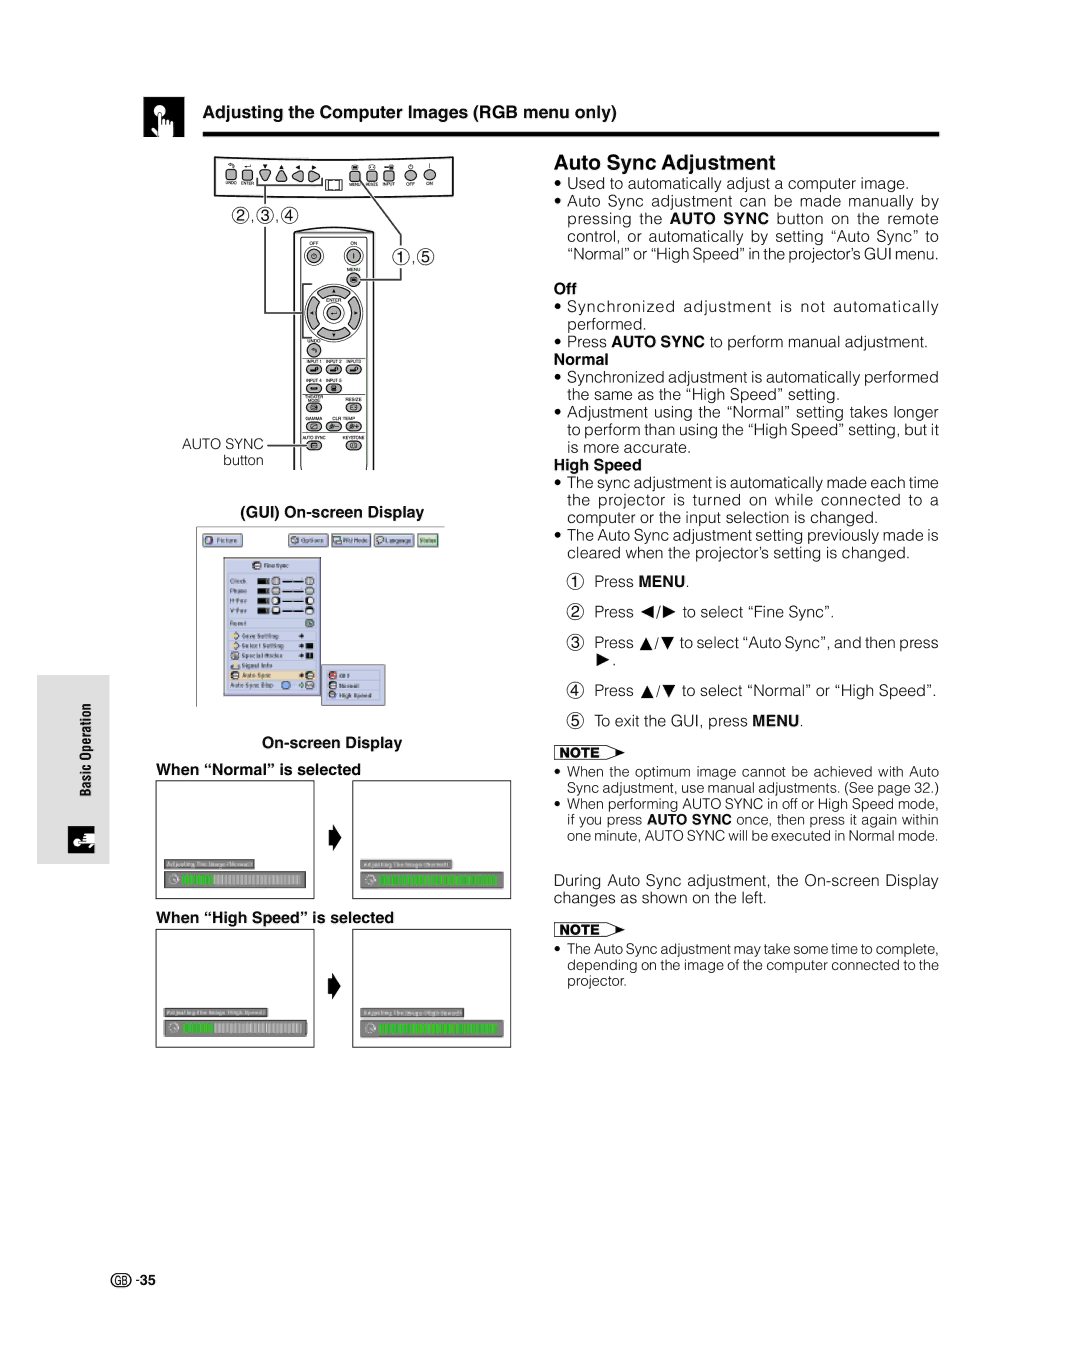
XV-Z9000E specifications
The Sharp XV-Z9000E is a cutting-edge DLP (Digital Light Processing) projector that has made waves in the home theater industry for its exceptional performance and advanced features. Launched with a focus on delivering high image quality, the XV-Z9000E is designed for cinema lovers and professional environments alike.One of its standout features is its impressive resolution. The projector supports true HD (1920x1080) resolution, providing sharp, detailed images that enhance the viewing experience. Whether you are watching movies, playing video games, or presenting business materials, the clarity offered by the XV-Z9000E ensures that no detail goes unnoticed.
The brightness rating of the XV-Z9000E is another significant aspect, with capabilities of delivering up to 1600 ANSI lumens. This high brightness level allows for clear image reproduction even in well-lit environments, making it versatile for various settings, whether it's a home theater room or a conference space.
Sharp's proprietary DLP technology is integrated into the XV-Z9000E to ensure high contrast ratios, resulting in depth and vibrancy in colors. The contrast ratio of 4000:1 delivers striking differences between light and dark areas of the image, creating lifelike visuals that enhance overall picture quality.
For connectivity, the XV-Z9000E is equipped with multiple input options, including HDMI, VGA, and component video, providing flexibility for various devices. This capability ensures compatibility with modern gaming consoles, Blu-ray players, and computers, making it a multifunctional projector suitable for diverse uses.
One notable feature is the 8-segment color wheel, which enhances color accuracy and minimizes rainbow effects, a common issue found in some DLP projectors. This technology contributes to richer color reproduction that captivates viewers.
The XV-Z9000E also boasts a comprehensive motorized lens system that enables easy adjustment of zoom and focus. This user-friendly design allows for seamless installation and configuration, accommodating different room sizes and viewing scenarios.
In conclusion, the Sharp XV-Z9000E projector blends high-definition resolution, impressive brightness, advanced DLP technology, and versatile connectivity to create an outstanding visual experience. Its design and capabilities make it an ideal choice for both home entertainment and professional presentations, setting a high standard in the world of projectors.