Installing
Precautions:
•Prior to installing the Synchronization Software, make sure that Microsoft® Outlook® is installed and set up. If not, install and set up the Outlook® first, then install the Synchronization Software.
1.Insert the PC software
If the PC software screen does not appear,
2.Click the “Install” button.
3.Follow the installation instructions that appear on the screen.
4.When the installation is complete, click the "Finish" button to finish the installation process.
Note:
•For Windows2000® Professional and Windows® XP, install/ uninstall programs after logging on as an Administrator.
Serial Port Setup
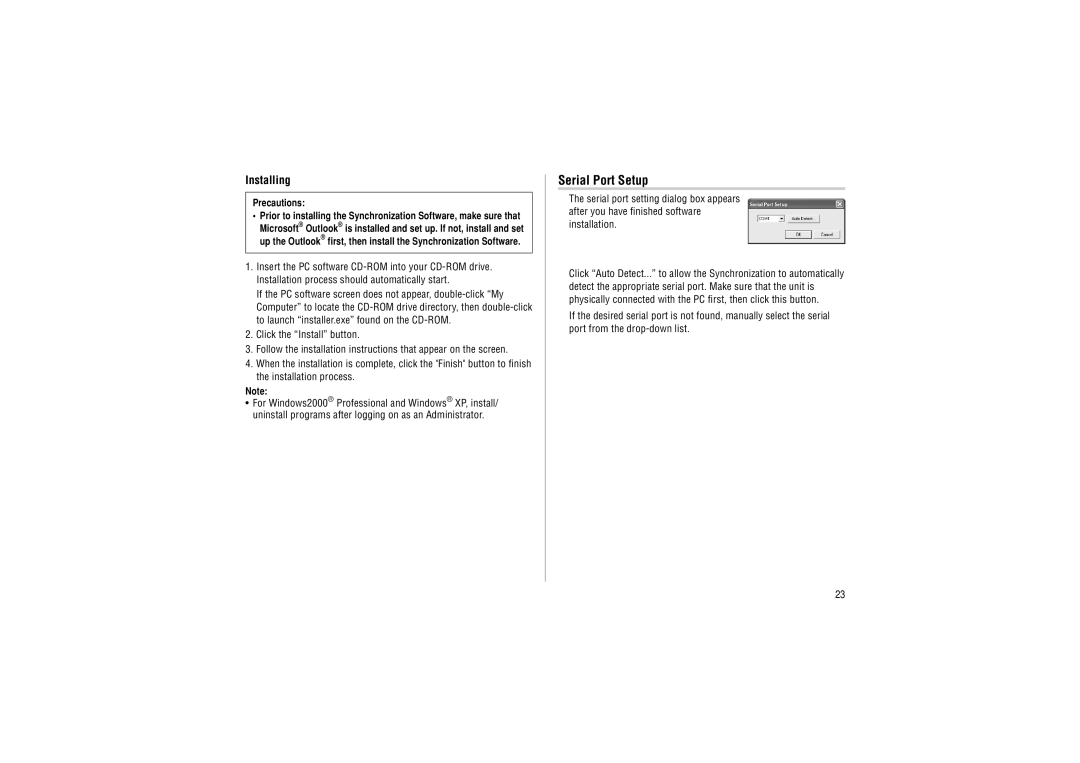
The serial port setting dialog box appears after you have finished software installation.
Click “Auto Detect...” to allow the Synchronization to automatically detect the appropriate serial port. Make sure that the unit is physically connected with the PC first, then click this button.
If the desired serial port is not found, manually select the serial port from the
23
