RD-7106 specifications
The Sherwood RD-7106 is a versatile and powerful stereo receiver that has gained popularity among both audiophiles and casual listeners. Designed with an emphasis on performance and user-friendly functionality, the RD-7106 delivers a robust audio experience that enhances any home entertainment system.One of the standout features of the Sherwood RD-7106 is its high-power output, which can deliver up to 50 watts per channel at 8 ohms. This ensures that the receiver can easily drive a wide range of speakers, providing rich and dynamic sound whether you're listening to music, watching movies, or enjoying gaming. The receiver’s classically styled front panel includes an array of knobs and buttons that make operation intuitive and straightforward.
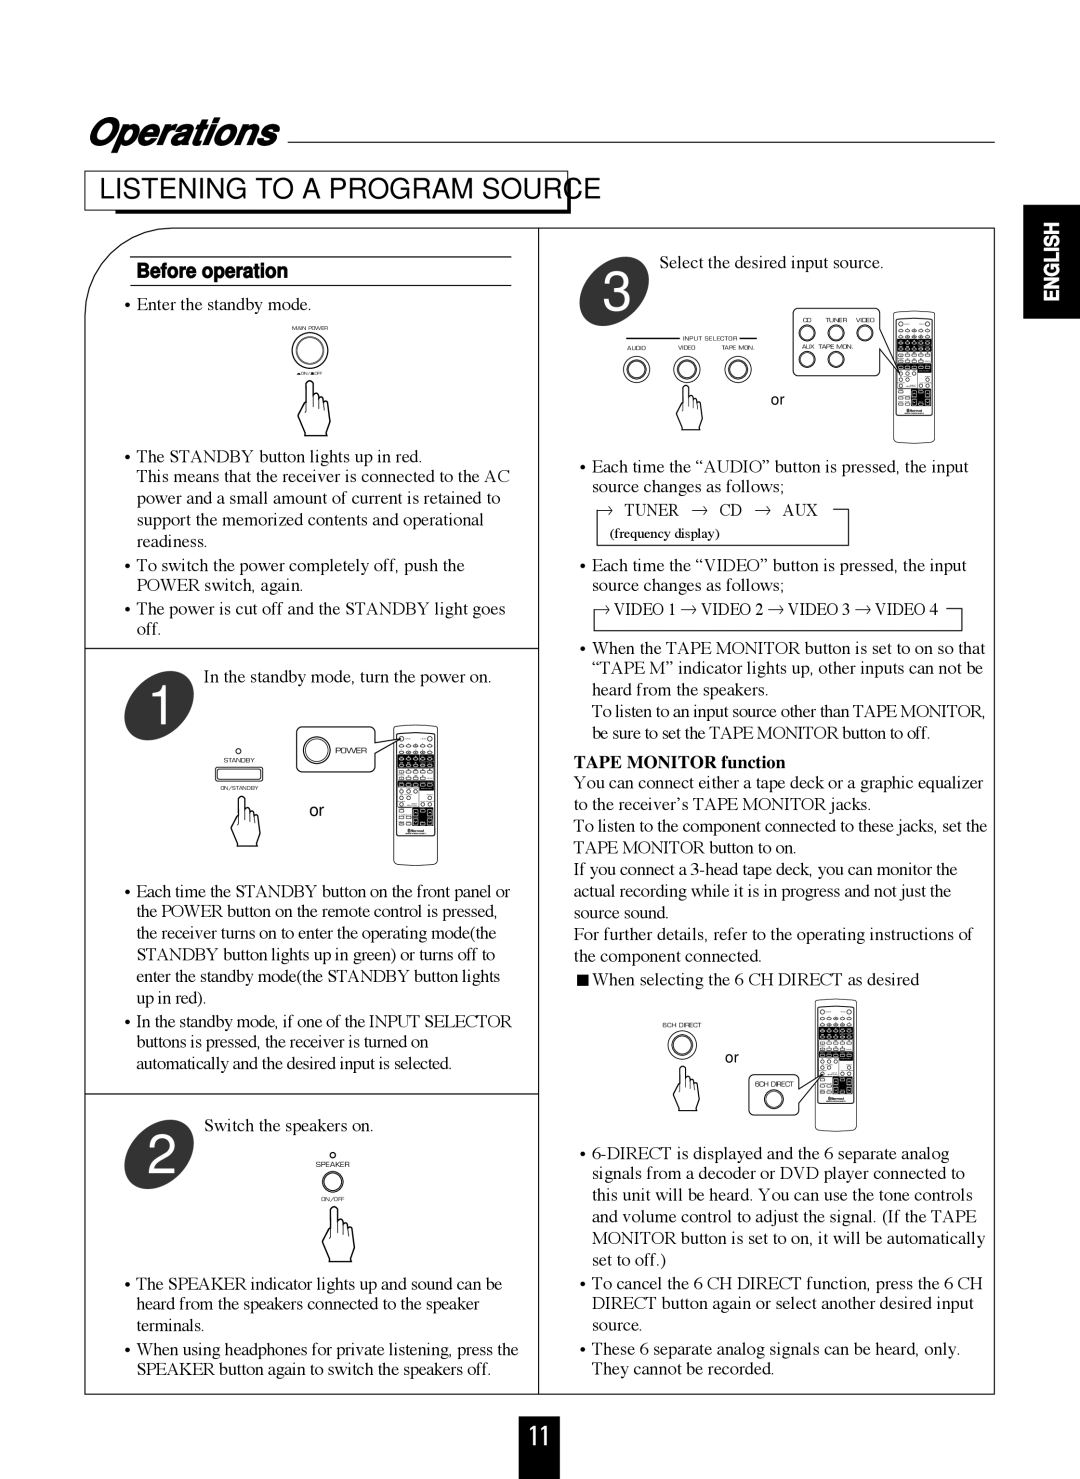
The RD-7106 is equipped with advanced audio technologies including a built-in AM/FM tuner with a digital frequency display, allowing users to easily access their favorite radio stations. The receiver also supports auxiliary inputs, making it simple to connect external devices such as smartphones, tablets, or CD players. Its phono input enables direct connection to a turntable, appealing to vinyl enthusiasts and adding depth to the listening experience.
One of the key characteristics of the Sherwood RD-7106 is its robust construction. Built with high-quality components, the receiver provides exceptional durability and longevity, ensuring years of consistent performance. Its heat management is enhanced by a well-ventilated design, which prevents thermal buildup, allowing it to operate efficiently even during extended use.
Additionally, the RD-7106 features adjustable bass and treble controls, enabling users to tailor their sound preferences. This level of customization enhances the listening experience, allowing users to adjust the audio output according to the acoustics of their room or personal taste.
Another highlight is the receiver’s sleek and timeless aesthetic, which fits seamlessly into any home decor. Its minimalist design, with a brushed aluminum finish and warm lighting, emphasizes practicality without sacrificing style.
In summary, the Sherwood RD-7106 stands out as a reliable stereo receiver that combines high-performance audio capabilities with user-friendly features. Its versatile connectivity options, robust build quality, and customizable sound settings make it a solid choice for anyone looking to elevate their audio experience. Whether for music or movies, the RD-7106 delivers excellence, making it a worthy addition to your home audio setup.