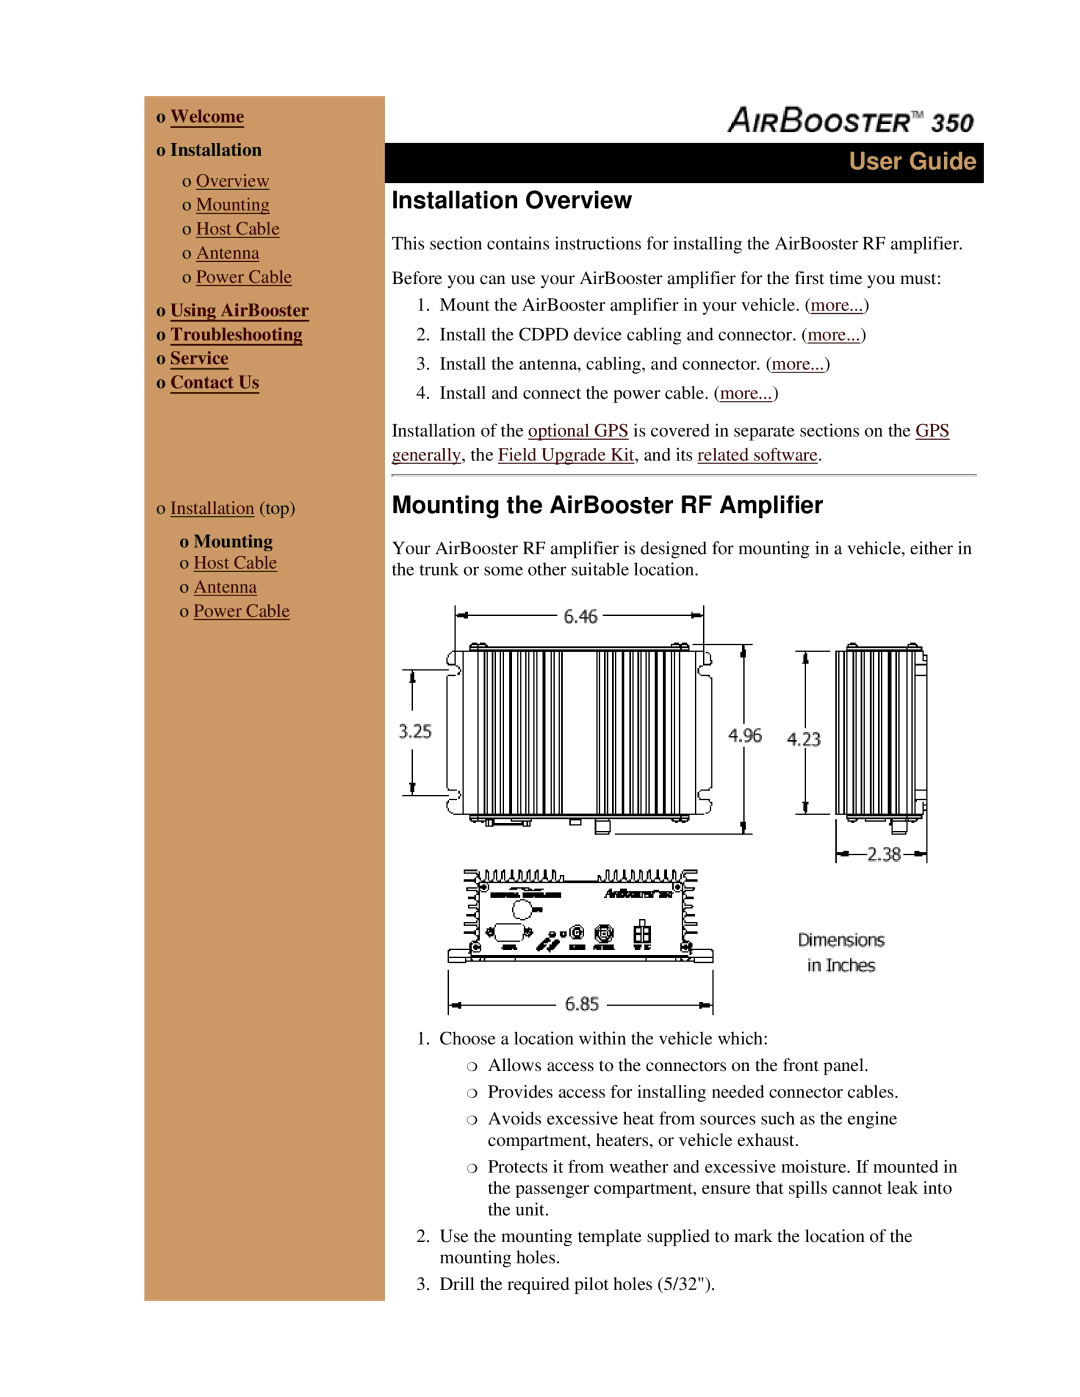
350 specifications
The Sierra Wireless 350 is a robust industrial-grade router designed to deliver reliable connectivity in various challenging environments. Built for both cellular and satellite networks, this router caters to a diverse range of applications, including transportation, energy, utilities, and remote monitoring.One of the standout features of the Sierra Wireless 350 is its dual-SIM capability, which enhances redundancy and ensures continuous connectivity. In case one carrier experiences an outage, the device can seamlessly switch to the secondary SIM, reducing downtime and maintaining operational efficiency. This feature is particularly crucial for industries that rely on constant data transmission.
The Sierra Wireless 350 supports various cellular technologies, ranging from 4G LTE to fallback options like 3G and even 2G. This flexibility means users can enjoy high-speed data transfer while also benefiting from compatibility with older networks. The router is equipped with multiple WAN ports, providing options for additional internet connections, including Ethernet and Wi-Fi.
Security is a top priority for the Sierra Wireless 350, which is equipped with advanced security protocols like VPN support and firewall protection. This ensures that data transmitted through the network remains secure and resistant to unauthorized access, making it suitable for industries dealing with sensitive information.
Another notable characteristic of the Sierra Wireless 350 is its rugged design. The device is built to withstand extreme environmental conditions, including temperature fluctuations, humidity, and vibrations. This durability makes it ideal for deployment in harsh locations, such as oil fields, construction sites, and remote facilities.
The router also includes comprehensive remote management and monitoring capabilities. This feature allows IT administrators to configure, monitor, and troubleshoot the device from a central location, streamlining operations and decreasing the need for on-site visits.
In conclusion, the Sierra Wireless 350 is an exceptional solution for organizations seeking reliable, secure, and resilient connectivity in industrial applications. With its dual-SIM capability, support for multiple cellular technologies, robust security measures, and durable construction, this device stands out as a crucial asset for businesses navigating the challenges of modern connectivity in demanding environments.

