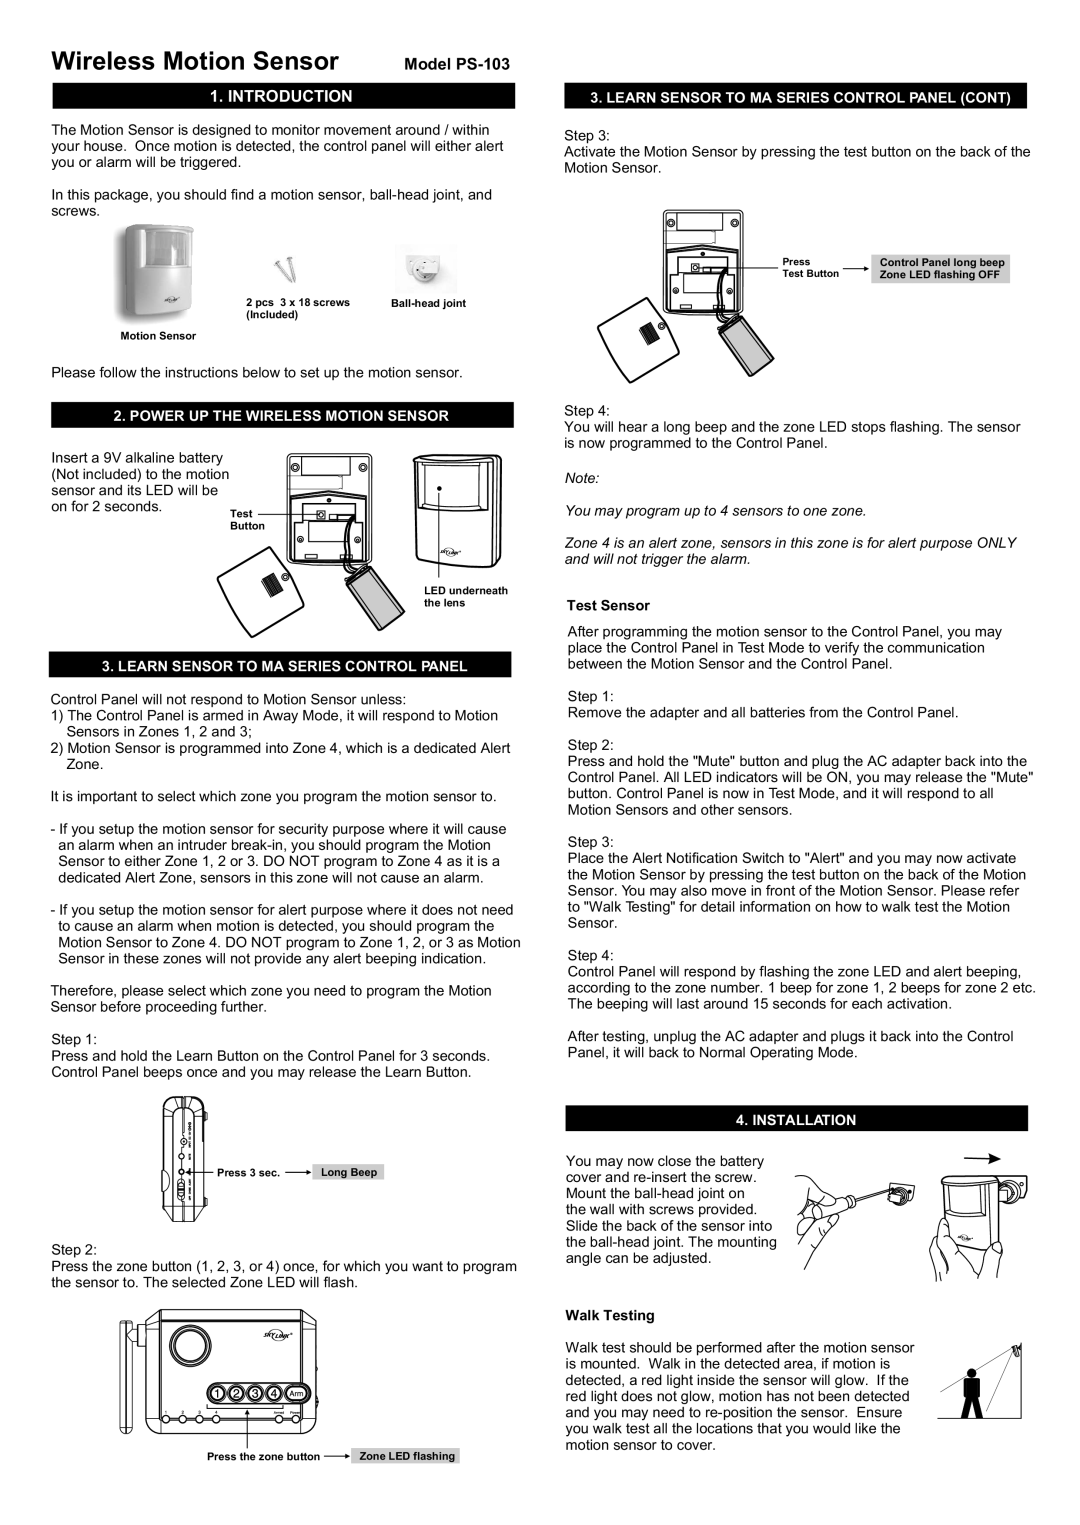
PS-103 specifications
SkyLink PS-103 is a cutting-edge satellite communication device designed for reliable and high-speed connectivity in remote areas where traditional internet services are often lacking. As a product tailored for both recreational and professional users, the PS-103 ensures seamless communication for business operations, emergency services, and adventure enthusiasts alike.One of the standout features of the SkyLink PS-103 is its advanced satellite technology. Operating on multiple frequency bands, it delivers superior performance in diverse environments. The device is equipped with a powerful antenna that enables it to maintain a stable connection with satellites, even in challenging weather conditions. This results in consistently high data speeds, allowing users to stream, video conference, and access cloud services effectively.
The PS-103 boasts a user-friendly interface, making it accessible for individuals with varying levels of technical expertise. Its plug-and-play design allows for quick setup and immediate use, ensuring that users can connect and communicate within minutes of unboxing. The device's built-in Wi-Fi hotspot capability transforms it into a central hub, enabling multiple devices to connect simultaneously, which is particularly useful for teams working in remote locations.
One of the key characteristics of the SkyLink PS-103 is its rugged and durable design. Built to withstand harsh environmental conditions, this device features weather-resistant housing, ensuring longevity and reliability. Additionally, it is lightweight and portable, which means it can easily be transported for hiking trips, field operations, or disaster response efforts.
In terms of power efficiency, the PS-103 incorporates sustainable technologies that maximize battery life, making it an ideal choice for extended outdoor use. Furthermore, the device supports various power sources, including solar panels, providing flexibility in remote settings where traditional power supply may not be available.
Security is another crucial aspect of the SkyLink PS-103. It implements robust encryption protocols to safeguard user data and ensure secure communications, which is essential for business applications and sensitive information exchanges.
In summary, the SkyLink PS-103 is a versatile and powerful satellite communication device that excels in delivering reliable connectivity in any environment. With its advanced technology, user-friendly features, and durable design, it is an invaluable tool for anyone requiring dependable communication in remote areas. Whether for personal adventure or professional use, the PS-103 stands out as a leading choice in satellite communications.

