Figure 2
Figure 3
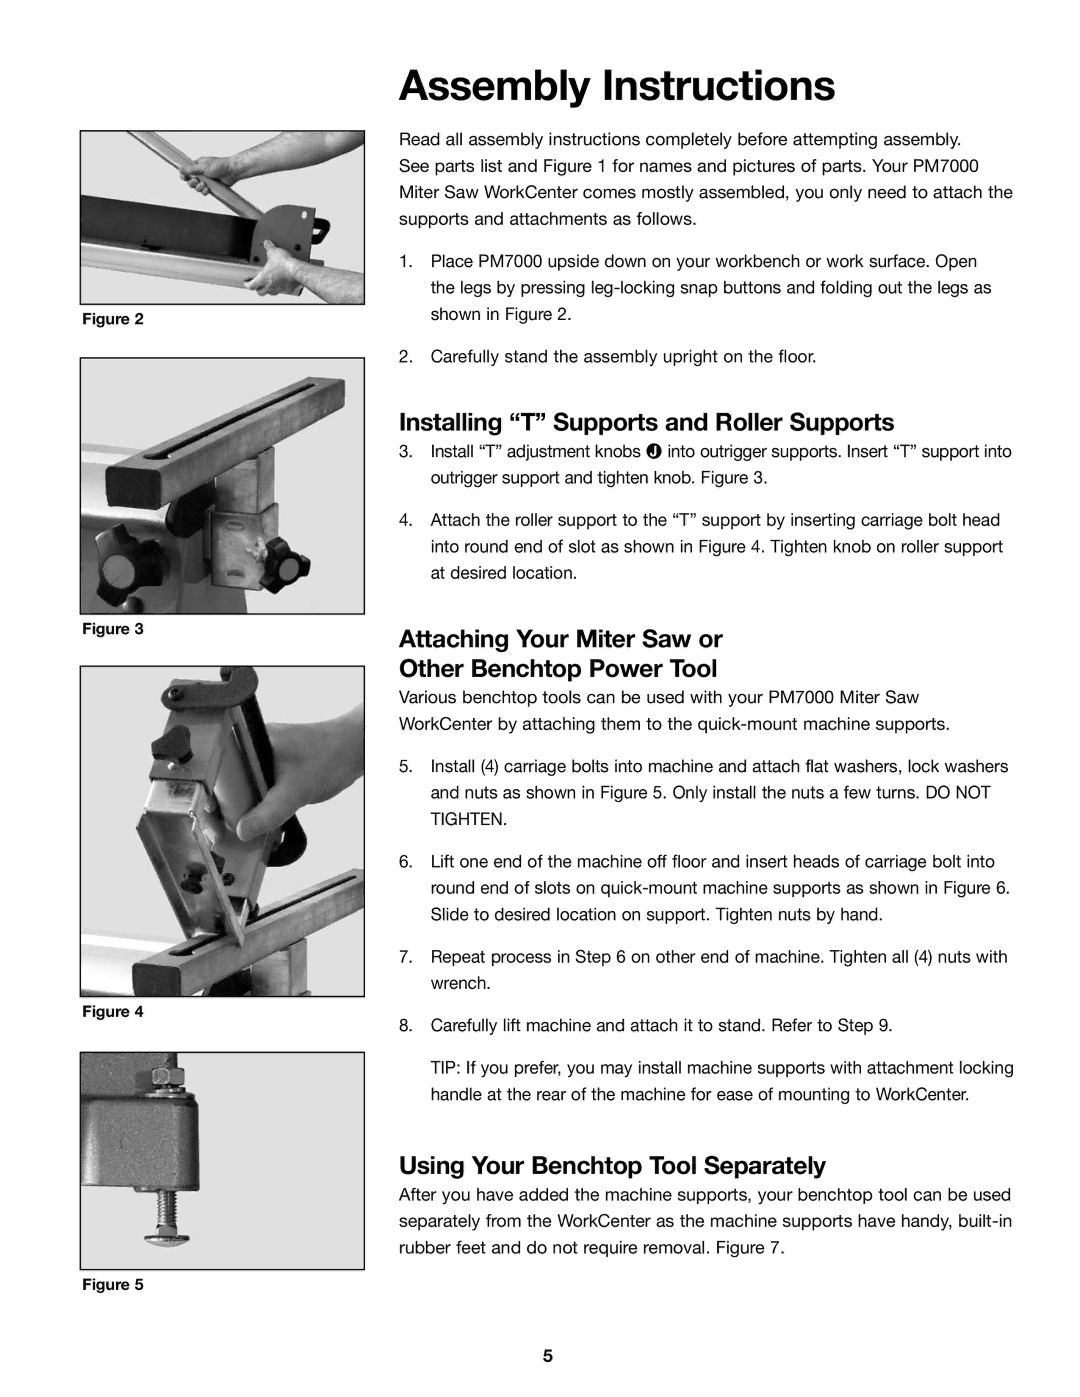
Figure 4
Figure 5
Assembly Instructions
Read all assembly instructions completely before attempting assembly. See parts list and Figure 1 for names and pictures of parts. Your PM7000 Miter Saw WorkCenter comes mostly assembled, you only need to attach the supports and attachments as follows.
1.Place PM7000 upside down on your workbench or work surface. Open the legs by pressing
2.Carefully stand the assembly upright on the floor.
Installing “T” Supports and Roller Supports
3.Install “T” adjustment knobs J into outrigger supports. Insert “T” support into outrigger support and tighten knob. Figure 3.
4.Attach the roller support to the “T” support by inserting carriage bolt head into round end of slot as shown in Figure 4. Tighten knob on roller support at desired location.
Attaching Your Miter Saw or
Other Benchtop Power Tool
Various benchtop tools can be used with your PM7000 Miter Saw WorkCenter by attaching them to the
5.Install (4) carriage bolts into machine and attach flat washers, lock washers and nuts as shown in Figure 5. Only install the nuts a few turns. DO NOT TIGHTEN.
6.Lift one end of the machine off floor and insert heads of carriage bolt into round end of slots on
7.Repeat process in Step 6 on other end of machine. Tighten all (4) nuts with wrench.
8.Carefully lift machine and attach it to stand. Refer to Step 9.
TIP: If you prefer, you may install machine supports with attachment locking handle at the rear of the machine for ease of mounting to WorkCenter.
Using Your Benchtop Tool Separately
After you have added the machine supports, your benchtop tool can be used separately from the WorkCenter as the machine supports have handy,
5