Rev 05
Reconstruct SNR CHECK image for individual channels using the instructions provided below.
1.Before running the SNR CHECK scan, be sure to have the "Save Raw Data" option set to "Yes" under [Postproc].
2.Do not delete the current scan from the [Scanlist].
3.Under the [Scanlist] icon, select the [Add Rec] icon, then the [Del. Recon] icon.
4.
5.Change the "Synergy selection" option from "0" to "2" for reconstruction of the 2nd channel, then select [Proceed].
6.Select [Options], and change the name of the reconstruction to "2".
7.Repeat steps
8.From the [Scan List] icon, delete all scans except those renamed for each element.
9.Select [Start Scan] to start the reconstruction of the images.
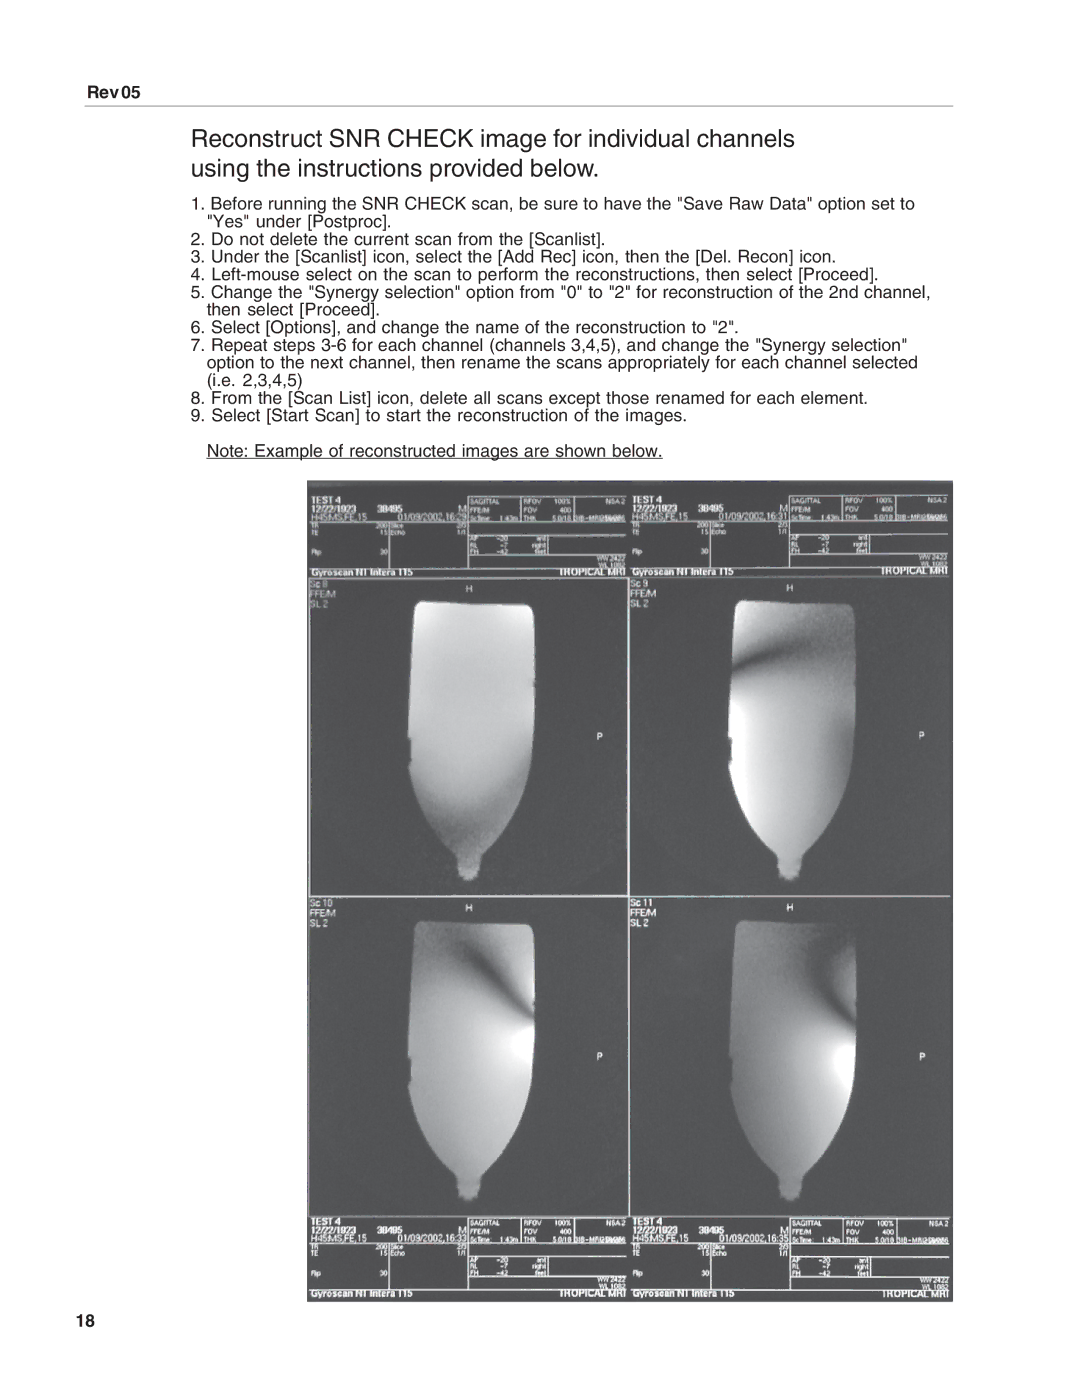
Note: Example of reconstructed images are shown below.
18