Section 4 - ADJUSTMENT & REPAIR
WARNING
DO NOT attempt any adjustments, maintenance or service with the engine or blade running. STOP blade. STOP engine. Set brake. Remove key. Remove spark plug wire from spark plug and secure wire away from spark plug. Engine and components can be extremely hot. Avoid burns by allowing engine and components sufficient time to cool.
4.1ENGINE ADJUSTMENTS & REPAIR
Refer to the engine owner's manual for those adjustments and/or repairs that can be made by the owner.
4.2MOWER DECK & COMPONENT ADJUSTMENTS The following mower deck and component adjustments and repairs can be made by the owner. However, if there is difficulty in achieving these adjustments and repairs, it is recommended that these repairs be made by an authorized SNAPPER dealer.
WARNING
Blades must stop rotating in 5 seconds or less after blades have been turned off. DO NOT operate machine until blade brake has been repaired and functioning properly. Contact your SNAPPER dealer for assistance.
4.2.1.BLADE BRAKE ADJUSTMENT
The blade brake when properly adjusted will stop blade rotation in 5 seconds or less when the blade engagement lever is moved to the OFF position.
33” DECK BLADE BRAKE ADJUSTMENT
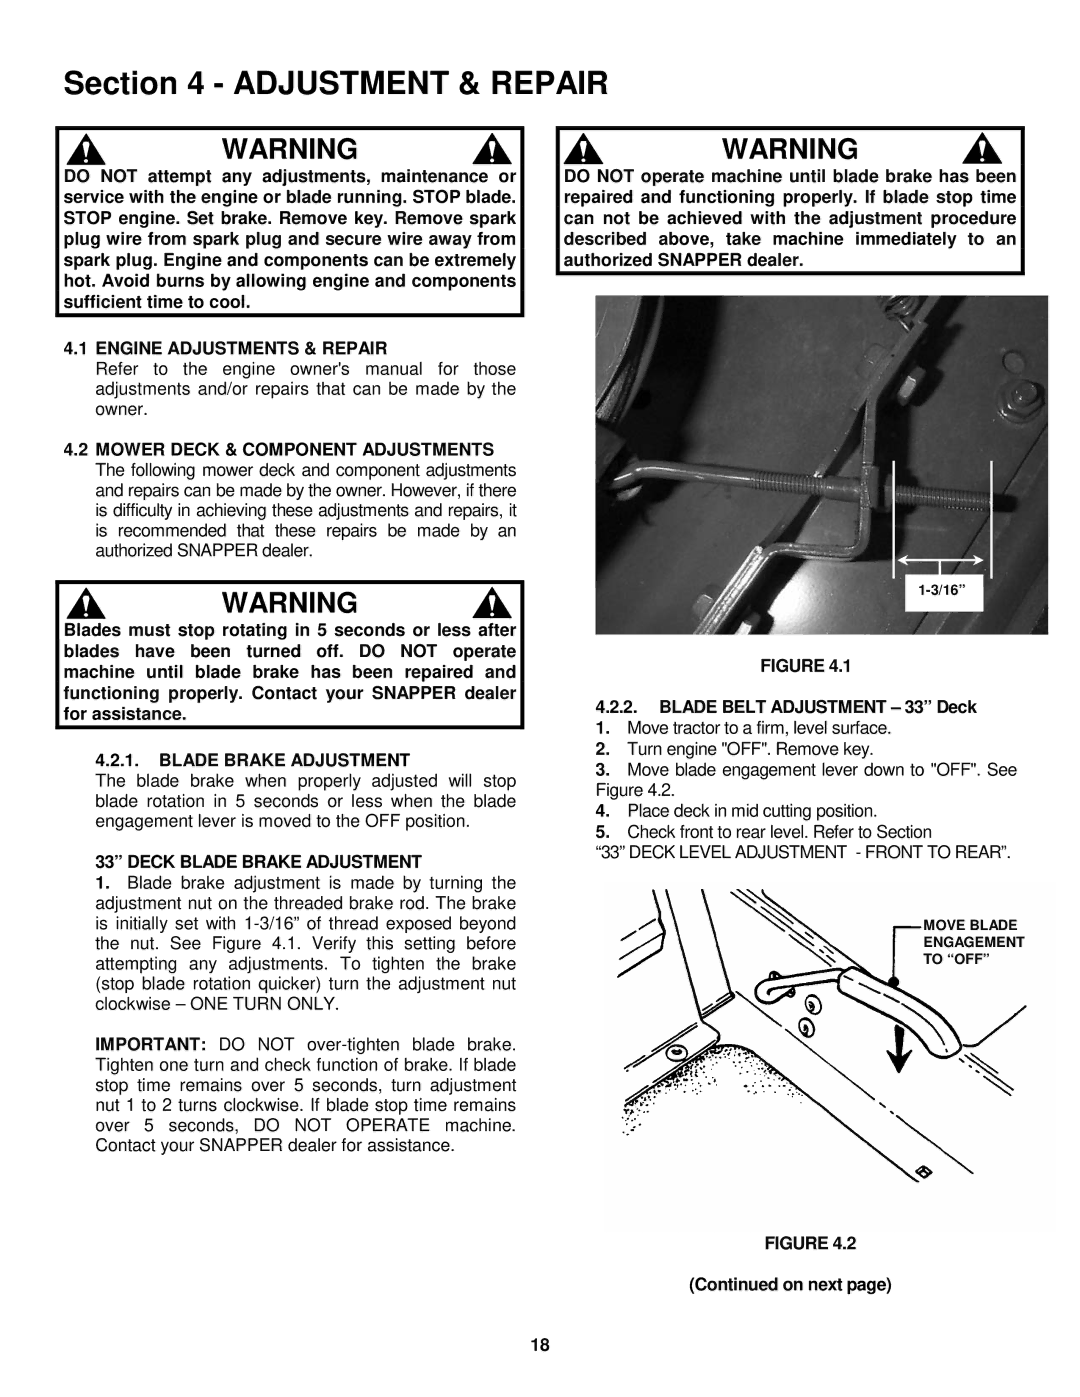
1.Blade brake adjustment is made by turning the adjustment nut on the threaded brake rod. The brake is initially set with
IMPORTANT: DO NOT
WARNING
DO NOT operate machine until blade brake has been repaired and functioning properly. If blade stop time can not be achieved with the adjustment procedure described above, take machine immediately to an authorized SNAPPER dealer.
FIGURE 4.1
4.2.2.BLADE BELT ADJUSTMENT – 33” Deck
1.Move tractor to a firm, level surface.
2.Turn engine "OFF". Remove key.
3.Move blade engagement lever down to "OFF". See Figure 4.2.
4.Place deck in mid cutting position.
5.Check front to rear level. Refer to Section
“33” DECK LEVEL ADJUSTMENT - FRONT TO REAR”.
MOVE BLADE
ENGAGEMENT
TO “OFF”
FIGURE 4.2
(Continued on next page)
18