Snow Thowers specifications
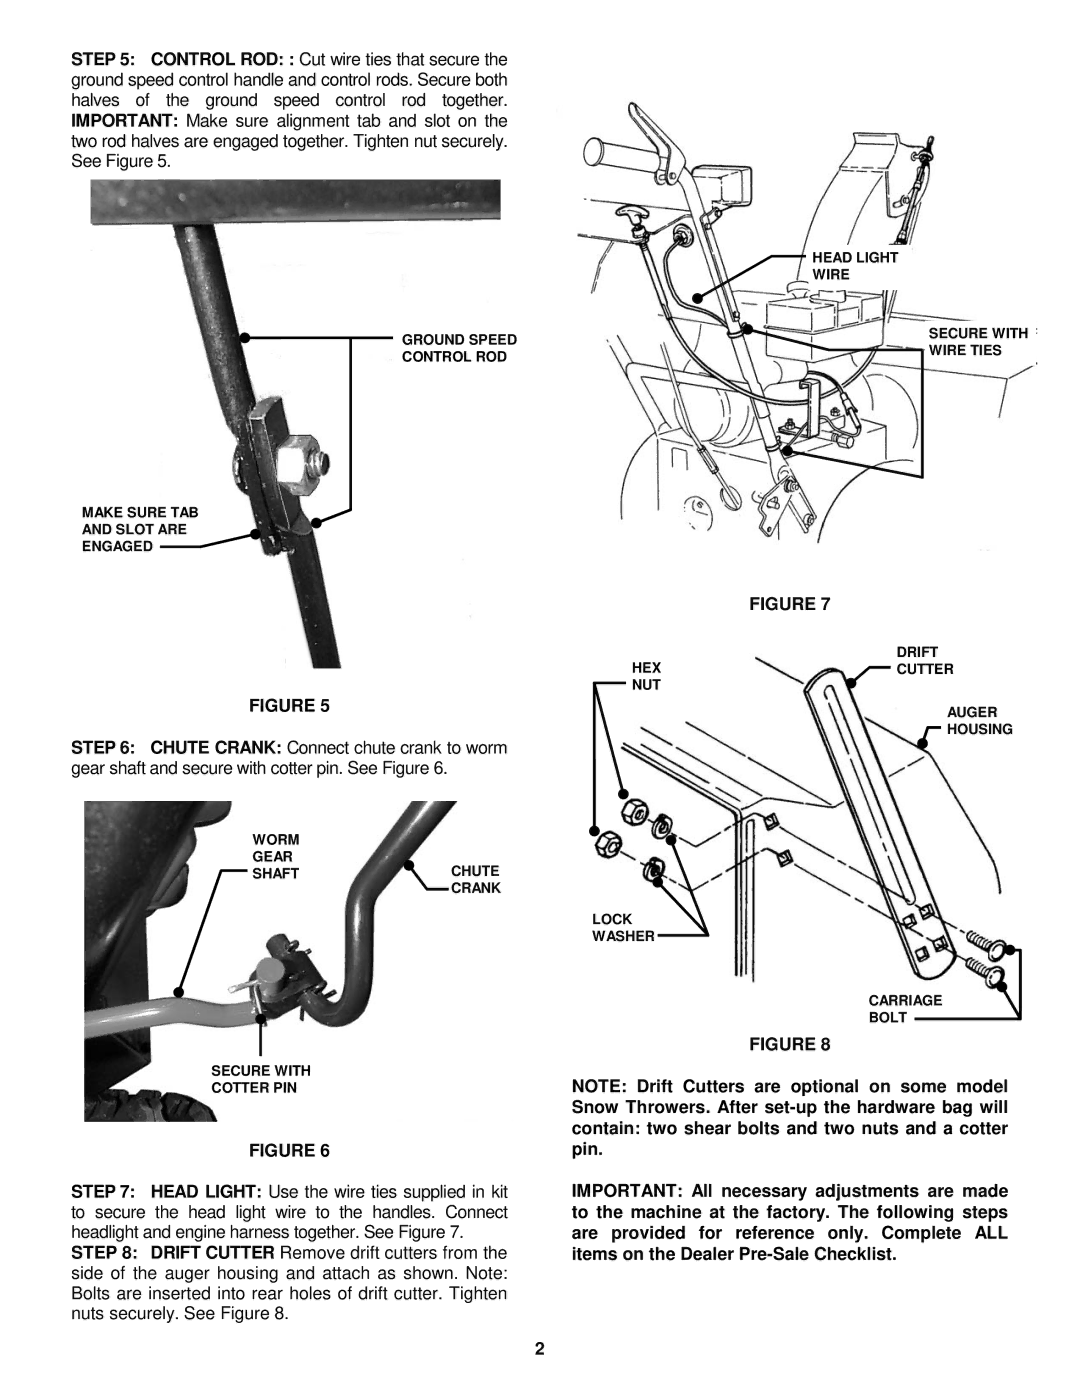
Snapper Snow Throwers are known for their durability, ease of use, and innovative features, making them a popular choice for homeowners and professionals alike. Designed to tackle heavy snowfall, these machines come equipped with powerful engines and advanced technologies aimed at maximizing performance and efficiency.One of the standout features of Snapper Snow Throwers is their strong engines. Many models are powered by reliable commercial-grade engines that provide ample power for clearing snow from driveways, sidewalks, and patios. These engines ensure that the snow throwers can handle even the toughest snow conditions, from light flurries to heavy blizzards.
Another significant characteristic of Snapper Snow Throwers is their robust construction. Built with high-quality materials, they offer impressive durability and longevity. The steel frames and reinforced augers are designed to withstand the rigors of winter weather, ensuring that these machines can serve their owners for many seasons without compromising performance.
The ease of use is also a top priority for Snapper, and this is evident in the ergonomic design of their snow throwers. Many models come with adjustable handles and easy-to-reach controls, allowing operators to work comfortably for extended periods. Additionally, features such as electric start eliminate the hassle of fumbling with pull cords in cold weather, making it simple to get started on a snowy day.
Snapper Snow Throwers are equipped with advanced technologies, such as SnowShredder serrated augers. These augers are designed to break up and move snow efficiently, providing superior snow-clearing performance. Moreover, many models feature multiple speed settings, allowing users to adjust the pace of their work according to the snow conditions.
The throwing distance is another critical aspect, with Snapper Snow Throwers offering adjustable chute controls that allow snow to be discharged exactly where it's needed. The rotating chute can often throw snow up to 40 feet away, making it easy to direct snow away from walkways and driveways.
Overall, Snapper Snow Throwers deliver reliability, performance, and convenience, making them an excellent investment for anyone looking to efficiently handle winter's challenges. With their powerful engines, durable construction, user-friendly features, and advanced technologies, Snapper snow throwers stand out in the market as trusted machines for dealing with winter snowfall. Whether you’re clearing residential areas or maintaining larger properties, Snapper provides versatile solutions to meet various snow-clearing needs. In summary, they embody innovation and practicality, positioned to conquer whatever winter throws your way.

