Adjustments
Adjusting the Picture Size
2 Press the ¨ ./> buttons.
The adjustment data becomes the unique setting for the input signals received.
1 Press the SIZE button. The “SIZE” OSD (On Screen Display) appears.
. . . . to rotate counterclockwise
SIZE
2 For vertical adjustment Press the ¨ ./> buttons.
SIZE
023
>. . . to rotate clockwise
To erase the “GEOMETRY” OSD, press the GEOM button again.
The “GEOMETRY” OSD automatically disappears 10 seconds after you release the buttons.
To reset, press the RESET button while the OSD is on.
. . . . to diminish
>. . . to enlarge
For horizontal adjustment Press the > ?// buttons.
Adjusting the Pincushion
The adjustment data becomes the unique setting for the input signals received.
1 Press the GEOM button.
The “GEOMETRY” OSD (On Screen Display) appears.
?. . . to diminish / . . . to enlarge
To erase the “SIZE” OSD, press the SIZE button again. The “SIZE” OSD automatically disappears 10 seconds after you release the buttons.
To reset, press the RESET button while the OSD is on.
GEOM
2 Press the > ?// buttons.
| GEOMETRY |
0 | 23 |
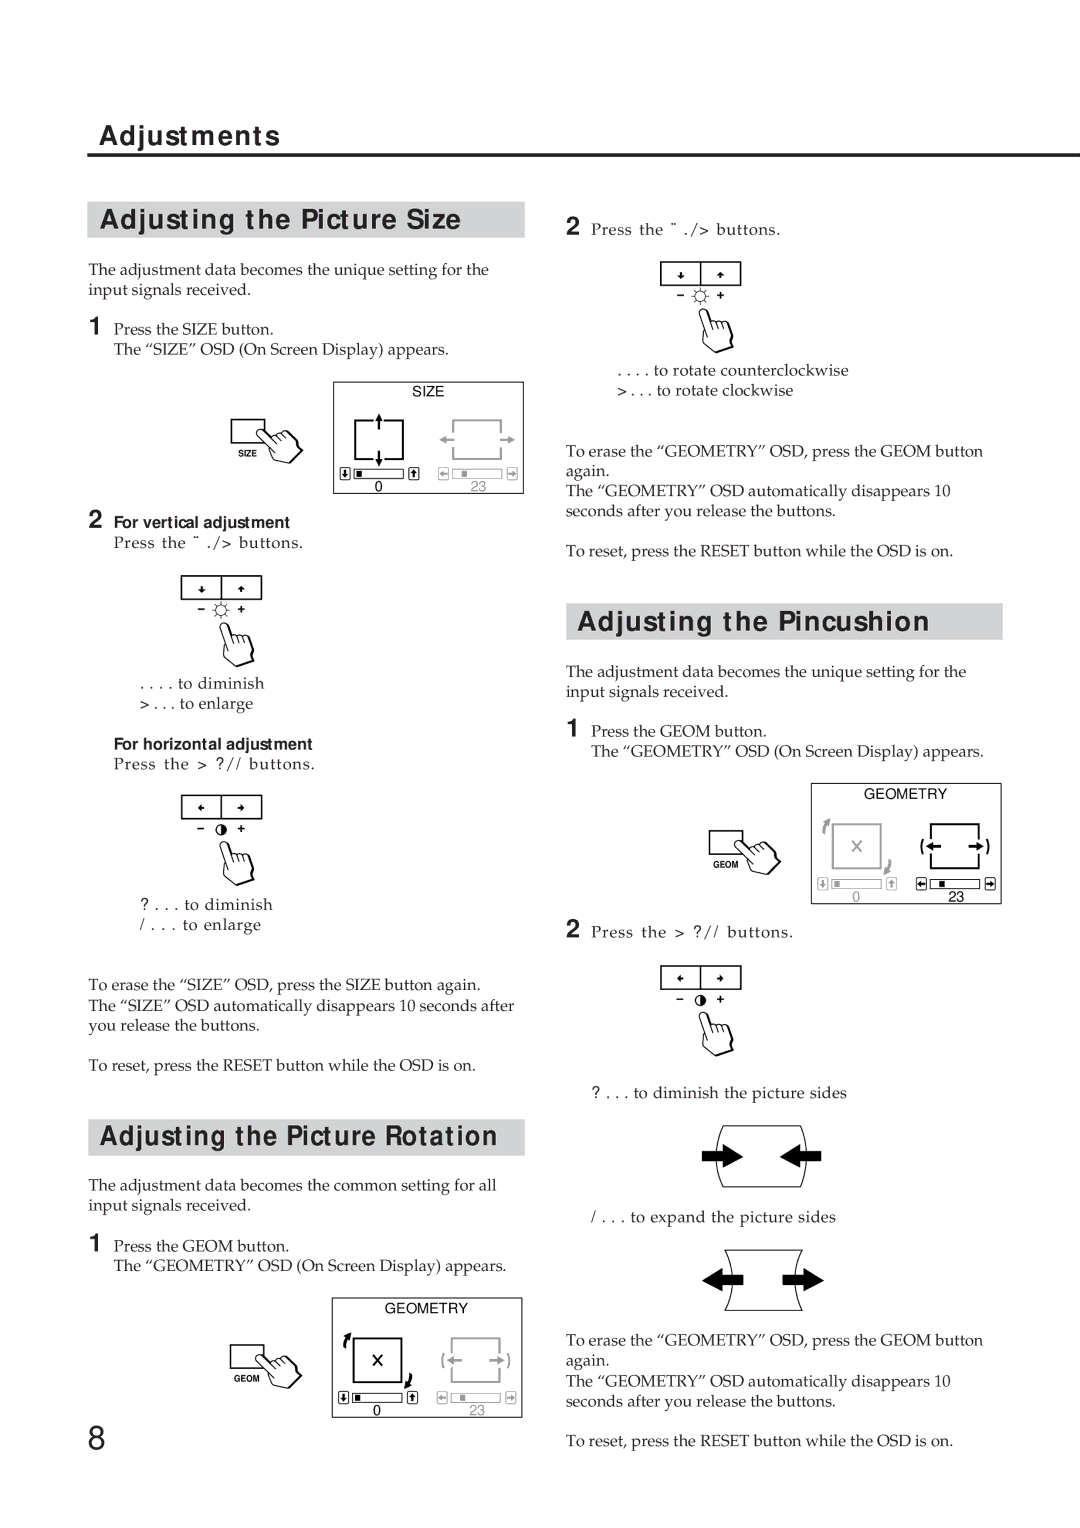
Adjusting the Picture Rotation
The adjustment data becomes the common setting for all input signals received.
1 Press the GEOM button.
The “GEOMETRY” OSD (On Screen Display) appears.
| GEOMETRY |
GEOM |
|
0 | 23 |
?. . . to diminish the picture sides
/. . . to expand the picture sides
To erase the “GEOMETRY” OSD, press the GEOM button again.
The “GEOMETRY” OSD automatically disappears 10 seconds after you release the buttons.
8 | To reset, press the RESET button while the OSD is on. |