VPCS1 Series Optical Disk Drive Replacement Instructions
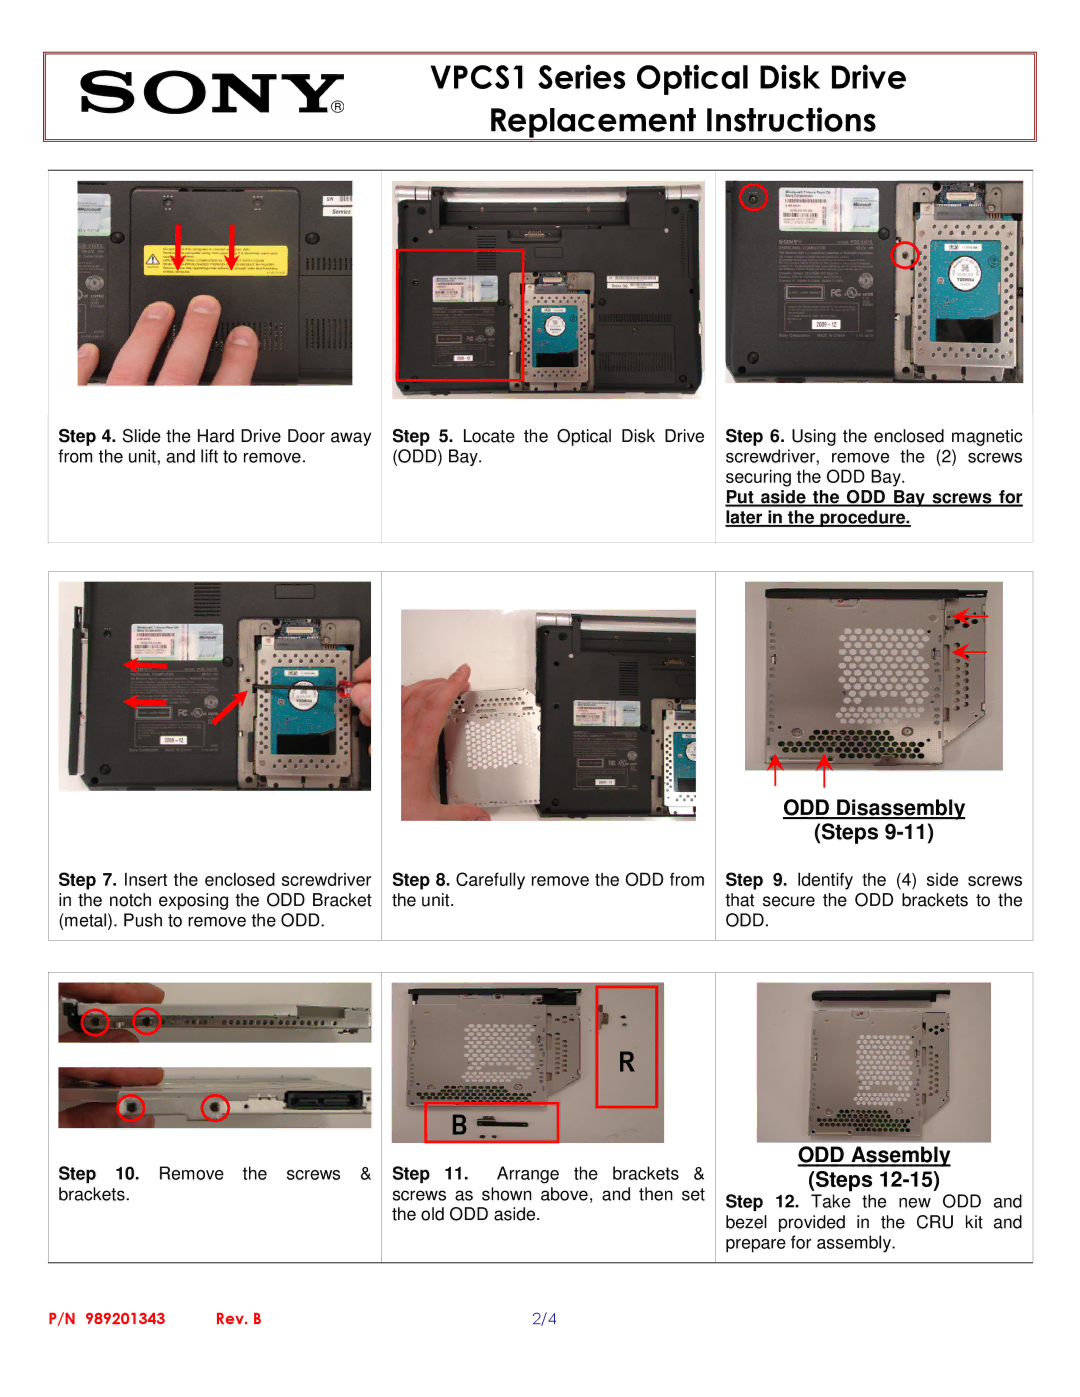
Step 4. Slide the Hard Drive Door away from the unit, and lift to remove.
Step 5. Locate the Optical Disk Drive (ODD) Bay.
Step 6. Using the enclosed magnetic screwdriver, remove the (2) screws securing the ODD Bay.
Put aside the ODD Bay screws for later in the procedure.
Step 7. Insert the enclosed screwdriver in the notch exposing the ODD Bracket (metal). Push to remove the ODD.
Step 8. Carefully remove the ODD from the unit.
ODD Disassembly
(Steps 9-11)
Step 9. Identify the (4) side screws that secure the ODD brackets to the ODD.
Step 10. Remove the screws & brackets.
R
B
Step 11. Arrange the brackets & screws as shown above, and then set the old ODD aside.
ODD Assembly
(Steps 12-15)
Step 12. Take the new ODD and bezel provided in the CRU kit and prepare for assembly.
P/N 989201343 | Rev. B | 2/4 |