SECTION 4
MECHANICAL ADJUSTMENTS
1. Clean the following parts with a
swab: |
|
playback head | pinch roller |
rubber belt | capstan |
idler |
|
2.Demagnetize the playback head with a head demagnetizer.
3.Do not use a magnetized screwdriver for the adjustments.
4.After the adjustments, apply suitable locking compound to the parts adjusted.
5.The adjustments should be performed with the power supply voltage unless otherwise noted.
• Torque Measurement
Mode | Torque Meter | Meter Reading | |
|
|
| |
Forward | 30 – 65 g•cm | ||
(0.42 – 0.90 oz•inch) | |||
|
| ||
Forward | 0.5 – 4.5 g•cm | ||
Back Tension | (0.01 – 0.06 oz•inch) | ||
| |||
|
|
| |
Reverse | 30 – 65 g•cm | ||
(0.42 – 0.90 oz•inch) | |||
|
| ||
Reverse | 0.5 – 4.5 g•cm | ||
Back Tension | (0.01 – 0.06 oz•inch) | ||
| |||
FF, REW | 60 – 200 g•cm | ||
(0.83 – 2.78 oz•inch) | |||
|
|
• Tape Tension Measurement
Mode | Tension Meter | Meter Reading | |
Forward | more than 90 g | ||
(more than 3.18 oz) | |||
|
| ||
|
|
| |
Reverse | more than 90 g | ||
(more than 3.18 oz) | |||
|
|
SECTION 5
ELECTRICAL ADJUSTMENTS
TEST MODE
This set have the test mode function. In the test mode, FM Auto Scan/Stop Level and AM (MW) Auto Scan/Stop Level adjustments can be performed easier than it in ordinary procedure.
<Set the Test Mode>
1.Set the “power select” switch (S501) is “A” position.
2.Turn ON the regulated power supply. (All LEDs on the set lights up, and the clock is displayed.)
Note: Press the [OFF] button, if the clock is not displayed.
3.Push the preset [4] button.
4.Push the preset [5] button.
5.Press the preset [1] button for more than two seconds.
6.Then the display indicates all lights, the test mode is set.
<Release the Test mode>
1.Push the [OFF] button.
2.Return the “power select” switch (S501) to initially set posi- tion.
See the adjustment location from on page 16 for the adjustment.
TAPE DECK SECTION 
 0 dB=0.775 V
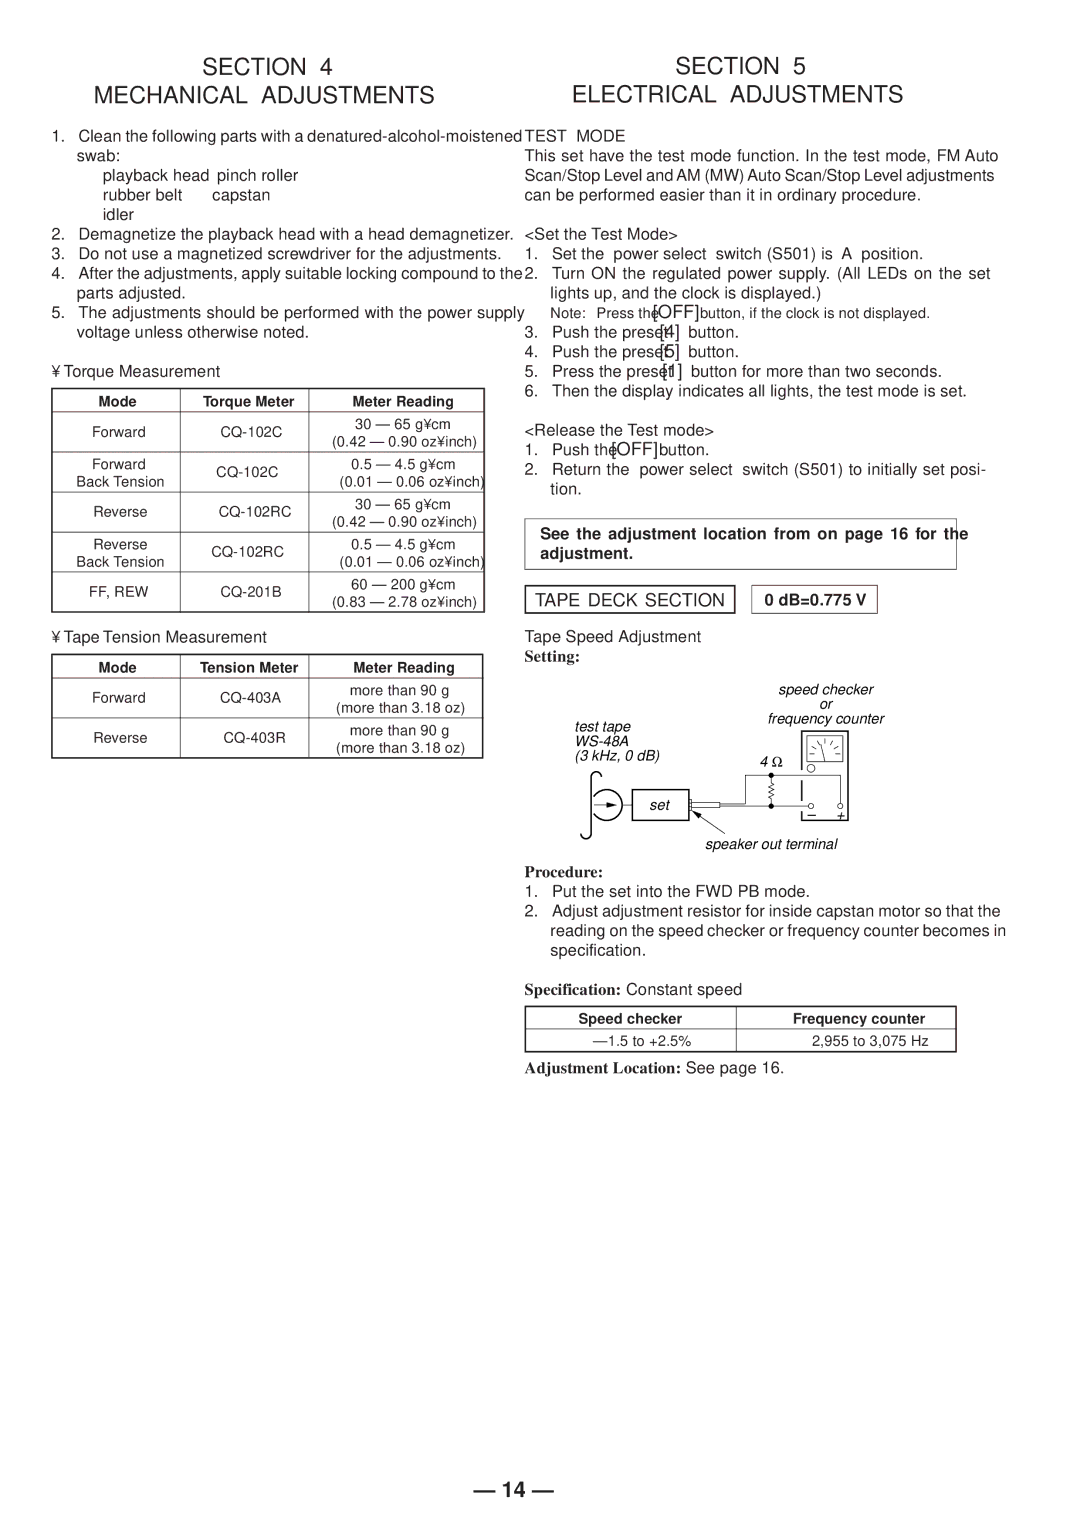
Tape Speed Adjustment
Setting:
|
| speed checker |
|
| or |
test tape |
| frequency counter |
|
| |
|
| |
(3 kHz, 0 dB) | 4 | Ω |
| ||
set |
| – + |
|
|
speaker out terminal
Procedure:
1.Put the set into the FWD PB mode.
2.Adjust adjustment resistor for inside capstan motor so that the reading on the speed checker or frequency counter becomes in specification.
Specification: Constant speed
Speed checker |
| Frequency counter |
| 2,955 to 3,075 Hz | |
|
|
|
Adjustment Location: See page 16. |
| |
– 14 –