Route the wires
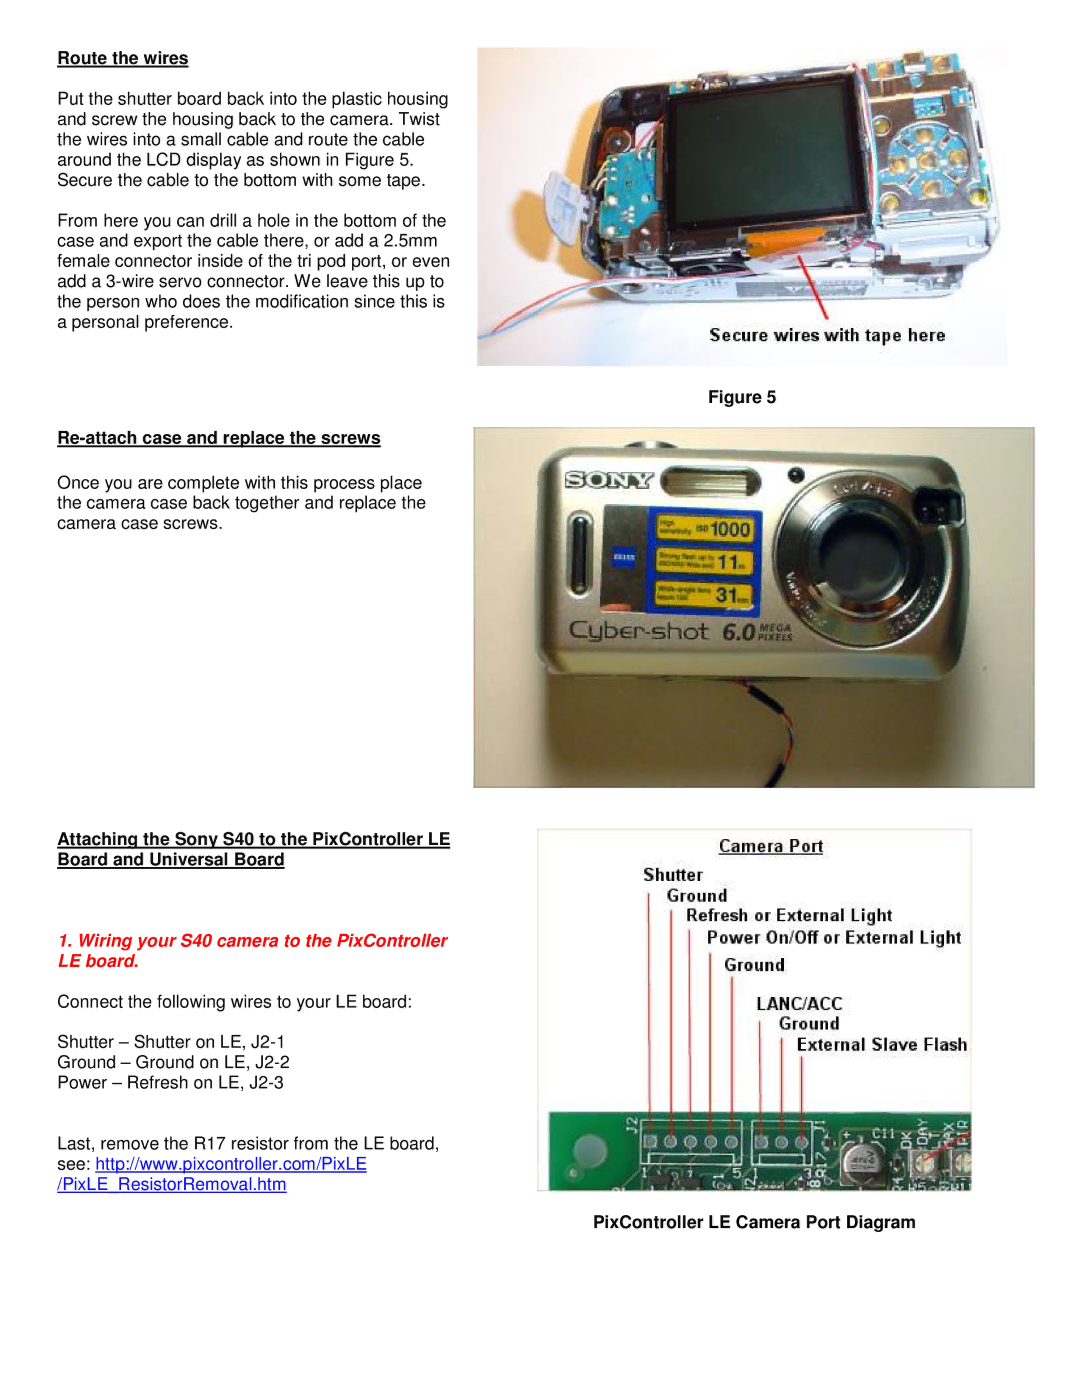
Put the shutter board back into the plastic housing and screw the housing back to the camera. Twist the wires into a small cable and route the cable around the LCD display as shown in Figure 5. Secure the cable to the bottom with some tape.
From here you can drill a hole in the bottom of the case and export the cable there, or add a 2.5mm female connector inside of the tri pod port, or even add a
Re-attach case and replace the screws
Once you are complete with this process place the camera case back together and replace the camera case screws.
Attaching the Sony S40 to the PixController LE Board and Universal Board
1.Wiring your S40 camera to the PixController LE board.
Connect the following wires to your LE board:
Shutter – Shutter on LE,
Ground – Ground on LE,
Power – Refresh on LE,
Last, remove the R17 resistor from the LE board, see: http://www.pixcontroller.com/PixLE /PixLE_ResistorRemoval.htm
Figure 5