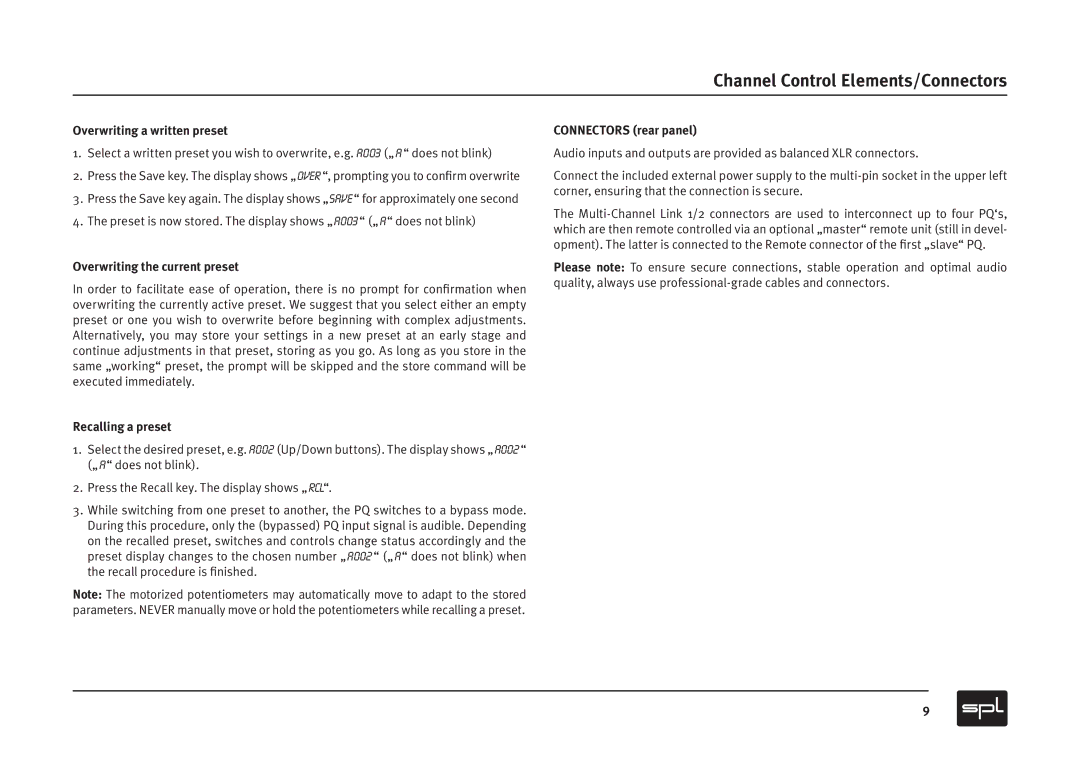
Channel Control Elements/Connectors
Overwriting a written preset
1.Select a written preset you wish to overwrite, e.g. A003 („ A “ does not blink)
2.Press the Save key. The display shows „OVER“, prompting you to confirm overwrite
3.Press the Save key again. The display shows „SAVE“ for approximately one second
4.The preset is now stored. The display shows „ A003“ („ A“ does not blink)
Overwriting the current preset
In order to facilitate ease of operation, there is no prompt for confirmation when overwriting the currently active preset. We suggest that you select either an empty preset or one you wish to overwrite before beginning with complex adjustments. Alternatively, you may store your settings in a new preset at an early stage and continue adjustments in that preset, storing as you go. As long as you store in the same „working“ preset, the prompt will be skipped and the store command will be executed immediately.
Recalling a preset
1.Select the desired preset, e.g. A002 (Up/Down buttons). The display shows „ A002 “ („ A“ does not blink).
2.Press the Recall key. The display shows „ RCL“.
3.While switching from one preset to another, the PQ switches to a bypass mode. During this procedure, only the (bypassed) PQ input signal is audible. Depending on the recalled preset, switches and controls change status accordingly and the preset display changes to the chosen number „A002 “ („ A“ does not blink) when the recall procedure is finished.
Note: The motorized potentiometers may automatically move to adapt to the stored parameters. NEVER manually move or hold the potentiometers while recalling a preset.
CONNECTORS (rear panel)
Audio inputs and outputs are provided as balanced XLR connectors.
Connect the included external power supply to the
The
Please note: To ensure secure connections, stable operation and optimal audio quality, always use
9
