Hardware Installation |
|
Step 1. Select [STANDARD CMOS SETUP]
Set [Date/Time] and [Floppy drive type], then set [Hard Disk Type] to “Auto”.
Step 2. Select [Load Optimized Defaults]
Select the “Load Optimized Defaults” menu and type “Y” at the prompt to load the BIOS optimal setup.
Step 3. Select [SOYO COMBO Feature]
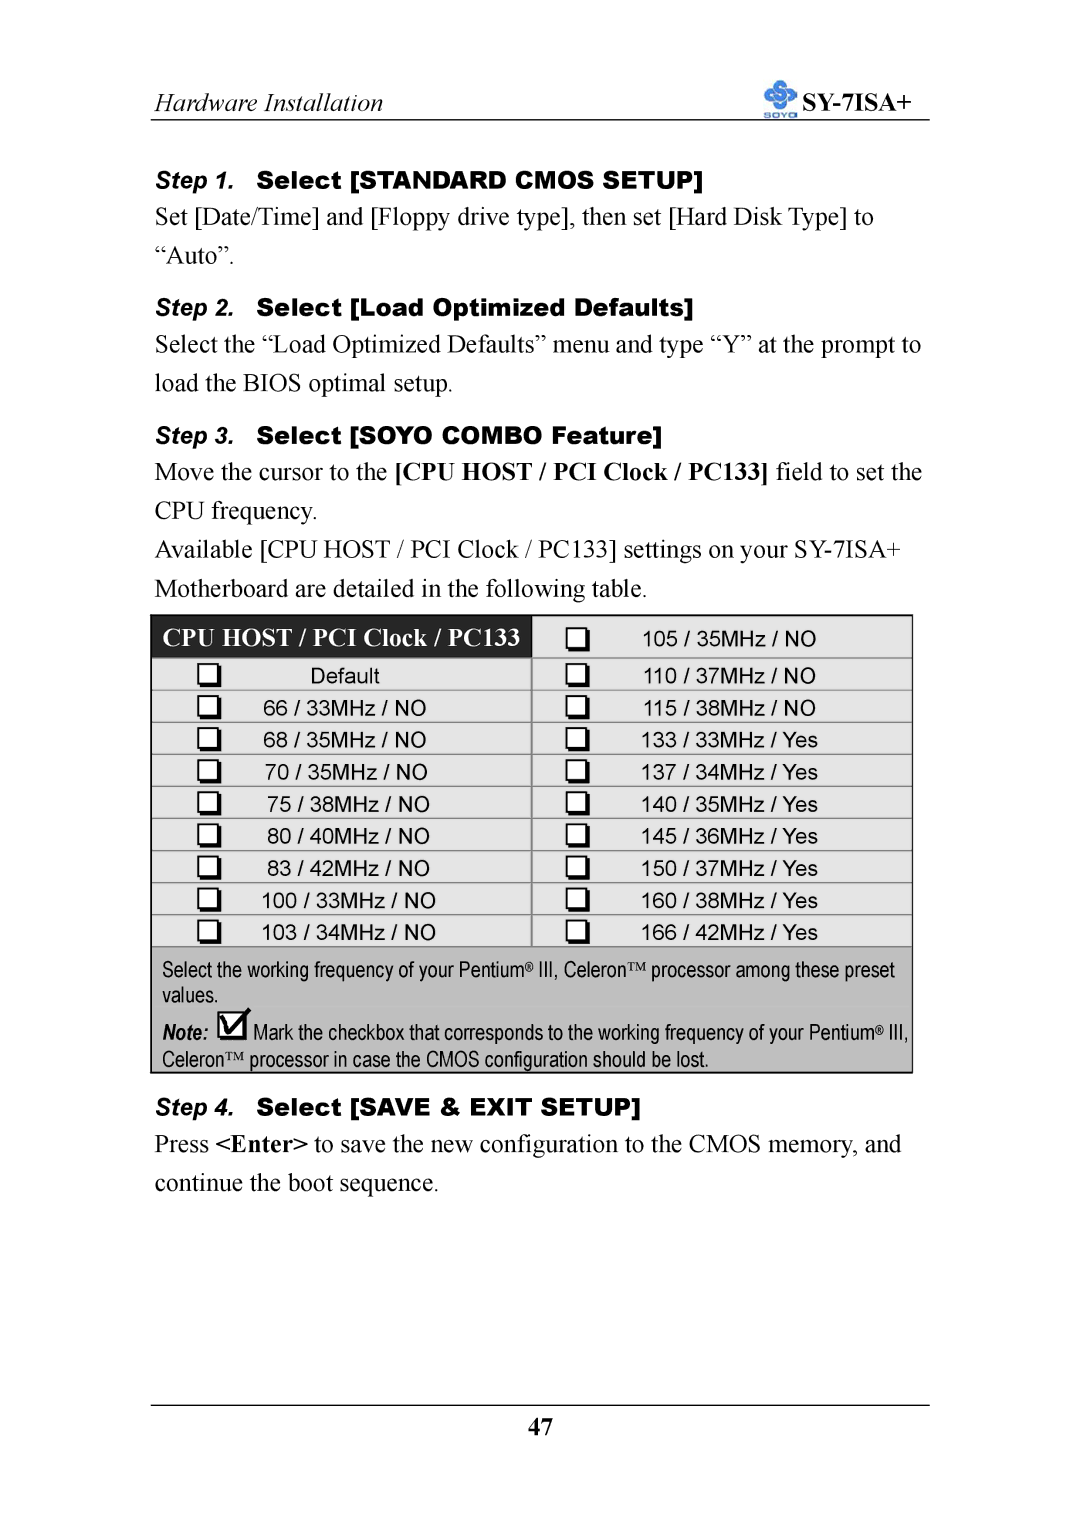
Move the cursor to the [CPU HOST / PCI Clock / PC133] field to set the CPU frequency.
Available [CPU HOST / PCI Clock / PC133] settings on your
CPU HOST / PCI Clock / PC133
105 / 35MHz / NO
|
| Default |
|
|
| 110 | / 37MHz / NO |
|
|
|
|
|
| ||||
|
| 66 / 33MHz / NO |
|
|
| 115 | / 38MHz / NO |
|
|
|
|
|
| ||||
|
| 68 / 35MHz / NO |
|
|
| 133 | / 33MHz / Yes |
|
|
|
|
|
| ||||
|
| 70 / 35MHz / NO |
|
|
| 137 | / 34MHz / Yes |
|
|
|
|
|
| ||||
|
| 75 / 38MHz / NO |
|
|
| 140 | / 35MHz / Yes |
|
|
|
|
|
| ||||
|
| 80 / 40MHz / NO |
|
|
| 145 | / 36MHz / Yes |
|
|
|
|
|
| ||||
|
| 83 / 42MHz / NO |
|
|
| 150 | / 37MHz / Yes |
|
|
|
|
|
| ||||
|
| 100 / 33MHz / NO |
|
|
| 160 | / 38MHz / Yes |
|
|
|
|
|
| ||||
|
| 103 / 34MHz / NO |
|
|
| 166 | / 42MHz / Yes |
|
|
|
|
|
| ||||
|
|
|
|
|
|
|
|
|
Select the working frequency of your Pentium® III, Celeron processor among these preset values.
Note: ![]() Mark the checkbox that corresponds to the working frequency of your Pentium® III, Celeron processor in case the CMOS configuration should be lost.
Mark the checkbox that corresponds to the working frequency of your Pentium® III, Celeron processor in case the CMOS configuration should be lost.
Step 4. Select [SAVE & EXIT SETUP]
Press <Enter> to save the new configuration to the CMOS memory, and continue the boot sequence.
47
