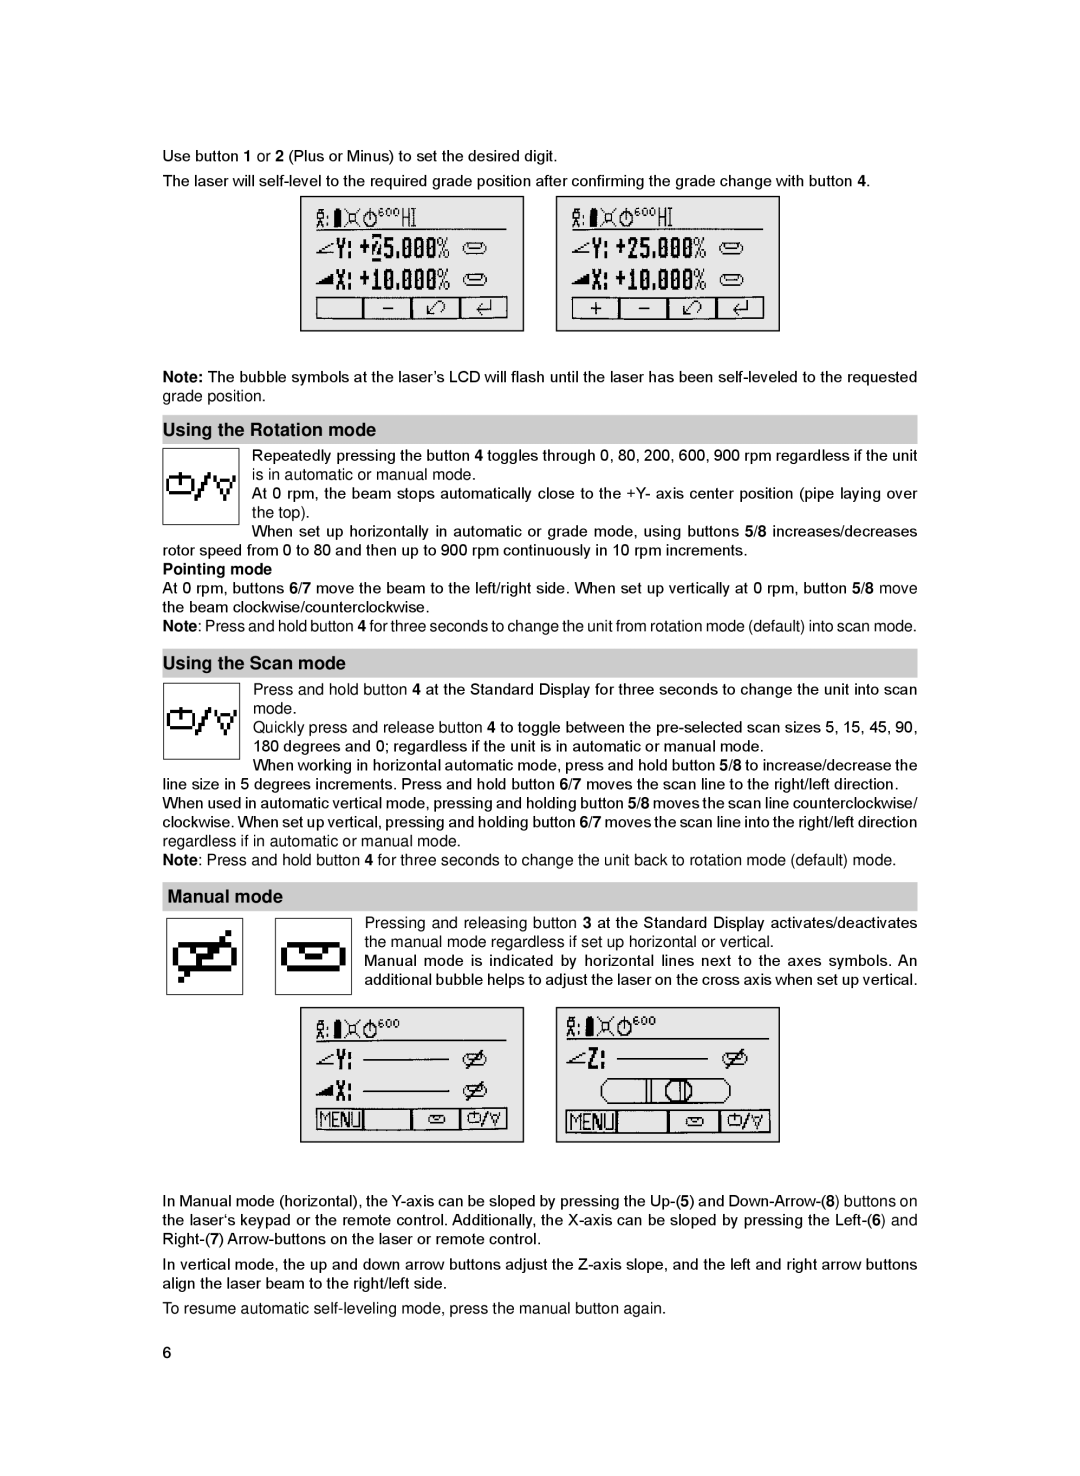
Use button 1 or 2 (Plus or Minus) to set the desired digit.
The laser will
Note: The bubble symbols at the laser’s LCD will flash until the laser has been
Using the Rotation mode
Repeatedly pressing the button 4 toggles through 0, 80, 200, 600, 900 rpm regardless if the unit is in automatic or manual mode.
At 0 rpm, the beam stops automatically close to the +Y- axis center position (pipe laying over the top).
When set up horizontally in automatic or grade mode, using buttons 5/8 increases/decreases rotor speed from 0 to 80 and then up to 900 rpm continuously in 10 rpm increments.
Pointing mode
At 0 rpm, buttons 6/7 move the beam to the left/right side. When set up vertically at 0 rpm, button 5/8 move the beam clockwise/counterclockwise.
Note: Press and hold button 4 for three seconds to change the unit from rotation mode (default) into scan mode.
Using the Scan mode
Press and hold button 4 at the Standard Display for three seconds to change the unit into scan mode.
Quickly press and release button 4 to toggle between the
When working in horizontal automatic mode, press and hold button 5/8 to increase/decrease the line size in 5 degrees increments. Press and hold button 6/7 moves the scan line to the right/left direction. When used in automatic vertical mode, pressing and holding button 5/8 moves the scan line counterclockwise/ clockwise. When set up vertical, pressing and holding button 6/7 moves the scan line into the right/left direction regardless if in automatic or manual mode.
Note: Press and hold button 4 for three seconds to change the unit back to rotation mode (default) mode.
Manual mode
Pressing and releasing button 3 at the Standard Display activates/deactivates the manual mode regardless if set up horizontal or vertical.
Manual mode is indicated by horizontal lines next to the axes symbols. An additional bubble helps to adjust the laser on the cross axis when set up vertical.
In Manual mode (horizontal), the
In vertical mode, the up and down arrow buttons adjust the
To resume automatic
6
