CALIBRATION
Checking Calibration of the Y- and X-Axes
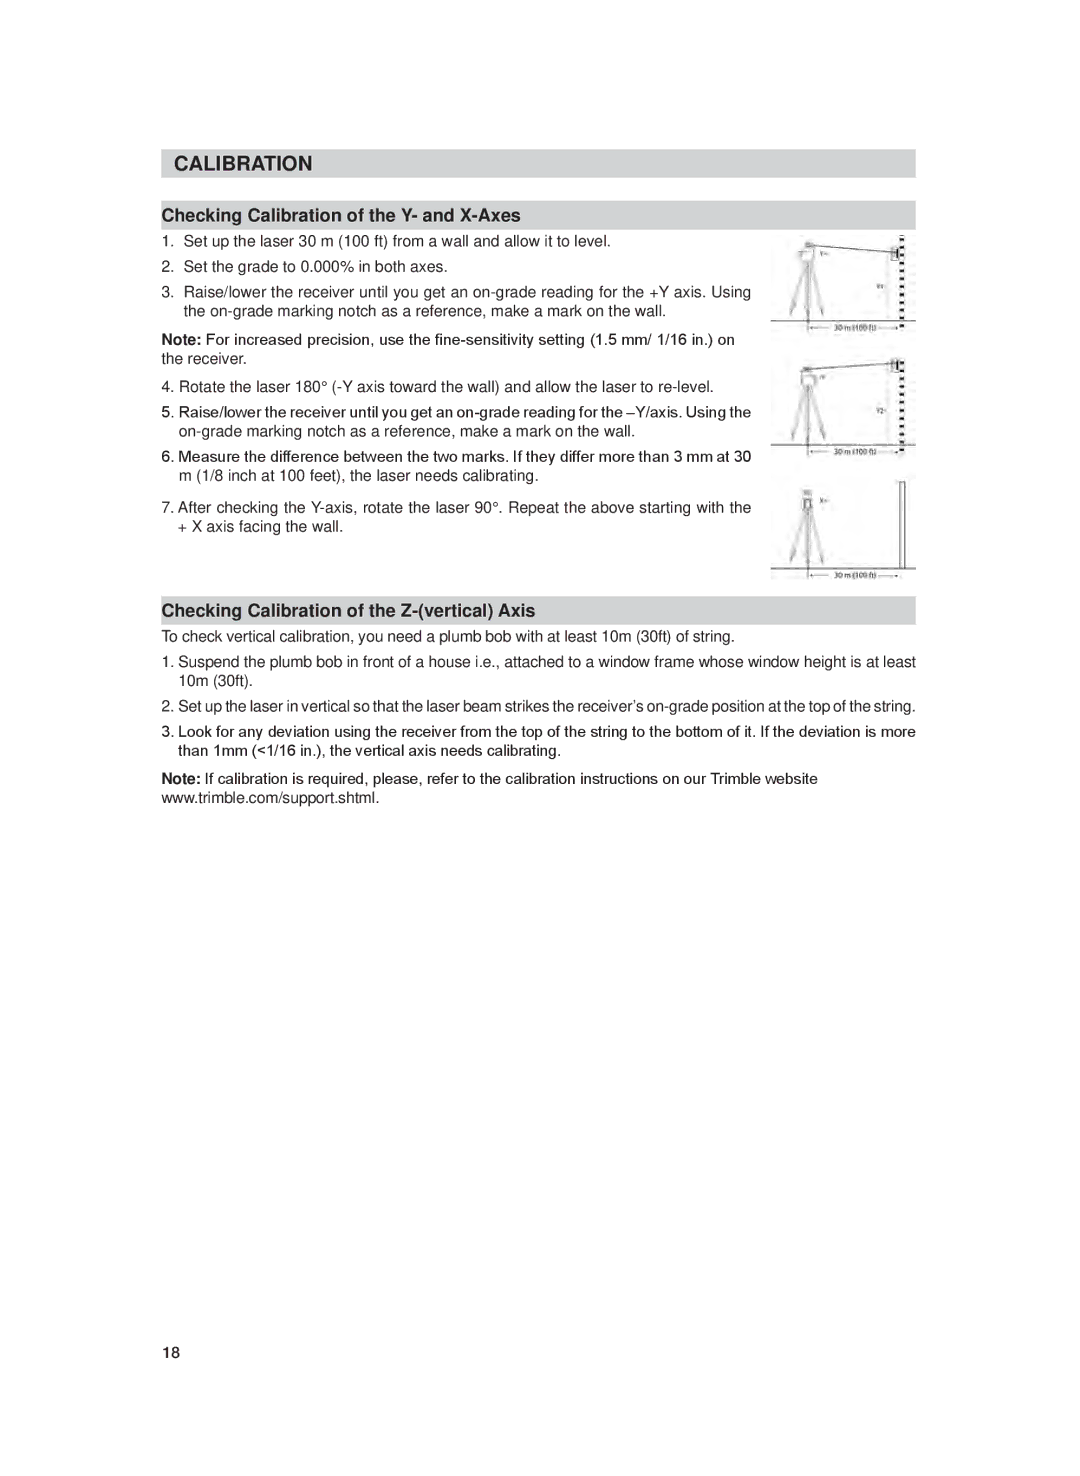
1.Set up the laser 30 m (100 ft) from a wall and allow it to level.
2.Set the grade to 0.000% in both axes.
3.Raise/lower the receiver until you get an
Note: For increased precision, use the
4.Rotate the laser 180°
5.Raise/lower the receiver until you get an
6.Measure the difference between the two marks. If they differ more than 3 mm at 30 m (1/8 inch at 100 feet), the laser needs calibrating.
7.After checking the
Checking Calibration of the Z-(vertical) Axis
To check vertical calibration, you need a plumb bob with at least 10m (30ft) of string.
1.Suspend the plumb bob in front of a house i.e., attached to a window frame whose window height is at least 10m (30ft).
2.Set up the laser in vertical so that the laser beam strikes the receiver’s
3.Look for any deviation using the receiver from the top of the string to the bottom of it. If the deviation is more than 1mm (<1/16 in.), the vertical axis needs calibrating.
Note: If calibration is required, please, refer to the calibration instructions on our Trimble website www.trimble.com/support.shtml.
18
