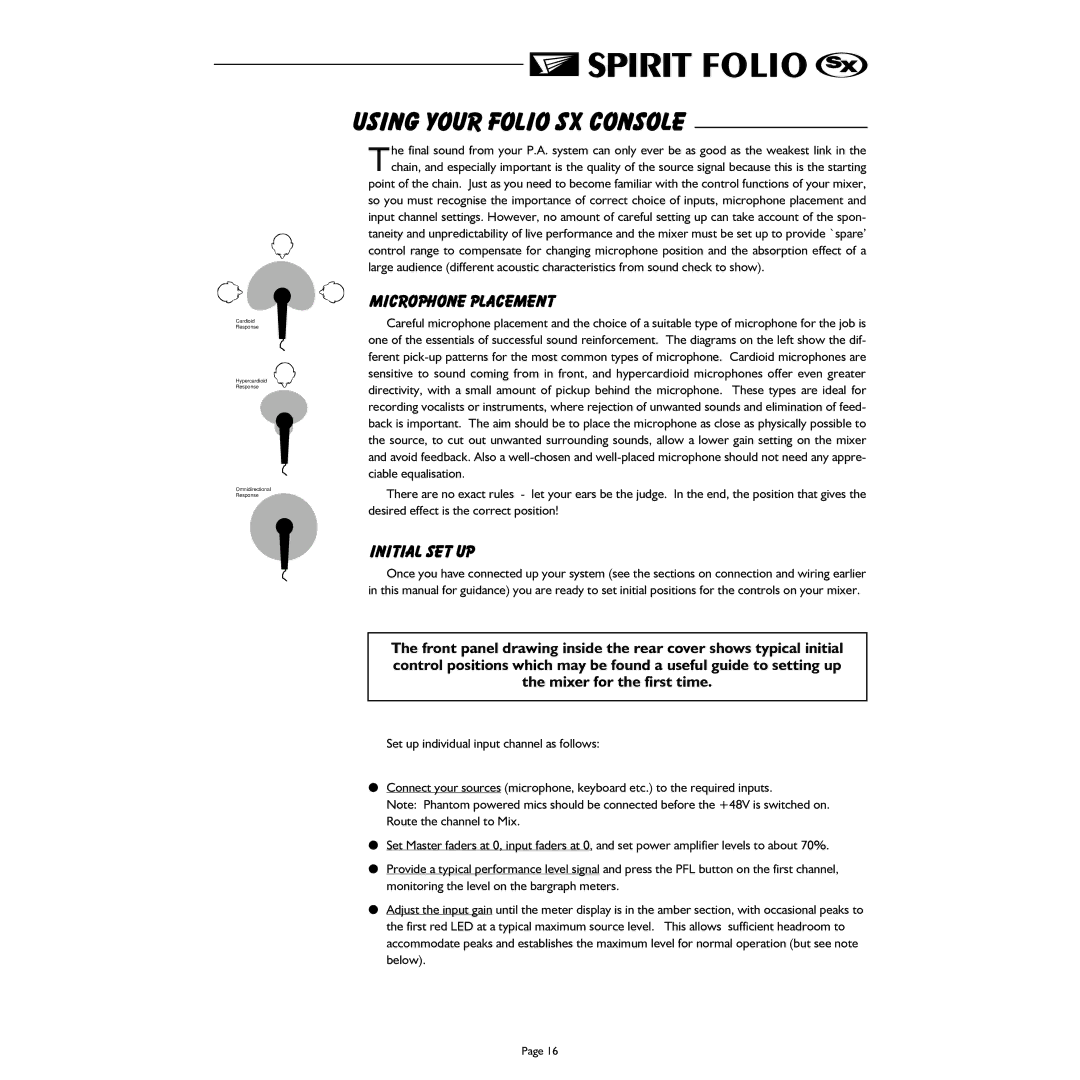
Cardioid
Response
Hypercardioid Response
Omnidirectional Response
USING YOUR FOLIO SX CONSOLE
The final sound from your P.A. system can only ever be as good as the weakest link in the chain, and especially important is the quality of the source signal because this is the starting point of the chain. Just as you need to become familiar with the control functions of your mixer, so you must recognise the importance of correct choice of inputs, microphone placement and input channel settings. However, no amount of careful setting up can take account of the spon- taneity and unpredictability of live performance and the mixer must be set up to provide `spare’ control range to compensate for changing microphone position and the absorption effect of a
large audience (different acoustic characteristics from sound check to show).
Microphone Placement
Careful microphone placement and the choice of a suitable type of microphone for the job is one of the essentials of successful sound reinforcement. The diagrams on the left show the dif- ferent
There are no exact rules - let your ears be the judge. In the end, the position that gives the desired effect is the correct position!
Initial Set Up
Once you have connected up your system (see the sections on connection and wiring earlier in this manual for guidance) you are ready to set initial positions for the controls on your mixer.
The front panel drawing inside the rear cover shows typical initial control positions which may be found a useful guide to setting up the mixer for the first time.
Set up individual input channel as follows:
lConnect your sources (microphone, keyboard etc.) to the required inputs.
Note: Phantom powered mics should be connected before the +48V is switched on. Route the channel to Mix.
lSet Master faders at 0, input faders at 0, and set power amplifier levels to about 70%.
lProvide a typical performance level signal and press the PFL button on the first channel, monitoring the level on the bargraph meters.
lAdjust the input gain until the meter display is in the amber section, with occasional peaks to the first red LED at a typical maximum source level. This allows sufficient headroom to accommodate peaks and establishes the maximum level for normal operation (but see note below).
Page 16