DESCRIPTION OF FUNCTIONS
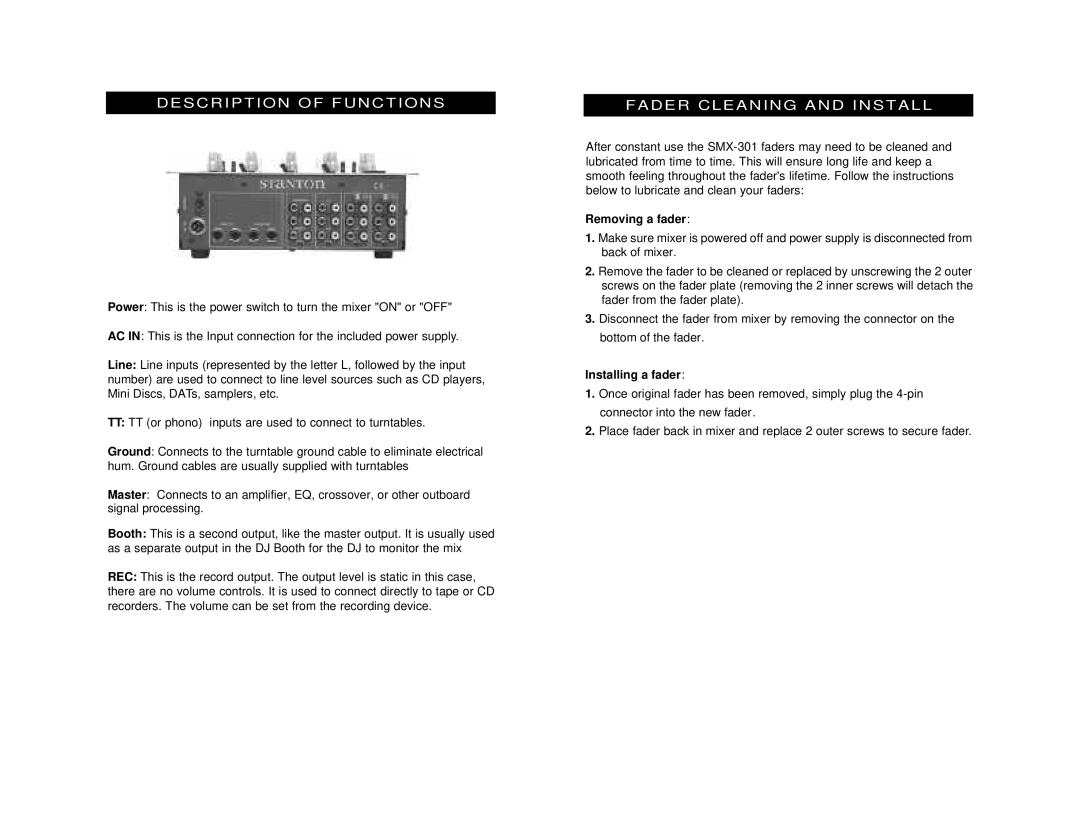
Power: This is the power switch to turn the mixer "ON" or "OFF"
AC IN: This is the Input connection for the included power supply.
Line: Line inputs (represented by the letter L, followed by the input number) are used to connect to line level sources such as CD players, Mini Discs, DATs, samplers, etc.
TT:TT (or phono) inputs are used to connect to turntables.
Ground: Connects to the turntable ground cable to eliminate electrical hum. Ground cables are usually supplied with turntables
Master: Connects to an amplifier, EQ, crossover, or other outboard signal processing.
Booth: This is a second output, like the master output. It is usually used as a separate output in the DJ Booth for the DJ to monitor the mix
REC: This is the record output. The output level is static in this case, there are no volume controls. It is used to connect directly to tape or CD recorders. The volume can be set from the recording device.
FADER CLEANING AND INST A L L
After constant use the
Removing a fader:
1.Make sure mixer is powered off and power supply is disconnected from back of mixer.
2.Remove the fader to be cleaned or replaced by unscrewing the 2 outer screws on the fader plate (removing the 2 inner screws will detach the fader from the fader plate).
3.Disconnect the fader from mixer by removing the connector on the bottom of the fader.
Installing a fader:
1.Once original fader has been removed, simply plug the
2.Place fader back in mixer and replace 2 outer screws to secure fader.