3-4. Connecting the USB Cable to the PC
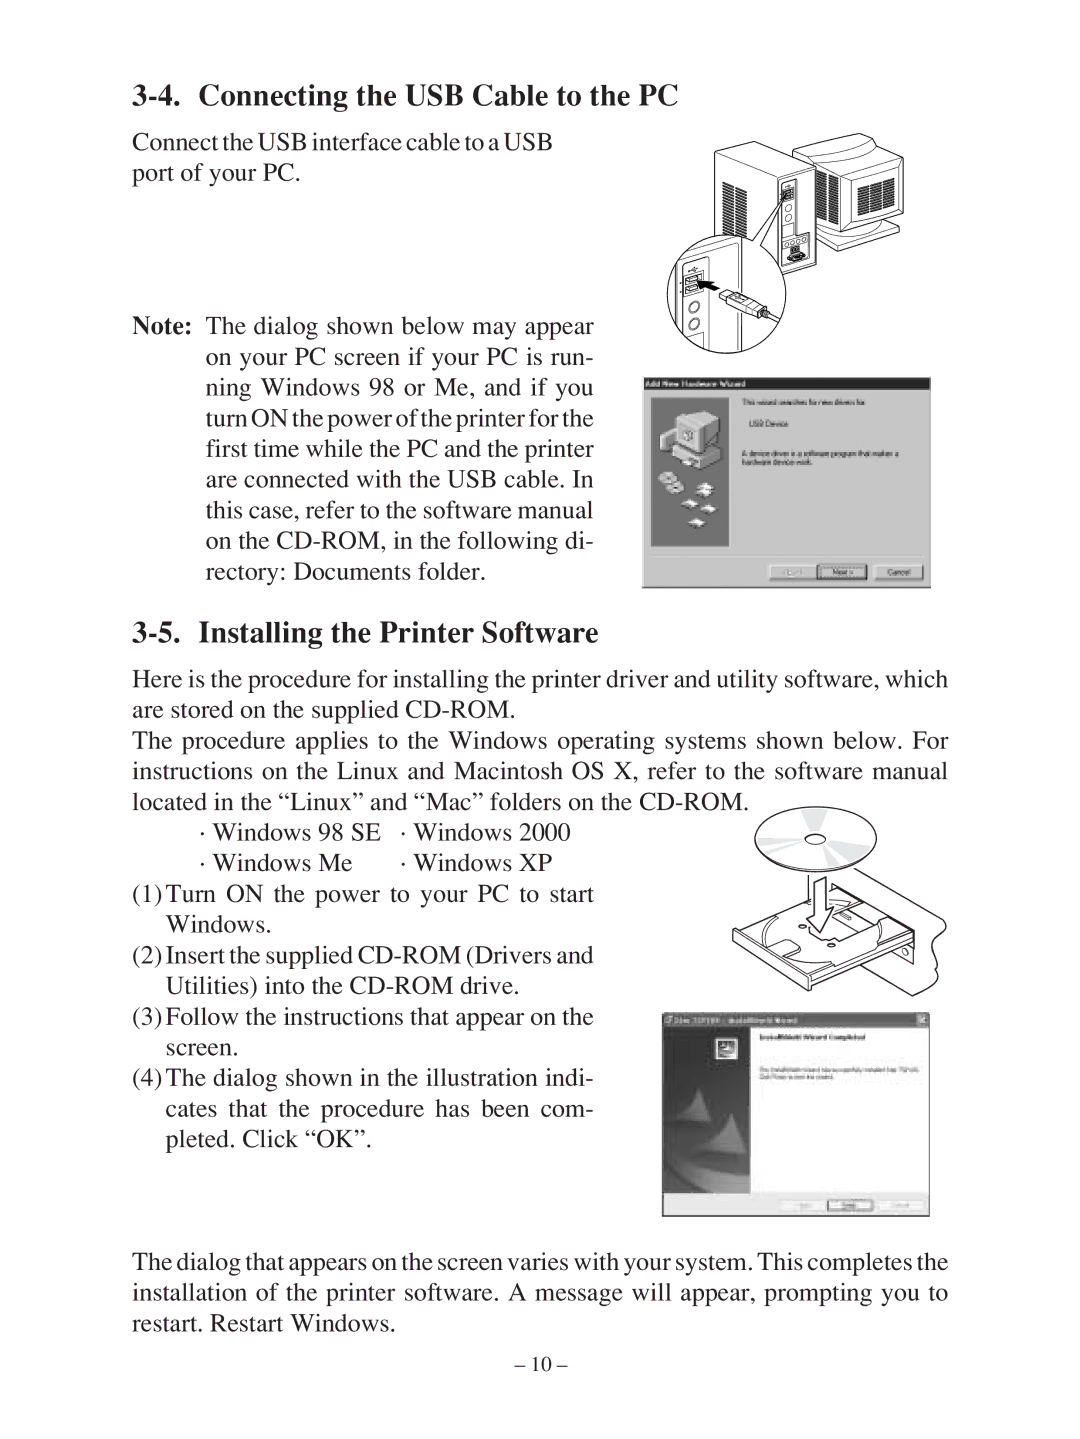
Connect the USB interface cable to a USB port of your PC.
Note: The dialog shown below may appear on your PC screen if your PC is run- ning Windows 98 or Me, and if you turn ON the power of the printer for the first time while the PC and the printer are connected with the USB cable. In this case, refer to the software manual on the
3-5. Installing the Printer Software
Here is the procedure for installing the printer driver and utility software, which are stored on the supplied
The procedure applies to the Windows operating systems shown below. For instructions on the Linux and Macintosh OS X, refer to the software manual located in the “Linux” and “Mac” folders on the
· Windows 98 SE | · Windows 2000 |
· Windows Me | · Windows XP |
(1) Turn ON the power to your PC to start Windows.
(2) Insert the supplied
(3)Follow the instructions that appear on the screen.
(4)The dialog shown in the illustration indi- cates that the procedure has been com- pleted. Click “OK”.
The dialog that appears on the screen varies with your system. This completes the installation of the printer software. A message will appear, prompting you to restart. Restart Windows.
– 10 –