8. Installation is now complete.
How to Use
Connecting the Console
3.5mm
Power PS/2 Audio In connector connector
|
|
|
|
|
| DVI |
VGA |
| USB |
| |||
connector | connector | connector | ||||
switch
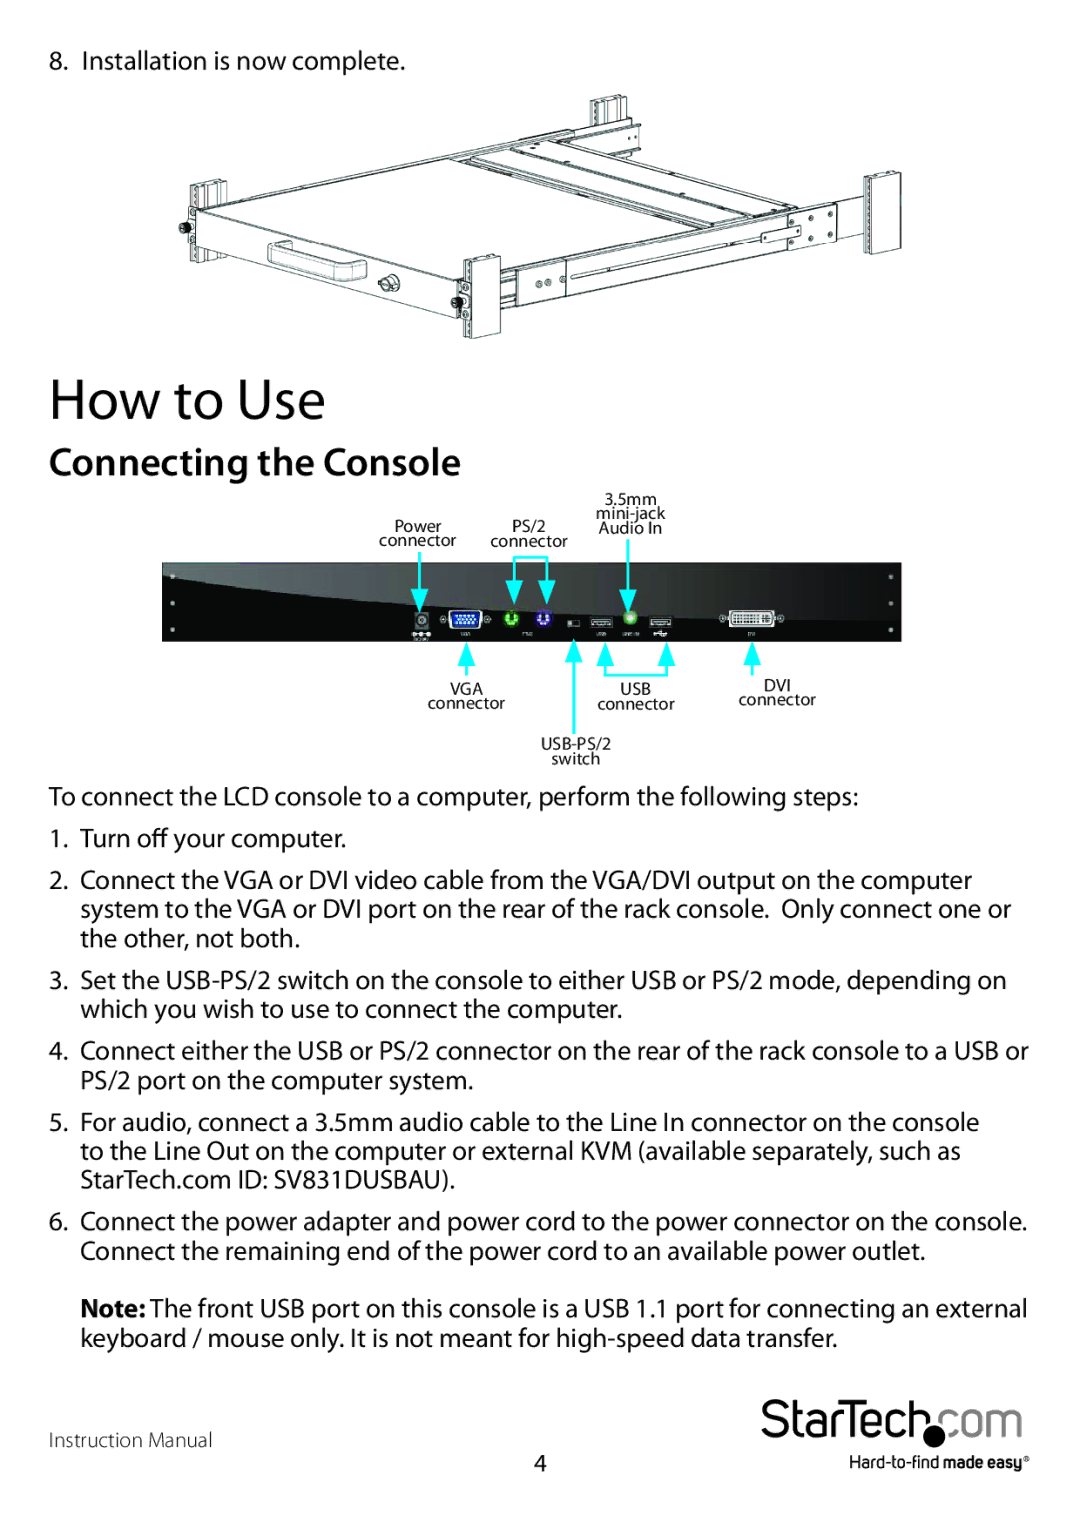
To connect the LCD console to a computer, perform the following steps:
1.Turn off your computer.
2.Connect the VGA or DVI video cable from the VGA/DVI output on the computer system to the VGA or DVI port on the rear of the rack console. Only connect one or the other, not both.
3.Set the
4.Connect either the USB or PS/2 connector on the rear of the rack console to a USB or PS/2 port on the computer system.
5.For audio, connect a 3.5mm audio cable to the Line In connector on the console to the Line Out on the computer or external KVM (available separately, such as StarTech.com ID: SV831DUSBAU).
6.Connect the power adapter and power cord to the power connector on the console. Connect the remaining end of the power cord to an available power outlet.
Note: The front USB port on this console is a USB 1.1 port for connecting an external keyboard / mouse only. It is not meant for
Instruction Manual
4
