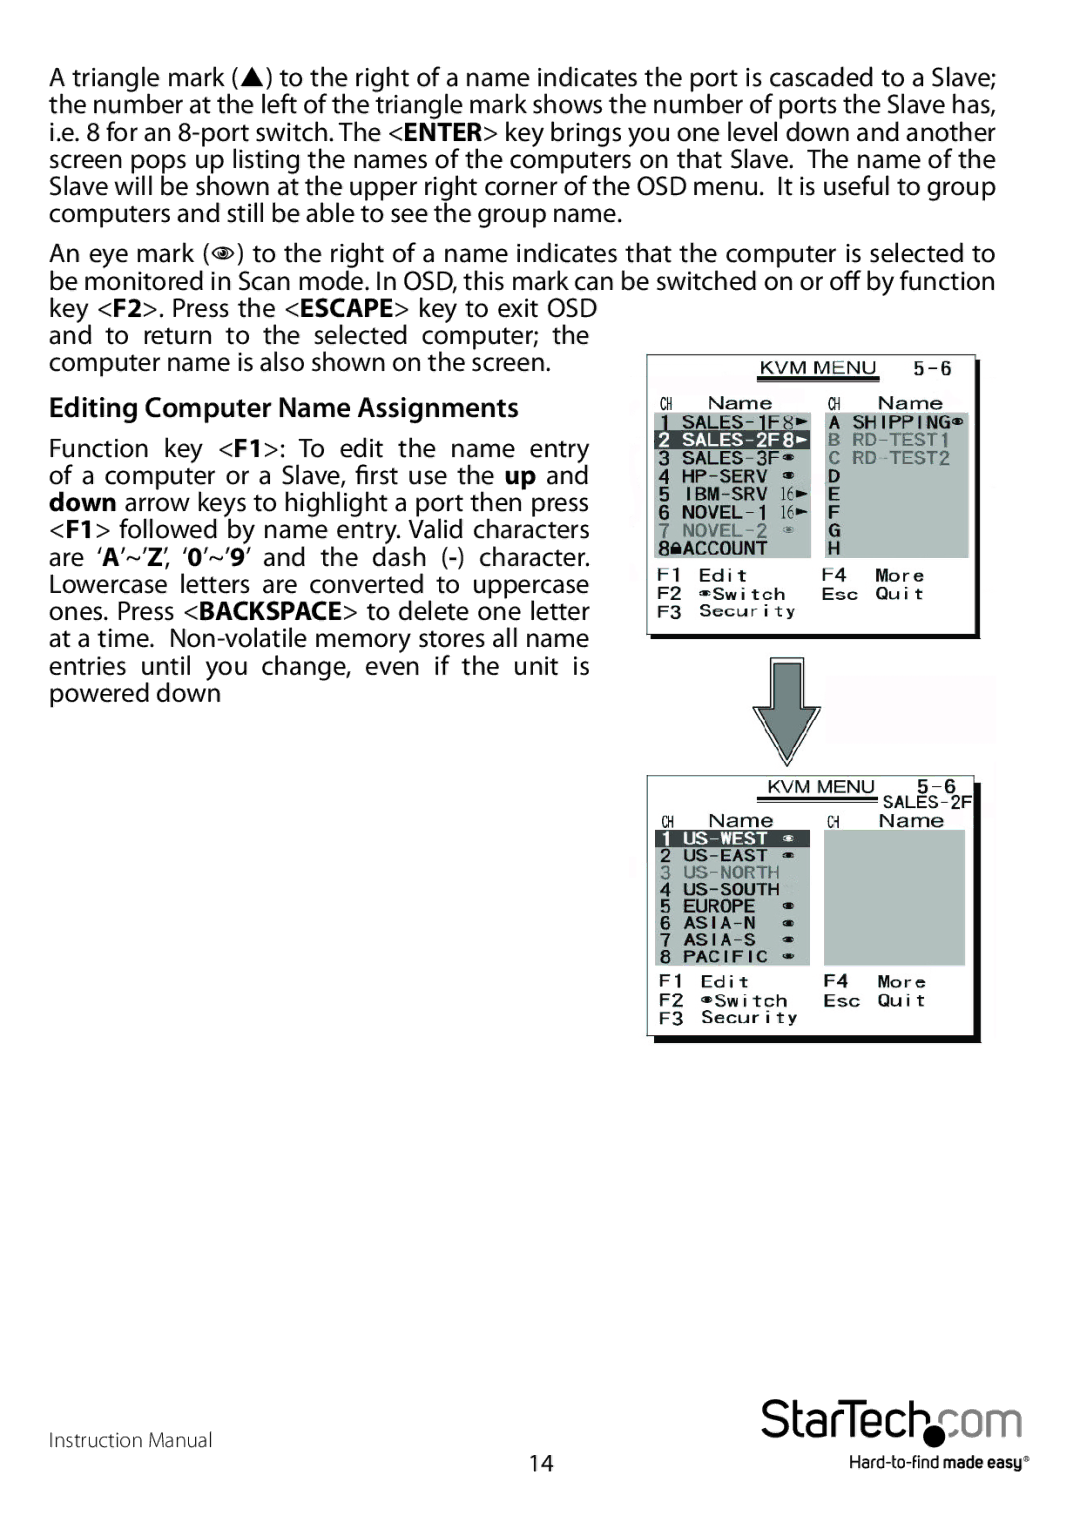
A triangle mark (p) to the right of a name indicates the port is cascaded to a Slave; the number at the left of the triangle mark shows the number of ports the Slave has, i.e. 8 for an
An eye mark (N) to the right of a name indicates that the computer is selected to be monitored in Scan mode. In OSD, this mark can be switched on or off by function key <F2>. Press the <ESCAPE> key to exit OSD
and to return to the selected computer; the computer name is also shown on the screen.
Editing Computer Name Assignments
Function key <F1>: To edit the name entry of a computer or a Slave, first use the up and down arrow keys to highlight a port then press <F1> followed by name entry. Valid characters are ‘A’~’Z’, ‘0’~’9’ and the dash
Instruction Manual
14
