SV1654DX4I, SV3254DX4I specifications
StarTech.com offers a range of high-quality KVM switches that allow users to manage multiple computers from a single workstation. Among the notable models in their lineup are the SV3254DX4I and SV1654DX4I, both designed to enhance productivity in various professional environments, whether for IT management, data centers, or office applications.The SV3254DX4I is a powerful 32-port dual-monitor KVM switch, enabling users to control up to 32 computers or servers from a single keyboard, mouse, and two monitors. Its dual-display support is especially advantageous for multitasking, as it allows users to view outputs from multiple systems simultaneously. This KVM switch supports resolutions up to 4K at 60Hz, ensuring that high-definition images are rendered with clarity and precision. Additionally, it features a combination of USB and PS/2 connectivity for compatibility with a wide range of devices.
On the other hand, the SV1654DX4I is a 16-port dual-monitor KVM switch, designed for environments that require a more compact solution while still offering robust capabilities. Like its larger counterpart, this model also supports dual-display setups and resolution up to 4K at 60Hz, making it suitable for high-resolution applications. The versatility of the SV1654DX4I is enhanced by its supporting features, including audio support, which allows for smooth integration of sound systems, and an intuitive interface for seamless switching between connected devices.
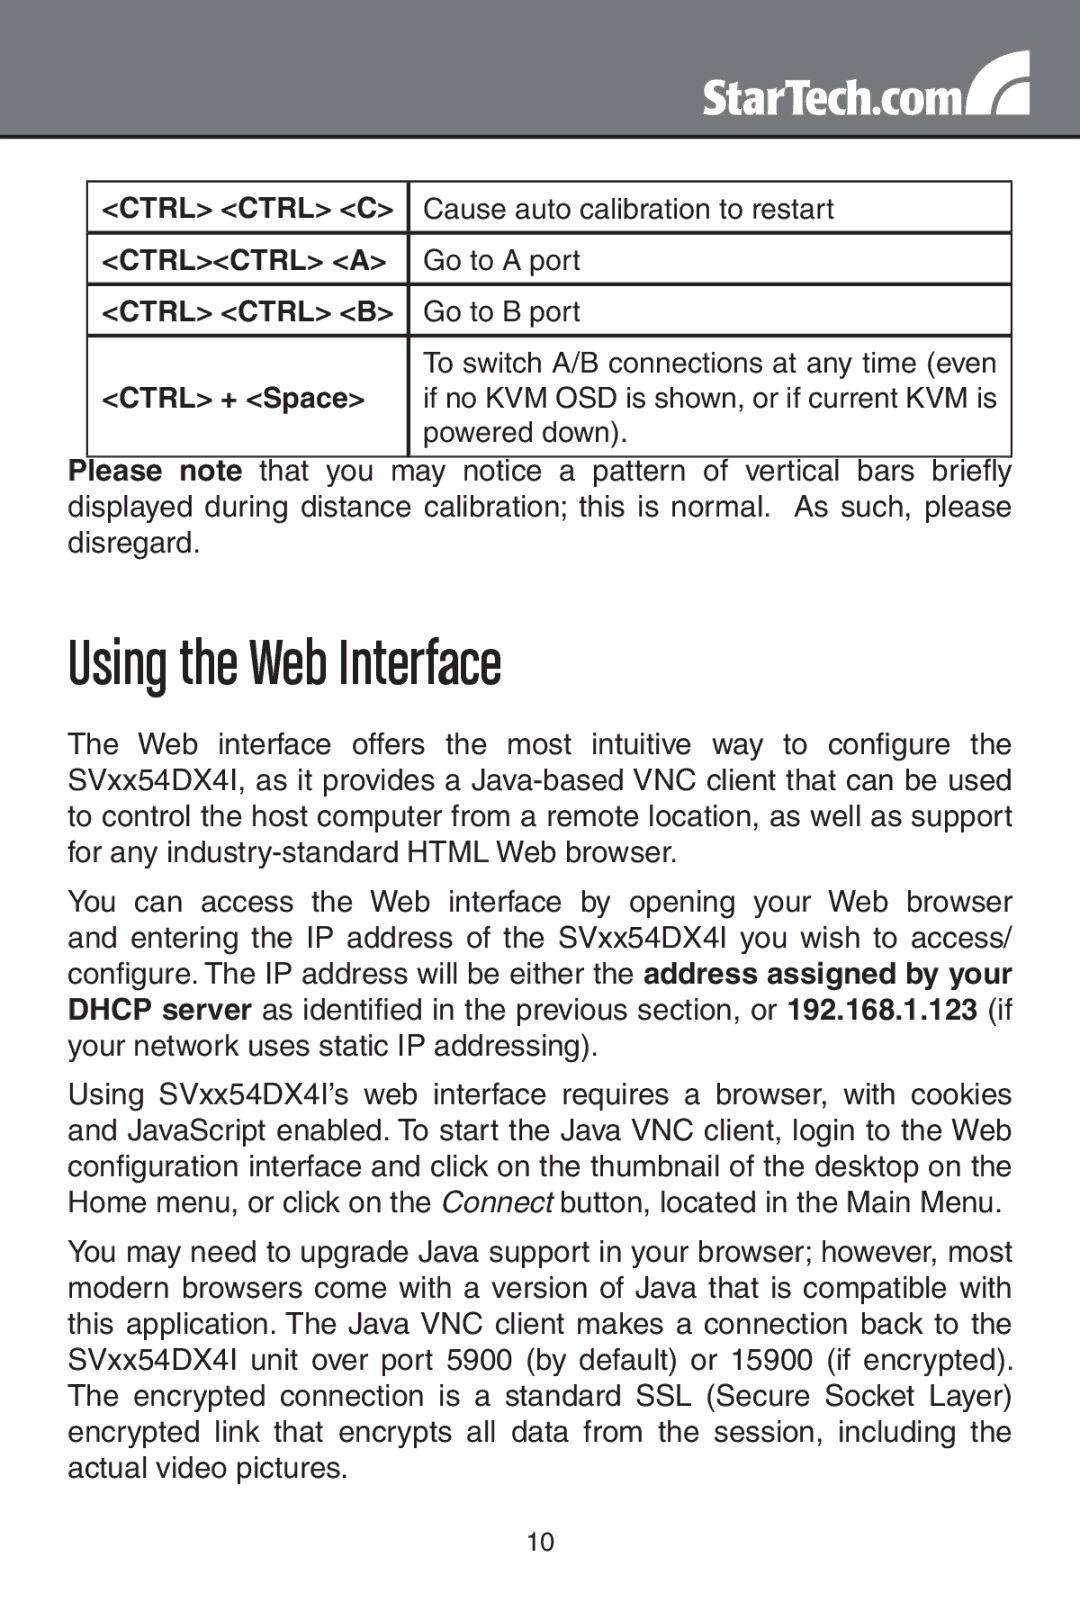
Common features of both KVM switches include a user-friendly front-panel interface and hotkey controls, providing quick access to different computers or servers with ease. They also incorporate advanced technologies such as EDID emulation, which helps maintain optimal video quality by ensuring that the connected monitors receive and retain the necessary display settings.
Additionally, both models are designed with robust security features, including multi-level password protection, ensuring that only authorized users have access to the connected systems. For secure environments, these KVM switches are ideal choices.
Overall, the StarTech.com SV3254DX4I and SV1654DX4I KVM switches present a winning combination of performance, reliability, and user-friendly features, making them excellent tools for professionals looking to streamline operations and enhance productivity in their technology deployments.

