Stockton Log Effect Stove Range specifications
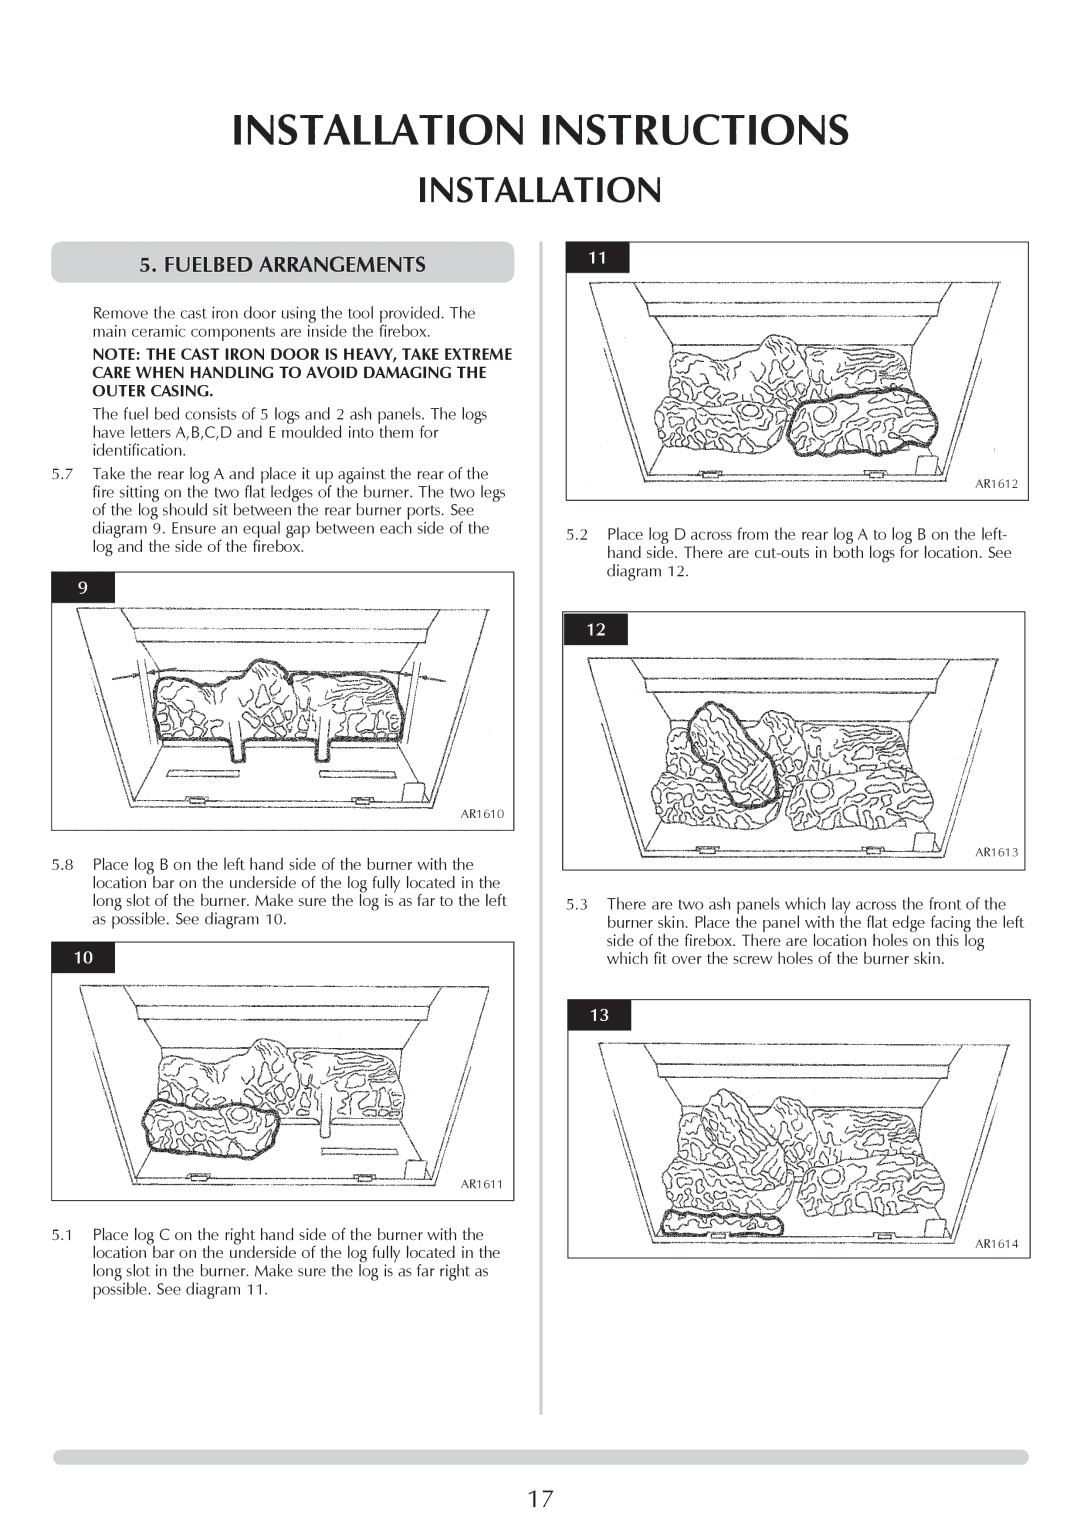
The Stovax Stockton Log Effect Stove Range is a celebrated collection that brings the warmth and ambiance of a traditional log fire into modern homes. Known for its innovative design and high efficiency, this range offers a perfect blend of style and practicality, making it a popular choice among homeowners and interior designers alike.One of the standout features of the Stockton Log Effect Stove Range is its realistic log effect fuel bed, which creates an inviting and cozy atmosphere. This clever design simulates the look of real logs burning, providing a comforting focal point within any room. The stove is available in various sizes, ensuring that there's a model to fit any space, whether large or small.
The efficacy of the Stockton stoves is further enhanced by advanced technology that promotes efficient heat output. Many models within the range come equipped with a multi-fuel capability, allowing users to choose between burning logs, smokeless fuel, or even coal, depending on availability and preference. This versatility not only maximizes the stove's usability but also reduces reliance on one type of fuel, catering to different heating needs throughout the year.
Another attractive characteristic of the Stovax Stockton Log Effect Stove is its high efficiency rating, which ensures that more heat is extracted from the fuel while minimizing emissions. The inclusion of a clean burn technology helps to burn off gases and particles before they enter the flue, leading to a cleaner, more environmentally friendly burn. This feature not only benefits the environment but also contributes to a more efficient heating source that saves energy costs.
The aesthetic appeal of the Stockton range is further enhanced by its sleek and contemporary design. Available in a variety of finishes and colors, including traditional black and modern gray, these stoves can seamlessly blend into both traditional and contemporary interiors.
Safety is also a priority within the design of these stoves. Many models feature built-in safety measures such as a secure door mechanism and effective air controls, ensuring that users can operate the stove easily and safely.
In conclusion, the Stovax Stockton Log Effect Stove Range combines traditional design elements with modern technology and versatility. It stands out for its realistic log effect, efficiency, and safety features, making it an ideal choice for anyone looking to enhance their living space with both warmth and style.

