INSTALLATION
Completing the Installation
IMPORTANT NOTE: Turn on the water supply and check all fittings for leaks. Make certain the electrical harness is attached to the solenoid.
Let your customer know that the ice maker will not fill with water immediately, and that the first batch of ice produced should be discarded. Allow 24 to 36 hours to get proper ice production.
IMPORTANT NOTE: When installed in a corner, the door swing may be limited due to handle contact with the wall or cabinet face.
Leveling
Level the unit by turning the leveling legs counterclock- wise to raise or clockwise to lower.
HINT: To assist you in adjusting the front leveling legs up or down, use a standard screwdriver blade and place it in the front leg.
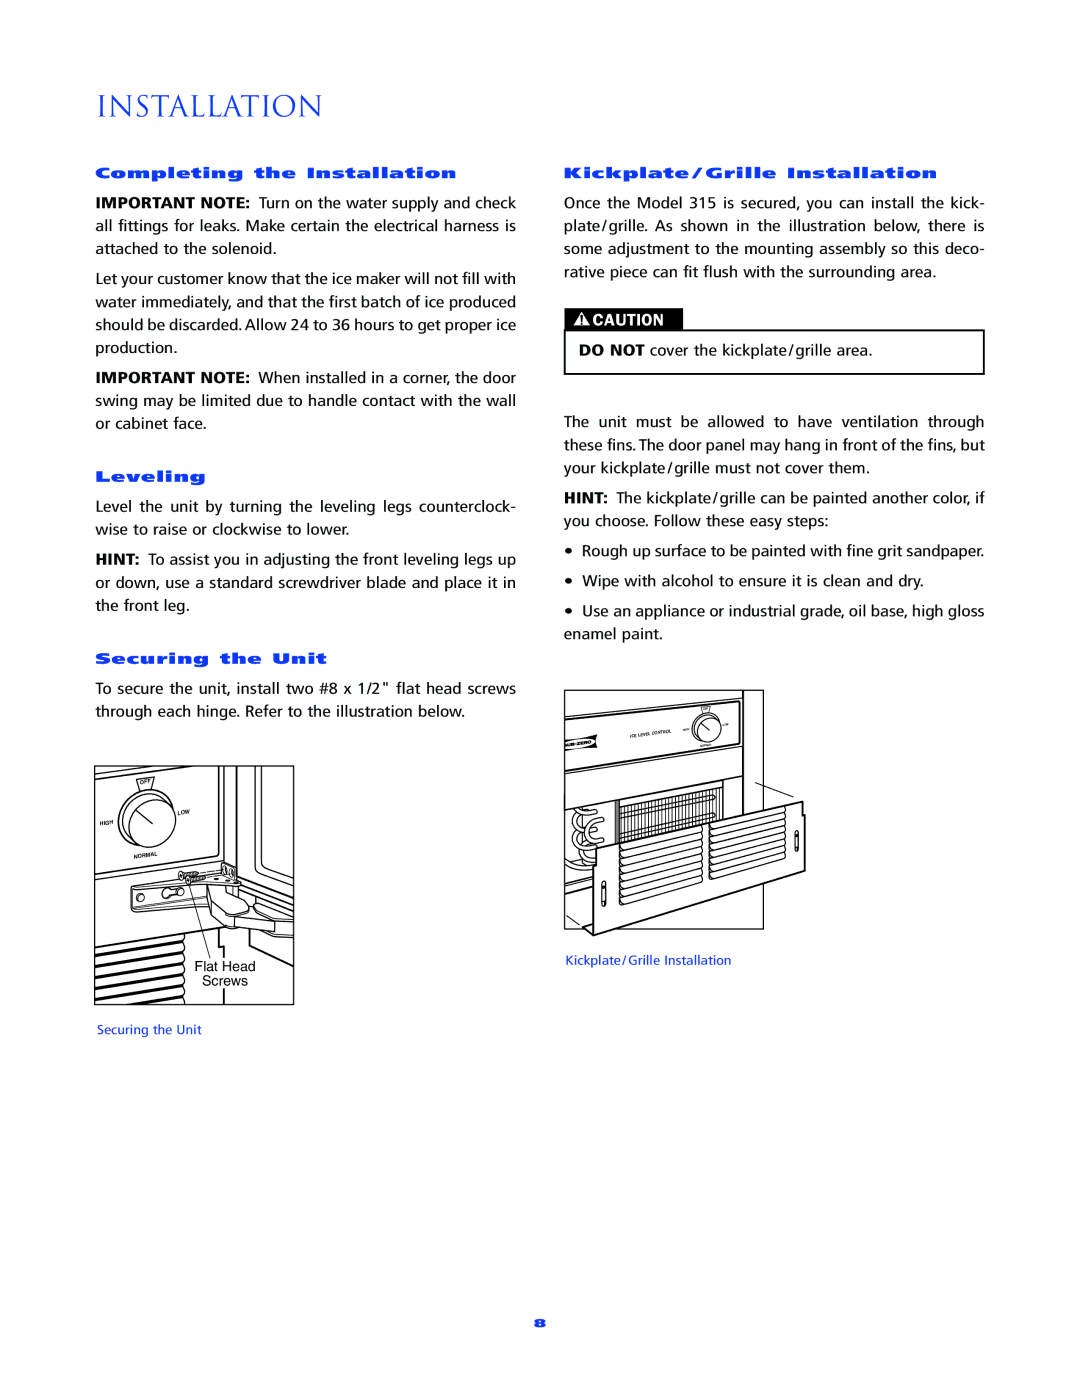
Securing the Unit
To secure the unit, install two #8 x 1/2" flat head screws through each hinge. Refer to the illustration below.
OFF |
LOW |
HIGH |
OL |
NTR |
NORMAL |
Flat Head |
Screws |
Securing the Unit
Kickplate / Grille Installation
Once the Model 315 is secured, you can install the kick- plate/grille. As shown in the illustration below, there is some adjustment to the mounting assembly so this deco- rative piece can fit flush with the surrounding area.
![]() CAUTION
CAUTION
DO NOT cover the kickplate/grille area.
The unit must be allowed to have ventilation through these fins. The door panel may hang in front of the fins, but your kickplate/grille must not cover them.
HINT: The kickplate/grille can be painted another color, if you choose. Follow these easy steps:
•Rough up surface to be painted with fine grit sandpaper.
•Wipe with alcohol to ensure it is clean and dry.
•Use an appliance or industrial grade, oil base, high gloss enamel paint.
| OFF |
| LOW |
| HIGH |
ICE LEVEL | CONTROL |
| NORMAL |
Kickplate/Grille Installation
8