50 | X I I . M a i n t e n a n c e |
E. PNEUMATIC TIRES | |
| 1. Do not use this chair if any of the tires are |
| under- or |
| 2. Low pressure in a tire may cause the chair to |
| veer to one side and result in loss of control. |
| 3. An |
| 4. Never use a gas station pump to inflate a tire. |
| Such pumps provide air at high volume, and |
may cause tire to burst.
1.Check for signs of wear and correct air pressure in pneumatic tires weekly.
2.For best performance, inflate tires to the same pressure level, as shown on the tire sidewall:
•8" & 9" (200 & 250mm) pneumatic casters– 30 to 40 psi (207 to 275 kpa)
•12" (310 mm) pneumatic drive wheels– 35 to 45 psi (240 to 310 kpa)
3.CAUTION– To prevent tire damage:
•Use a hand pump (or a low volume air pump) to inflate tires.
•Use a tire gauge to check pressure.
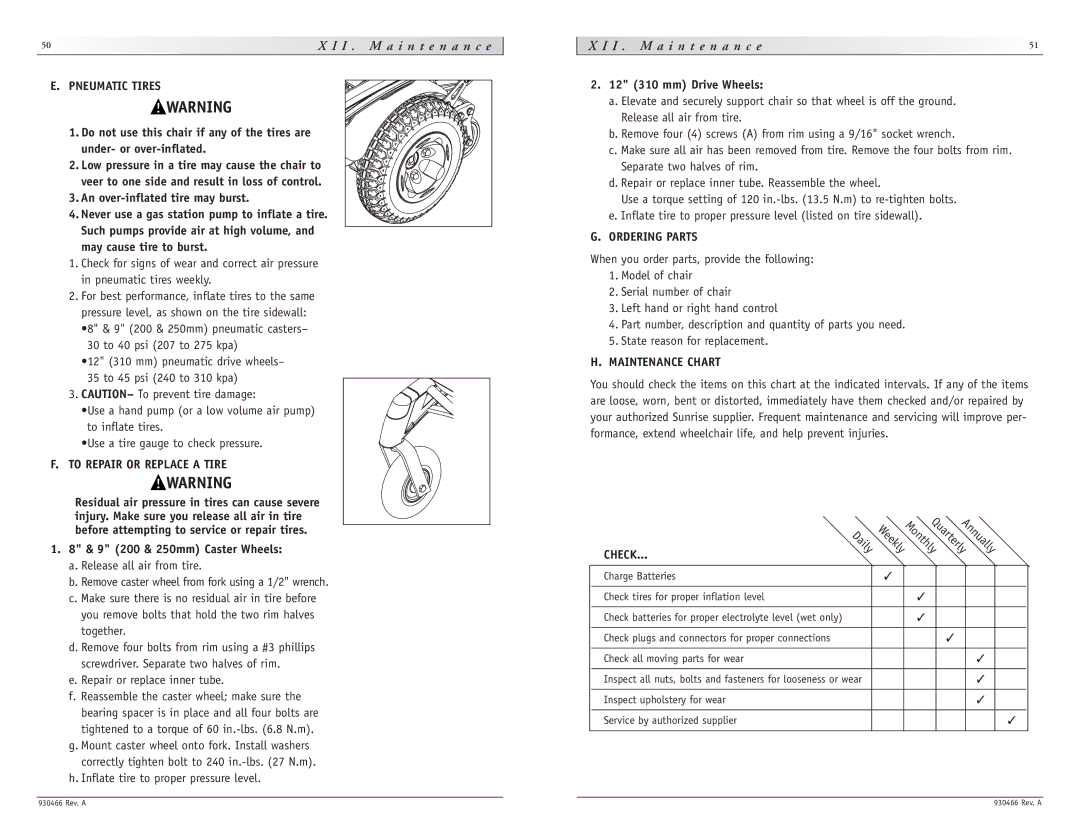
F.TO REPAIR OR REPLACE A TIRE
Residual air pressure in tires can cause severe injury. Make sure you release all air in tire before attempting to service or repair tires.
1.8" & 9" (200 & 250mm) Caster Wheels:
a.Release all air from tire.
b.Remove caster wheel from fork using a 1/2" wrench.
c.Make sure there is no residual air in tire before you remove bolts that hold the two rim halves together.
d.Remove four bolts from rim using a #3 phillips screwdriver. Separate two halves of rim.
e.Repair or replace inner tube.
f.Reassemble the caster wheel; make sure the bearing spacer is in place and all four bolts are tightened to a torque of 60
g.Mount caster wheel onto fork. Install washers correctly tighten bolt to 240
h.Inflate tire to proper pressure level.
|
| X | I | I | . |
| M | a | i | n | t e | n | a | n | c | e |
|
|
|
|
|
|
|
|
|
|
|
|
|
|
|
|
|
|
|
|
|
|
|
|
|
|
|
|
| 51 |
2.12" (310 mm) Drive Wheels:
a.Elevate and securely support chair so that wheel is off the ground. Release all air from tire.
b.Remove four (4) screws (A) from rim using a 9/16" socket wrench.
c.Make sure all air has been removed from tire. Remove the four bolts from rim. Separate two halves of rim.
d.Repair or replace inner tube. Reassemble the wheel.
Use a torque setting of 120
e.Inflate tire to proper pressure level (listed on tire sidewall).
G. ORDERING PARTS
When you order parts, provide the following:
1.Model of chair
2.Serial number of chair
3.Left hand or right hand control
4.Part number, description and quantity of parts you need.
5.State reason for replacement.
H. MAINTENANCE CHART
You should check the items on this chart at the indicated intervals. If any of the items are loose, worn, bent or distorted, immediately have them checked and/or repaired by your authorized Sunrise supplier. Frequent maintenance and servicing will improve per- formance, extend wheelchair life, and help prevent injuries.
Daily WeeklyMonthlyQuarterlyAnnually | ||||||
CHECK... |
|
|
|
|
|
|
|
|
|
|
|
|
|
Charge Batteries | ✓ |
|
|
|
| |
|
|
|
|
|
|
|
Check tires for proper inflation level |
| ✓ |
|
|
| |
|
|
|
|
|
|
|
Check batteries for proper electrolyte level (wet only) |
| ✓ |
|
|
| |
|
|
|
|
|
|
|
Check plugs and connectors for proper connections |
|
| ✓ |
|
| |
|
|
|
|
|
|
|
Check all moving parts for wear |
|
|
| ✓ |
| |
|
|
|
|
|
|
|
Inspect all nuts, bolts and fasteners for looseness or wear |
|
|
| ✓ |
| |
|
|
|
|
|
|
|
Inspect upholstery for wear |
|
|
| ✓ |
| |
|
|
|
|
|
|
|
Service by authorized supplier |
|
|
|
| ✓ | |
|
|
|
|
|
|
|
930466 Rev. A | 930466 Rev. A |