5016T-TB specifications
The Super Micro Computer 5016T-TB is a powerful and versatile server chassis designed to meet the increasing demands of data centers and enterprise environments. Tailored for high-performance computing, it combines a robust architecture with advanced technologies, making it an ideal choice for various applications, including cloud computing, virtualization, and mission-critical workloads.One of the standout features of the 5016T-TB is its compact form factor, which optimizes space in server racks while providing exceptional performance. The chassis supports dual Intel Xeon processors, allowing users to harness substantial computing power for processing complex tasks. Additionally, it accommodates up to 512GB of DDR3 ECC memory, ensuring data integrity and stability, crucial for applications in need of reliability.
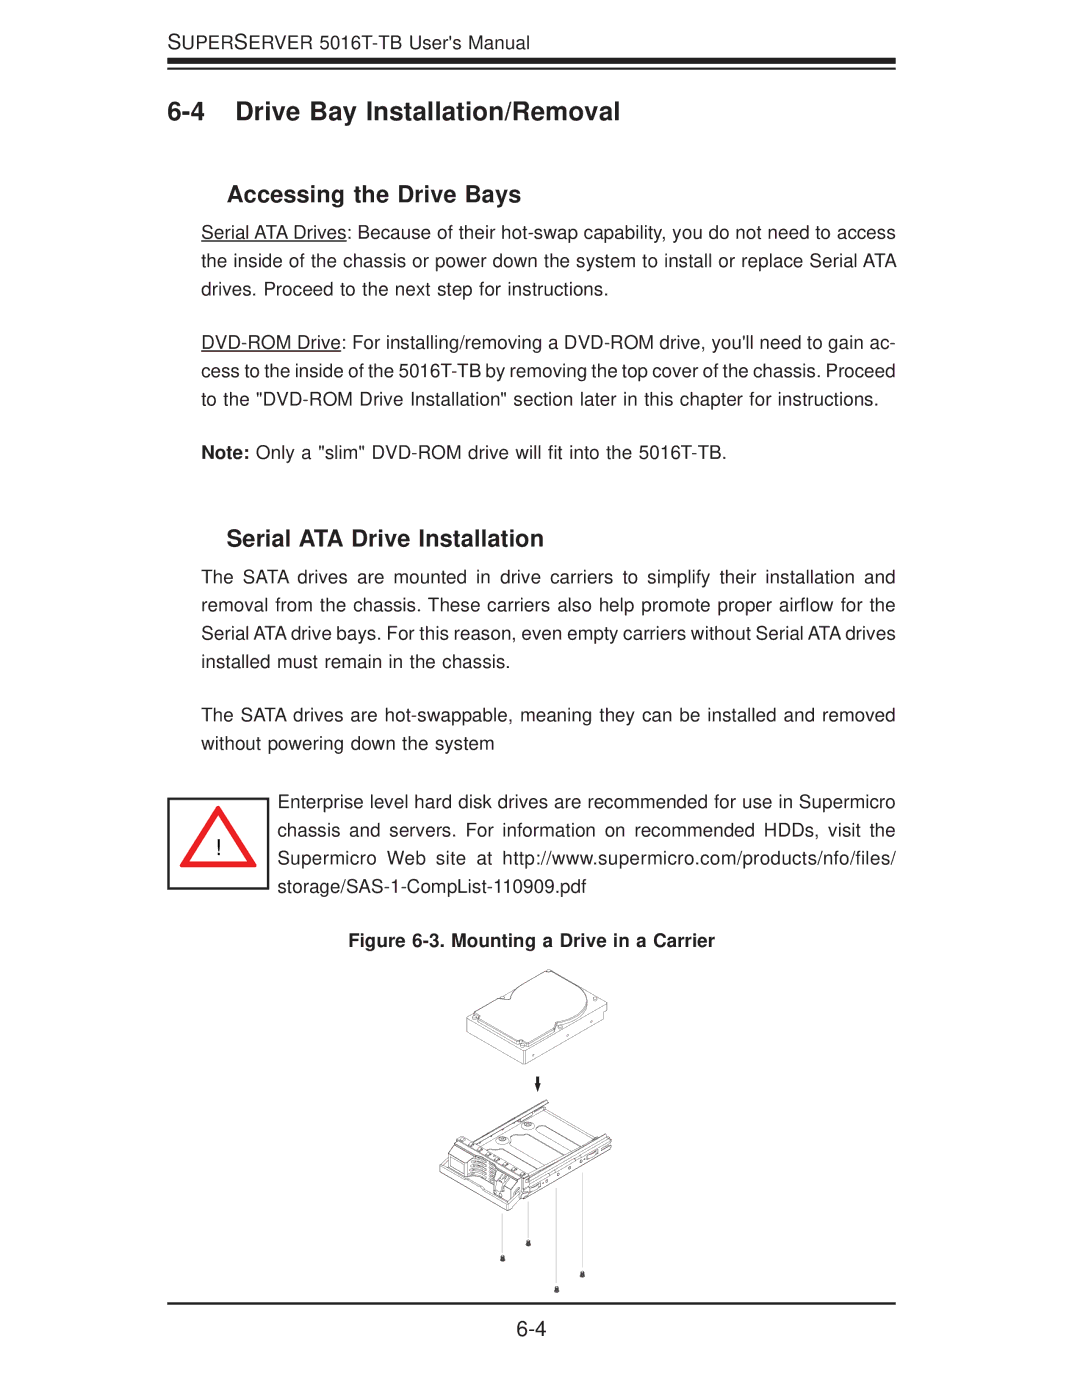
The server is equipped with six hot-swap drive bays, supporting both SAS and SATA drives, which allows for rapid data access and redundancy. This design contributes to enhanced data security and availability, as swapping out drives can be done without interrupting operations. The 5016T-TB supports multiple RAID configurations, providing users with flexible options for storage management and fault tolerance.
With a focus on connectivity, the Super Micro 5016T-TB features several PCI Express slots, enabling users to expand functionality with additional networking or storage cards. It comes with onboard Intel Gigabit Ethernet ports, ensuring high-speed network connections essential for data-intensive applications. The server chassis is also designed for efficient cooling, incorporating optimized airflow patterns to maintain optimal operating temperatures, which prolongs the lifespan of components and enhances overall performance.
In terms of energy efficiency, the 5016T-TB is compliant with various environmental standards and features advanced power management technologies. This not only reduces operational costs but also decreases the carbon footprint of the data center.
Another significant characteristic of this server is its management capabilities. Supermicro provides dedicated management tools for monitoring system health, temperature, and power consumption, which are essential for proactive infrastructure management.
With its robust build, substantial scalability, and advanced features, the Super Micro Computer 5016T-TB stands out as a reliable option for businesses looking to enhance their computing infrastructure. Whether for virtualized environments or resource-intensive applications, it represents a commitment to delivering high performance and flexibility for diverse IT needs.