PB13 specifications
The SV Sound PB13 is a powerful subwoofer that has gained recognition among audiophiles and home theater enthusiasts for its impressive performance and advanced technologies. Known for its deep and accurate bass response, the PB13 is an ideal choice for those seeking to elevate their audio experience, whether for music, movies, or gaming.One of the standout features of the PB13 is its large, high-excursion 13.5-inch driver, designed to deliver rich low-end frequencies. This driver, combined with a high-powered 1000-watt RMS amplifier, allows the subwoofer to produce deep bass that is both loud and precise. This ensures that users are enveloped in a full soundstage, making for an immersive listening experience.
The PB13 incorporates SV Sound’s proprietary Room Gain Control technology, which helps to optimize the subwoofer's performance based on the specific acoustics of the listening environment. This feature ensures that homeowners can get the best possible bass response, regardless of the room size or shape. Additionally, it includes advanced signal processing capabilities, allowing users to fine-tune their audio settings easily.
Another notable characteristic of the PB13 is its sturdy cabinet construction. The enclosure is made from high-quality MDF, which minimizes vibrations and resonance that can distort sound quality. This is essential for maintaining clarity in bass frequencies, especially at higher volumes. The subwoofer is also designed with a front-firing port, providing versatile placement options while maintaining optimal airflow for maximum performance.
Furthermore, the PB13 offers a wide frequency response, reaching down to 18 Hz. This capability means that it can reproduce the deep bass notes often found in modern music genres and action-packed movie soundtracks. The result is a full-bodied audio experience that captivates the listener.
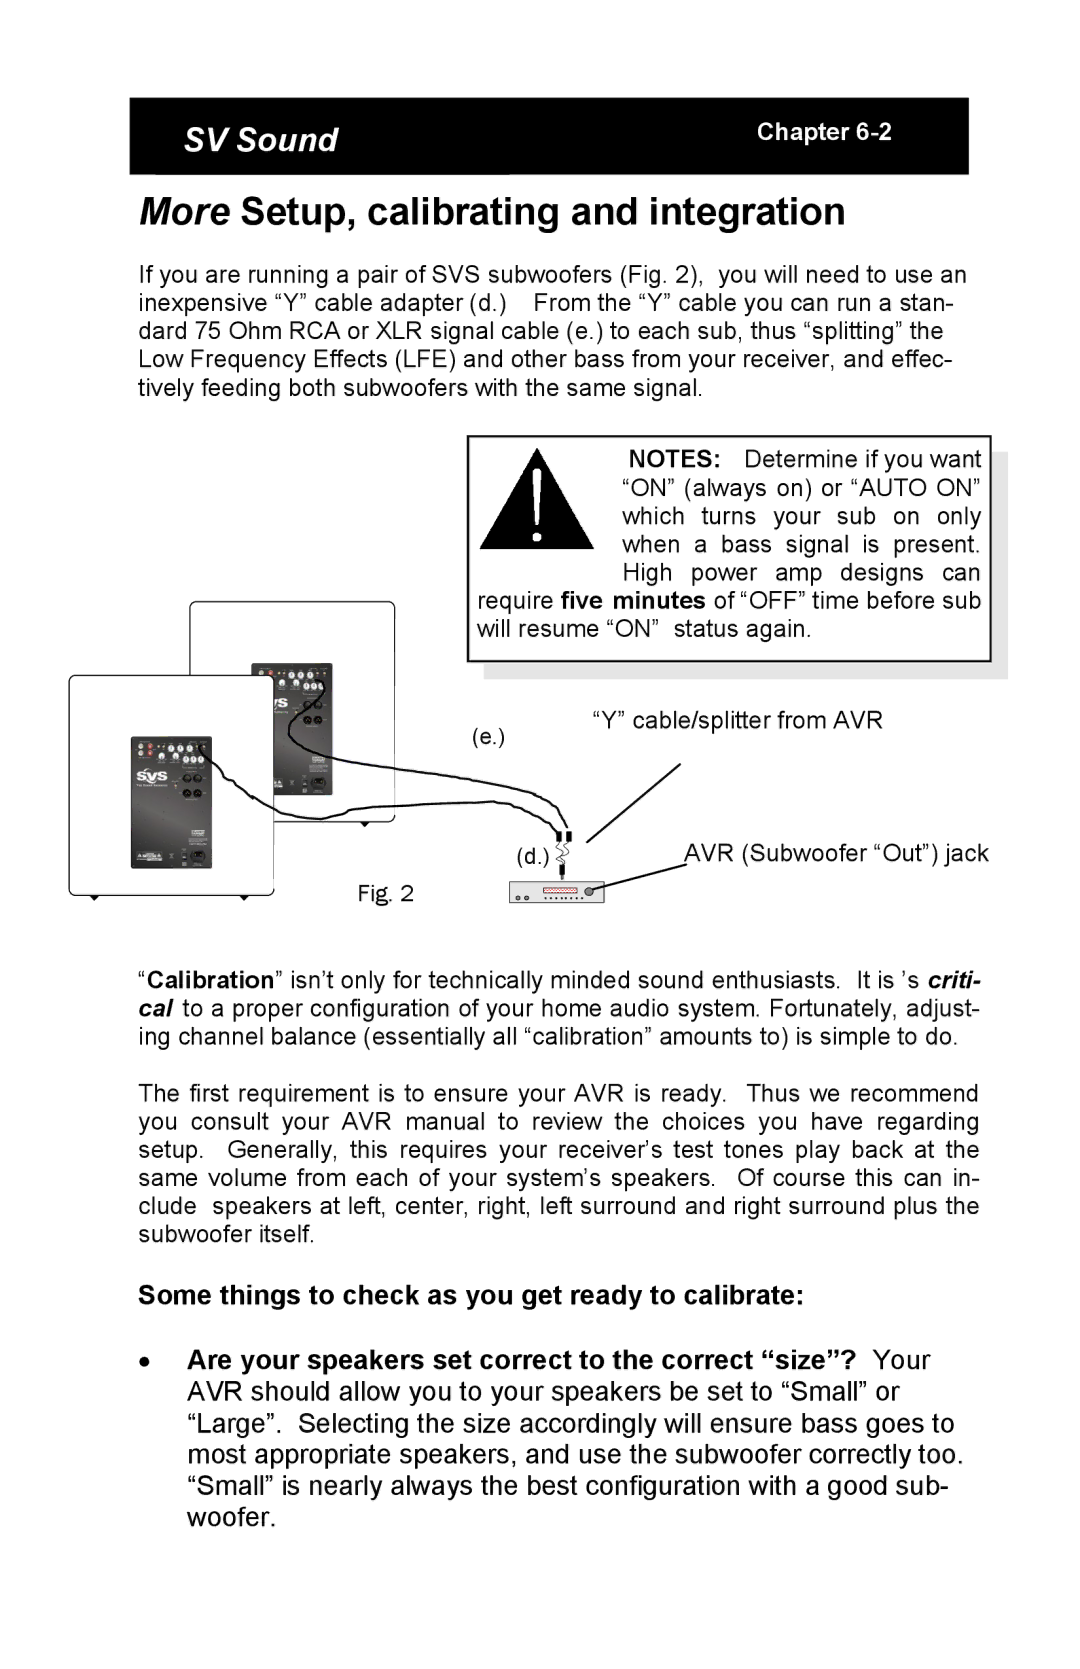
In terms of connectivity, the PB13 is equipped with both RCA inputs and speaker level inputs, allowing for versatile integration with various home theater systems and setups. The user-friendly controls on the rear panel facilitate easy adjustments to volume, phase, and crossover frequency, enabling users to tailor the subwoofer's output to their preferences.
Overall, the SV Sound PB13 subwoofer stands out in the crowded audio market with its advanced technology, robust construction, and impressive sound performance, making it a top choice for anyone looking to enhance their audio system. Whether for casual listening or critical listening sessions, the PB13 promises to deliver a bass experience that is both thrilling and satisfying.

