MONITOR FUNCTIONS
|
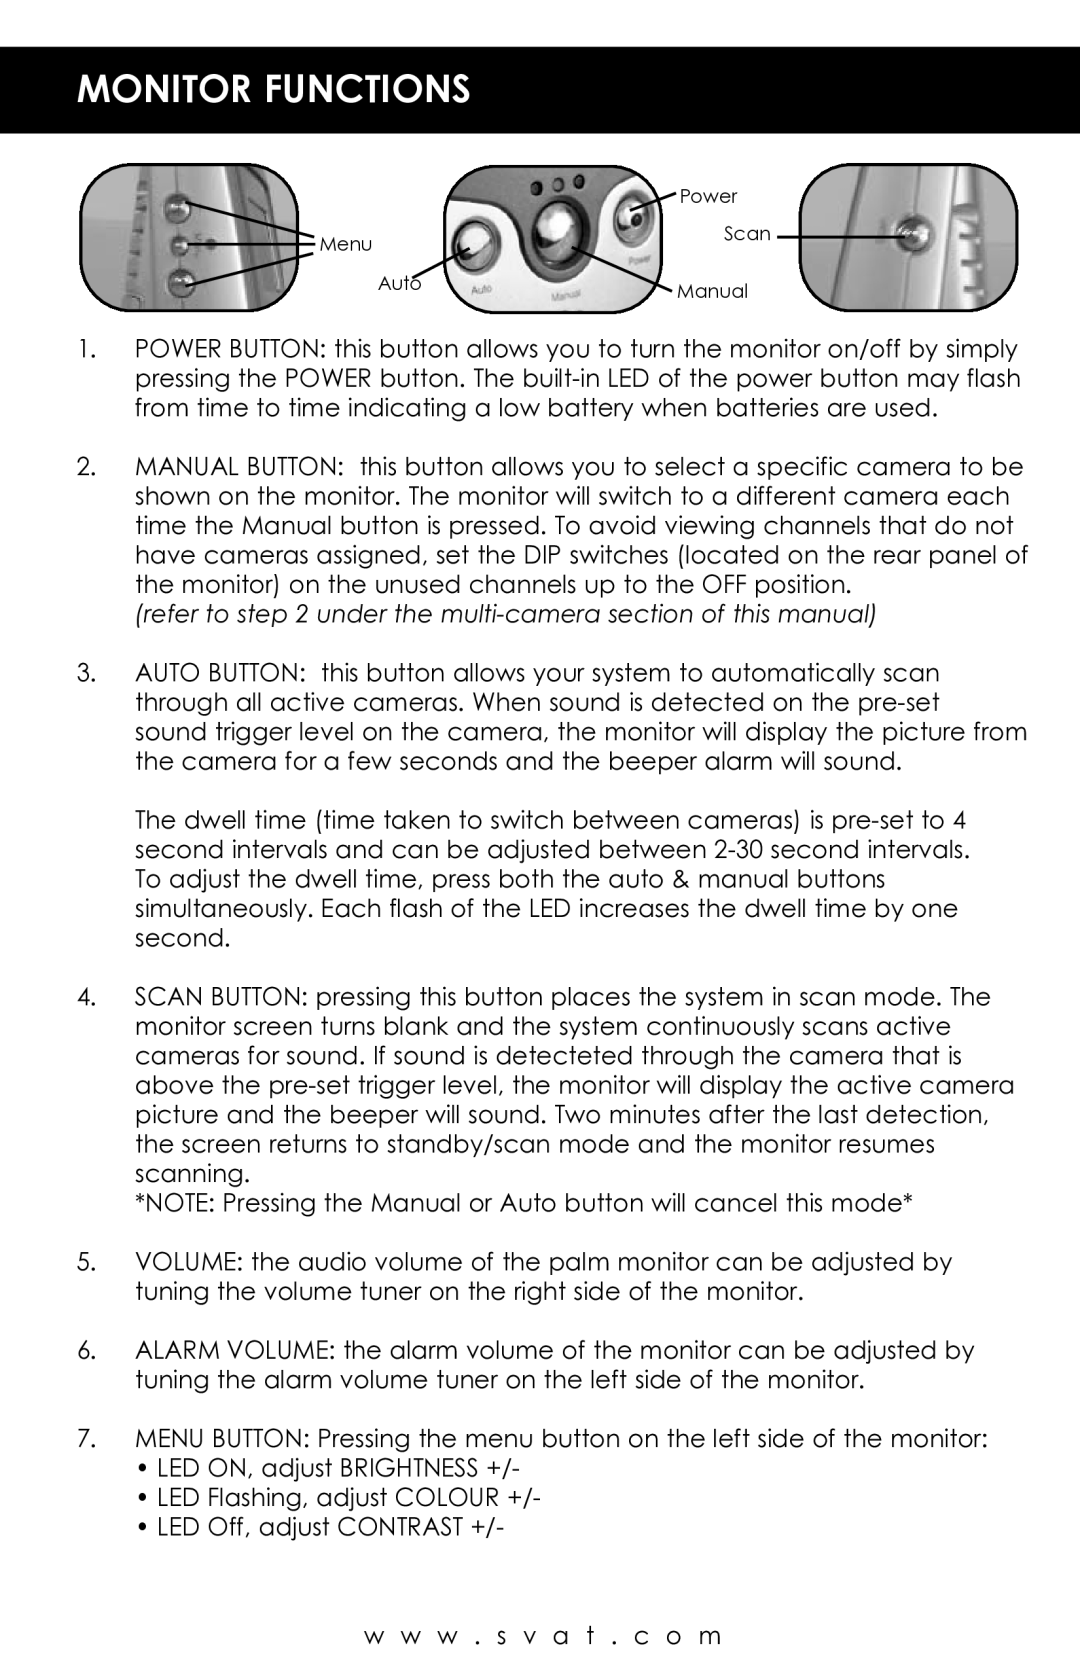
| Power |
Menu |
| Scan |
|
| |
| Auto | Manual |
|
|
1.POWER BUTTON: this button allows you to turn the monitor on/off by simply pressing the POWER button. The
2.MANUAL BUTTON: this button allows you to select a specific camera to be shown on the monitor. The monitor will switch to a different camera each time the Manual button is pressed. To avoid viewing channels that do not have cameras assigned, set the DIP switches (located on the rear panel of the monitor) on the unused channels up to the OFF position.
(refer to step 2 under the multi-camera section of this manual)
3.AUTO BUTTON: this button allows your system to automatically scan through all active cameras. When sound is detected on the
The dwell time (time taken to switch between cameras) is
4.SCAN BUTTON: pressing this button places the system in scan mode. The monitor screen turns blank and the system continuously scans active cameras for sound. If sound is detecteted through the camera that is above the
*NOTE: Pressing the Manual or Auto button will cancel this mode*
5.VOLUME: the audio volume of the palm monitor can be adjusted by tuning the volume tuner on the right side of the monitor.
6.ALARM VOLUME: the alarm volume of the monitor can be adjusted by tuning the alarm volume tuner on the left side of the monitor.
7.MENU BUTTON: Pressing the menu button on the left side of the monitor:
•LED ON, adjust BRIGHTNESS +/-
•LED Flashing, adjust COLOUR +/-
•LED Off, adjust CONTRAST +/-
w w w . s v a t . c o m