INSTALLING THE MONITOR (RECEIVER)
1.Unpack the monitor.
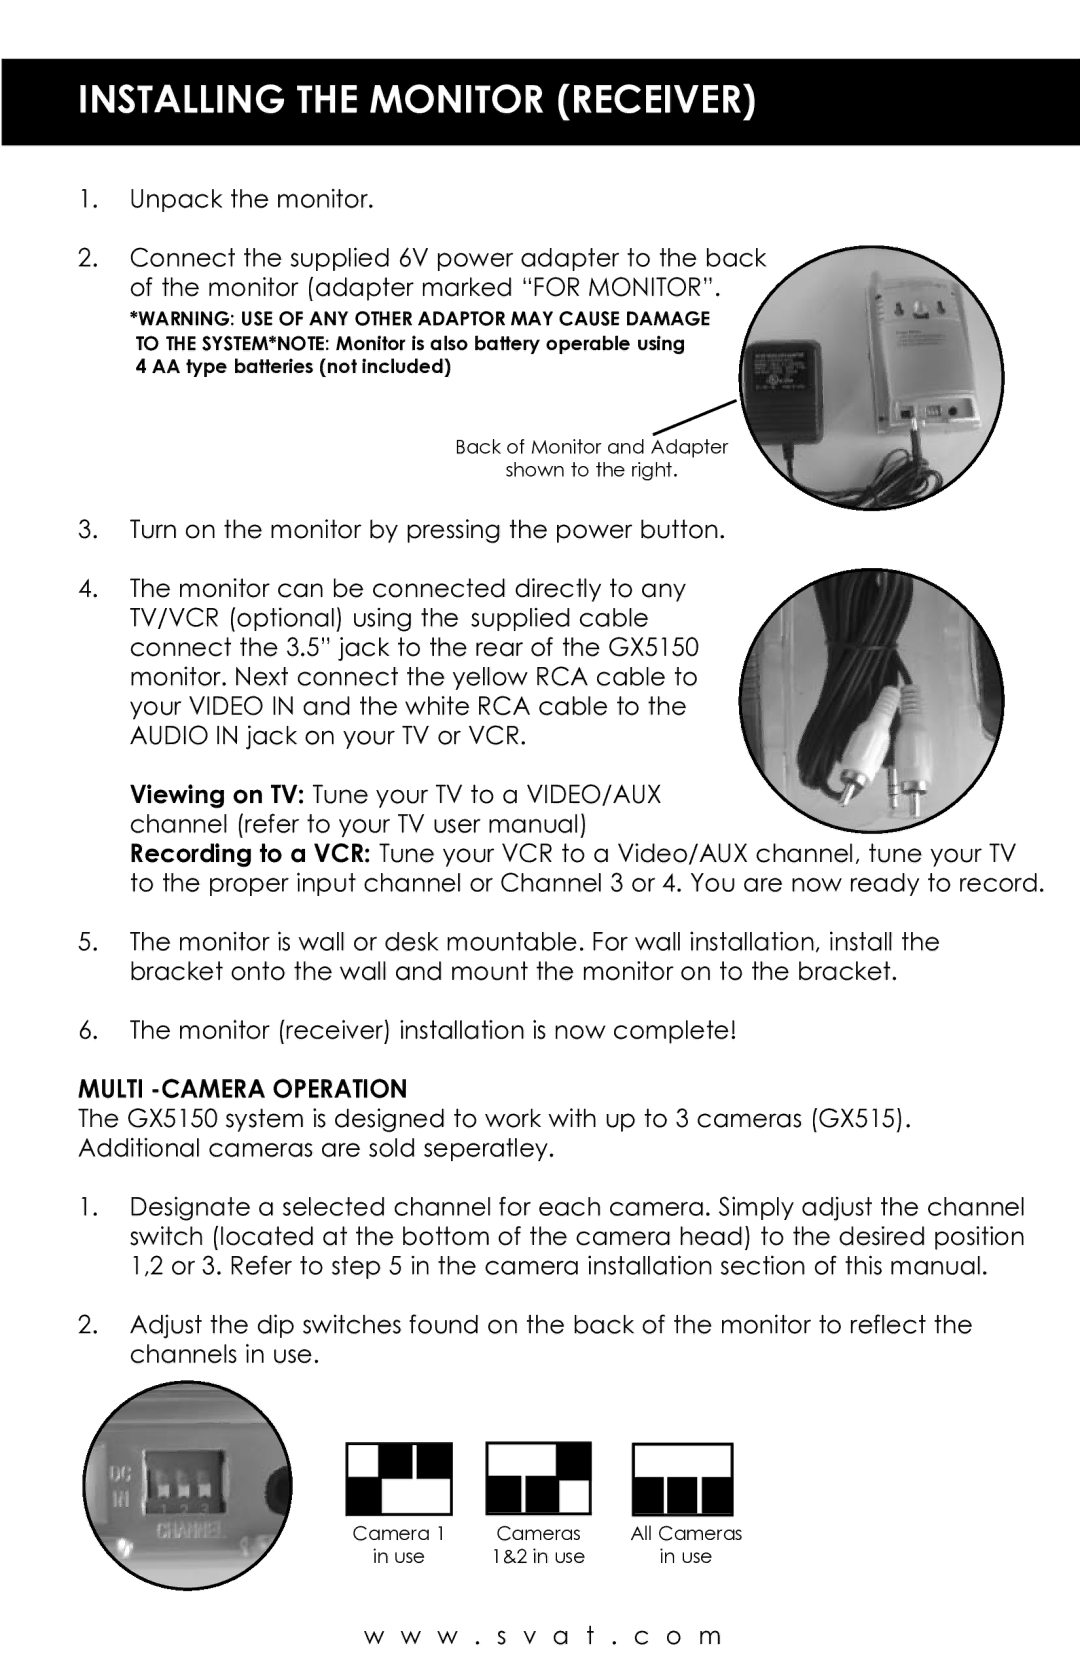
2.Connect the supplied 6V power adapter to the back
of the monitor (adapter marked “FOR MONITOR”.
*WARNING: USE OF ANY OTHER ADAPTOR MAY CAUSE DAMAGE
TO THE SYSTEM*NOTE: Monitor is also battery operable using 4 AA type batteries (not included)
Back of Monitor and Adapter
shown to the right.
3.Turn on the monitor by pressing the power button.
4.The monitor can be connected directly to any TV/VCR (optional) using the supplied cable connect the 3.5” jack to the rear of the GX5150 monitor. Next connect the yellow RCA cable to your VIDEO IN and the white RCA cable to the AUDIO IN jack on your TV or VCR.
Viewing on TV: Tune your TV to a VIDEO/AUX channel (refer to your TV user manual)
Recording to a VCR: Tune your VCR to a Video/AUX channel, tune your TV to the proper input channel or Channel 3 or 4. You are now ready to record.
5.The monitor is wall or desk mountable. For wall installation, install the bracket onto the wall and mount the monitor on to the bracket.
6.The monitor (receiver) installation is now complete!
MULTI -CAMERA OPERATION
The GX5150 system is designed to work with up to 3 cameras (GX515). Additional cameras are sold seperatley.
1.Designate a selected channel for each camera. Simply adjust the channel switch (located at the bottom of the camera head) to the desired position 1,2 or 3. Refer to step 5 in the camera installation section of this manual.
2.Adjust the dip switches found on the back of the monitor to reflect the channels in use.
Camera 1 | Cameras | All Cameras |
in use | 1&2 in use | in use |
w w w . s v a t . c o m