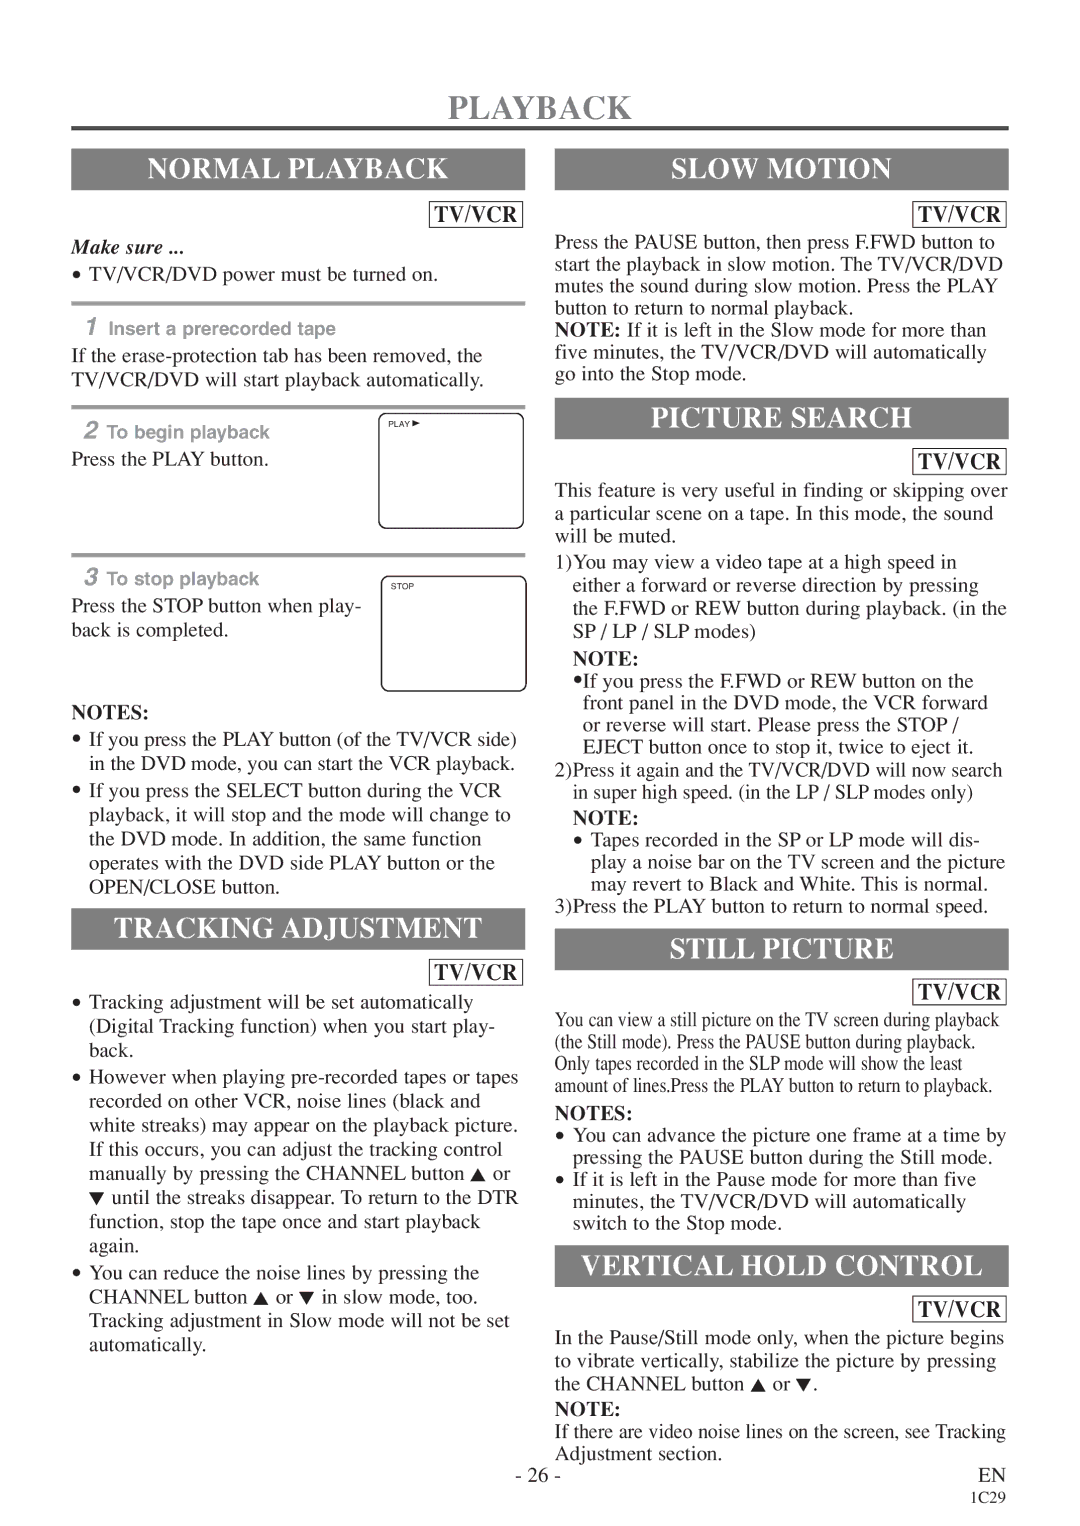
PLAYBACK
NORMAL PLAYBACK |
| SLOW MOTION |
|
|
|
TV/VCR
TV/VCR
Make sure ... |
|
|
| Press the PAUSE button, then press F.FWD button to | ||||
• TV/VCR/DVD power must be turned on. |
| start the playback in slow motion. The TV/VCR/DVD | ||||||
| mutes the sound during slow motion. Press the PLAY | |||||||
|
|
|
| |||||
|
|
|
| button to return to normal playback. | ||||
1 Insert a prerecorded tape |
|
| ||||||
|
|
| NOTE: If it is left in the Slow mode for more than | |||||
If the |
| five minutes, the TV/VCR/DVD will automatically | ||||||
TV/VCR/DVD will start playback automatically. |
| go into the Stop mode. | ||||||
|
|
|
|
|
|
|
| |
|
|
|
|
| PICTURE SEARCH | |||
2 To begin playback | PLAY B |
|
| |||||
|
|
|
|
|
|
| ||
Press the PLAY button. |
|
|
|
|
|
|
| |
|
|
|
|
| TV/VCR | |||
|
|
|
| This feature is very useful in finding or skipping over | ||||
|
|
|
| a particular scene on a tape. In this mode, the sound | ||||
|
|
|
| will be muted. | ||||
|
|
|
| 1)You may view a video tape at a high speed in | ||||
3 To stop playback |
|
| ||||||
STOP |
|
| either a forward or reverse direction by pressing | |||||
Press the STOP button when play- |
|
|
|
| the F.FWD or REW button during playback. (in the | |||
back is completed. |
|
|
|
| SP / LP / SLP modes) | |||
|
|
|
|
| NOTE: | |||
|
|
|
|
| • | |||
|
|
|
|
| If you press the F.FWD or REW button on the | |||
NOTES: |
|
|
|
| front panel in the DVD mode, the VCR forward | |||
|
|
|
| or reverse will start. Please press the STOP / | ||||
• If you press the PLAY button (of the TV/VCR side) |
|
| ||||||
|
| EJECT button once to stop it, twice to eject it. | ||||||
in the DVD mode, you can start the VCR playback. |
| 2)Press it again and the TV/VCR/DVD will now search | ||||||
• If you press the SELECT button during the VCR |
| |||||||
|
| in super high speed. (in the LP / SLP modes only) | ||||||
playback, it will stop and the mode will change to |
|
| NOTE: | |||||
the DVD mode. In addition, the same function |
|
| • Tapes recorded in the SP or LP mode will dis- | |||||
operates with the DVD side PLAY button or the |
|
| play a noise bar on the TV screen and the picture | |||||
OPEN/CLOSE button. |
|
|
|
| may revert to Black and White. This is normal. | |||
|
|
|
| 3)Press the PLAY button to return to normal speed. | ||||
TRACKING ADJUSTMENT | ||||||||
|
|
|
|
| ||||
|
| STILL PICTURE | ||||||
|
|
|
|
| ||||
|
| TV/VCR |
|
|
|
|
| |
|
|
|
|
|
|
| ||
• Tracking adjustment will be set automatically |
|
|
| TV/VCR |
| |||
| You can view a still picture on the TV screen during playback | |||||||
(Digital Tracking function) when you start play- |
| |||||||
| (the Still mode). Press the PAUSE button during playback. | |||||||
back. |
|
|
| |||||
|
|
| Only tapes recorded in the SLP mode will show the least | |||||
• However when playing |
| |||||||
| amount of lines.Press the PLAY button to return to playback. | |||||||
recorded on other VCR, noise lines (black and |
| NOTES: | ||||||
white streaks) may appear on the playback picture. |
| |||||||
| • You can advance the picture one frame at a time by | |||||||
If this occurs, you can adjust the tracking control |
| |||||||
|
| pressing the PAUSE button during the Still mode. | ||||||
manually by pressing the CHANNEL button K or |
|
| ||||||
| • If it is left in the Pause mode for more than five | |||||||
L until the streaks disappear. To return to the DTR |
|
| minutes, the TV/VCR/DVD will automatically | |||||
function, stop the tape once and start playback |
|
| switch to the Stop mode. | |||||
again. |
|
|
|
|
|
|
| |
|
|
|
| VERTICAL HOLD CONTROL | ||||
• You can reduce the noise lines by pressing the |
|
| ||||||
CHANNEL button K or L in slow mode, too. |
|
|
|
|
| |||
|
|
| TV/VCR |
| ||||
Tracking adjustment in Slow mode will not be set |
|
|
|
| ||||
| In the Pause/Still mode only, when the picture begins | |||||||
automatically. |
|
|
| |||||
|
|
| to vibrate vertically, stabilize the picture by pressing | |||||
|
|
|
| |||||
|
|
|
| the CHANNEL button K or L. | ||||
|
|
|
| NOTE: | ||||
|
|
|
| If there are video noise lines on the screen, see Tracking | ||||
|
|
|
| Adjustment section. | ||||
| - 26 - |
| EN | |||||
1C29
