16 Model 161Operating Procedures
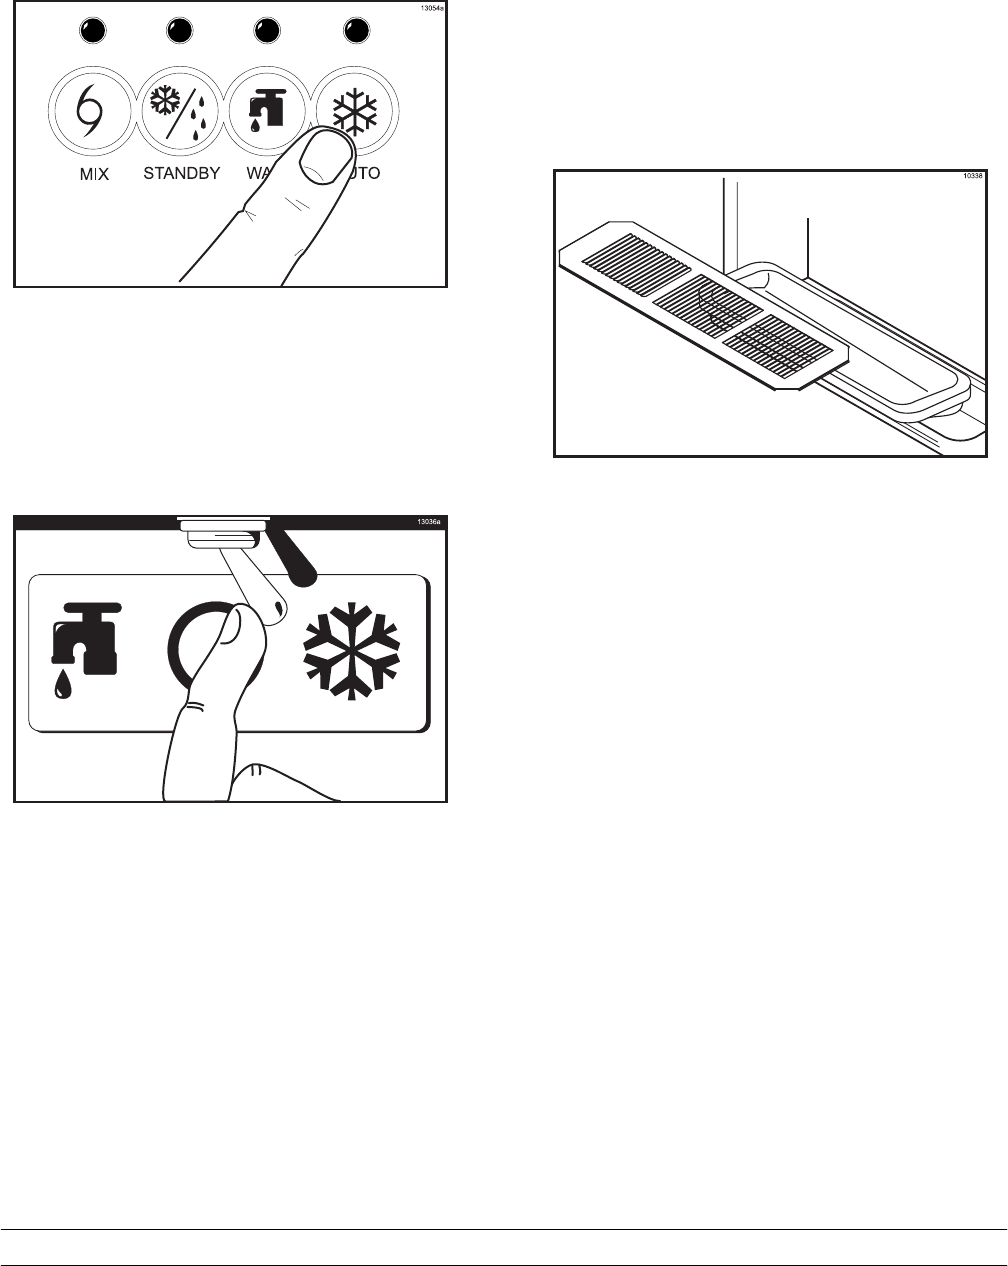
Step 3
Press the AUTO key. When the unit cycles off, the
product will be ready to serve.
Figure 24
Note: Non--Softechtmachines: Place the power
switch in the AUTO position.When the unit cycles off,
the product will be ready to serve.
Figure 25
Step 4
Momentarily raise the draw switch to activat e the
refrigeration cycle.
Step 5
Place the mix hopper cover in position.
Repeat Steps 1 through 5 for the second freezing
cylinder.
Step 6
Install the front drip tray and splash shield under the
freezer door.
Figure 26
Step 7
Slide the rear drip pan into the hole in the side panel.
Closing ProcedureTodisassemble the Model 161, t he following items will
be needed:
STwo cleaning pails
SSanitized stainless steel rerun can with lid
SNecessary brushes (provided with machine)
SCleaner
SSingle service towels