Setup
Chapter 2. Using the DVD Duplicator
This chapter explains how to set up the DVD Duplicator, as well as basic operation and menu functions.
Setup
1.Select a
Note: Please keep the original box and packaging materials for use in the event of future storage or transportation of the unit.
2.To ensure that the unit is properly balanced, place the DVD Duplicator on a flat surface. Extend the Duplicator’s feet outward at each its four lower corners.
For more information, refer to the section “Front Panel” on page 3.
3.Connect one end of the included power cable to the back of the DVD Duplicator. Connect the other end of the power cable to a
Caution: Do not attempt to bypass the grounding plug. Otherwise, you risk damage to the unit and electrical shock.
4.Turn on the power to the DVD Duplicator by pressing the power button on the lower
During initialization, the DVD Duplicator performs a
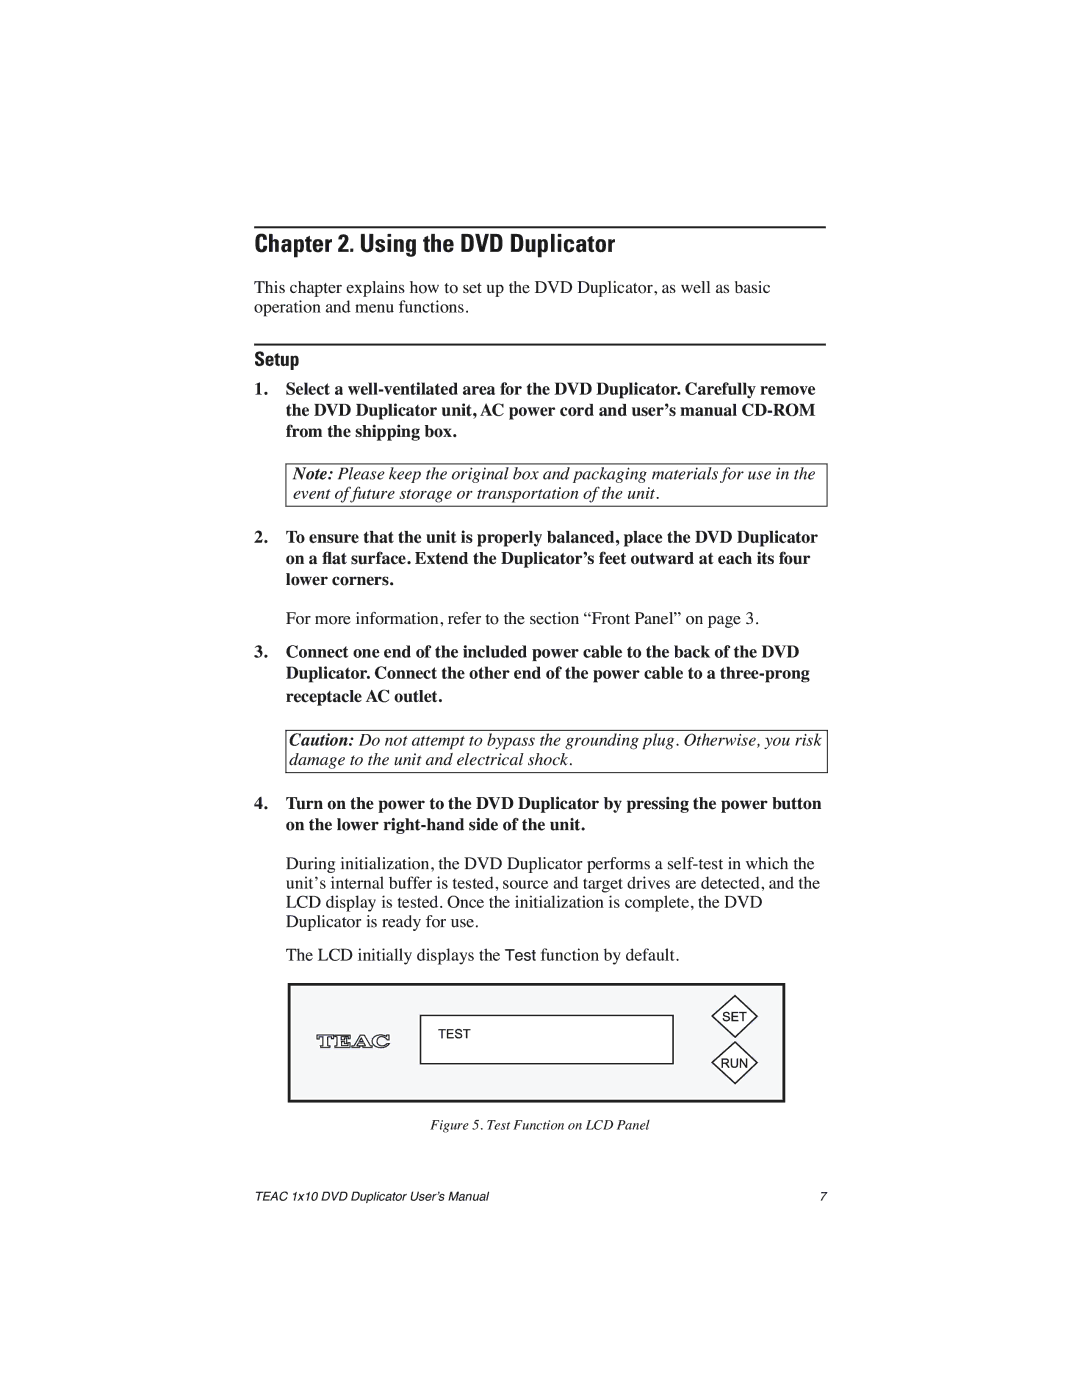
The LCD initially displays the Test function by default.
Figure 5. Test Function on LCD Panel
TEAC 1x10 DVD Duplicator User’s Manual | 7 |