Connecting the LCD TV to a
PC
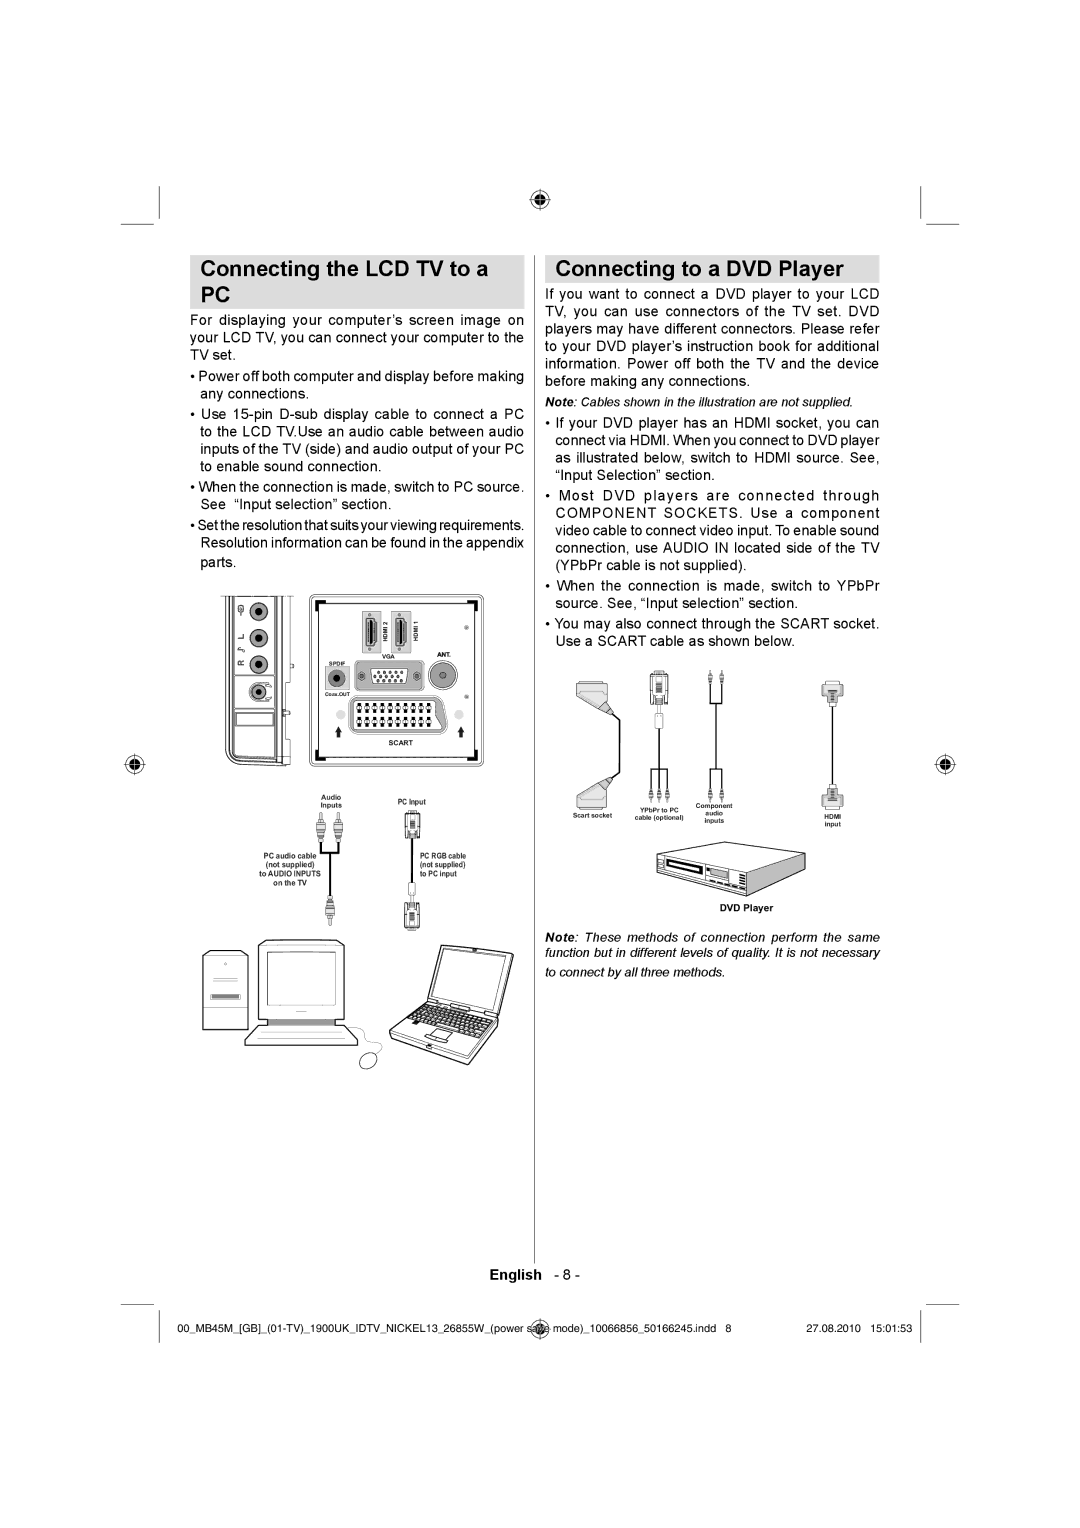
For displaying your computer’s screen image on your LCD TV, you can connect your computer to the TV set.
•Power off both computer and display before making any connections.
•Use
•When the connection is made, switch to PC source. See “Input selection” section.
•Set the resolution that suits your viewing requirements. Resolution information can be found in the appendix parts.
HDMI 2 | HDMI 1 | |
VGA | ||
SPDIF |
| |
Coax.OUT |
| |
| SCART | |
Audio | PC Input | |
Inputs | ||
| ||
|
|
|
|
|
| PC audio cable |
|
|
|
|
|
| PC RGB cable | |||
|
|
|
|
|
|
|
|
| ||||||||
|
|
|
|
|
| (not supplied) |
| (not supplied) | ||||||||
|
|
|
|
| to AUDIO INPUTS |
| to PC input | |||||||||
|
|
|
|
|
|
| on the TV |
|
| |||||||
|
|
|
|
|
|
|
|
|
|
|
|
|
|
|
|
|
|
|
|
|
|
|
|
|
|
|
|
|
|
|
|
|
|
|
|
|
|
|
|
|
|
|
|
|
|
|
|
|
|
|
|
|
|
|
|
|
|
|
|
|
|
|
|
|
|
|
|
|
|
|
|
|
|
|
|
|
|
|
|
|
|
|
|
|
|
|
|
|
|
|
|
|
|
|
|
|
|
|
|
|
|
|
|
|
|
|
|
|
|
|
|
|
|
|
|
|
|
|
|
|
|
|
|
|
|
|
|
|
|
|
|
|
|
|
|
|
|
|
|
|
|
|
|
|
|
|
|
|
|
|
|
|
|
|
|
|
|
|
|
|
|
|
|
|
|
|
|
|
|
|
|
|
|
|
|
|
|
|
|
|
|
|
|
|
|
|
|
|
|
|
|
|
|
|
|
|
|
|
|
|
|
|
|
|
|
|
|
|
|
|
|
|
|
|
|
|
|
|
|
|
Connecting to a DVD Player
If you want to connect a DVD player to your LCD TV, you can use connectors of the TV set. DVD players may have different connectors. Please refer to your DVD player’s instruction book for additional information. Power off both the TV and the device before making any connections.
Note: Cables shown in the illustration are not supplied.
•If your DVD player has an HDMI socket, you can connect via HDMI. When you connect to DVD player as illustrated below, switch to HDMI source. See, “Input Selection” section.
•Most DVD players are connected through COMPONENT SOCKETS. Use a component video cable to connect video input. To enable sound connection, use AUDIO IN located side of the TV (YPbPr cable is not supplied).
•When the connection is made, switch to YPbPr source. See, “Input selection” section.
•You may also connect through the SCART socket. Use a SCART cable as shown below.
| YPbPr to PC | Component |
| |
Scart socket | audio | HDMI | ||
cable (optional) | ||||
|
| inputs | input | |
|
|
|
DVD Player
Note: These methods of connection perform the same function but in different levels of quality. It is not necessary
to connect by all three methods.
English - 8 -
save | mode)_10066856_50166245.indd 8 | 27.08.2010 15:01:53 |