GRIDDLES
C. TESTING THE INSTALLATION
Now that the griddle has been installed and the proper electrical connectors have been made, clean the rust preventive material from the grid- dle surface with a nonflammable grease solvent. Then wash with warm water and a mild detergent. Rinse with a clean damp cloth and wipe dry. It is now time to test the insta- llation.
1.Turn all control knobs to the “OFF” position
2.Turn the main power disconnect switch “ON”
3.Starting on the left, (for griddles with more than one control) turn one control knob at a time to 200° F. Wait a few minutes and check to see if that section of the griddle has started.
to heat. Turn that control knob “OFF” and move to the next control and repeat. Continue until the entire griddle has been tested.
The A710/A710S is controlled by a rocker switch that operates bottom grill only or both top and bottom. To test turn the thermostat dial to 200° F and set the rocker switch to heat both top and bottom grills. Again wait a few minutes and check to see if both grills are beginning to heat. Return the rocker switch to the “OFF” position.
SECTION III OPERATION
A. Controls
1.All Toastmaster counter top griddle are controlled by a thermostat control knob adjustable from 150° to 450° F with positive “OFF” position. The following list shows how many thermostat control knobs are on each of the various models:
7224 | - | 2 controls |
7236 | - | 3 controls |
7324 | - | 2 controls |
7336 | - | 4 controls |
7348 | - | 5 controls |
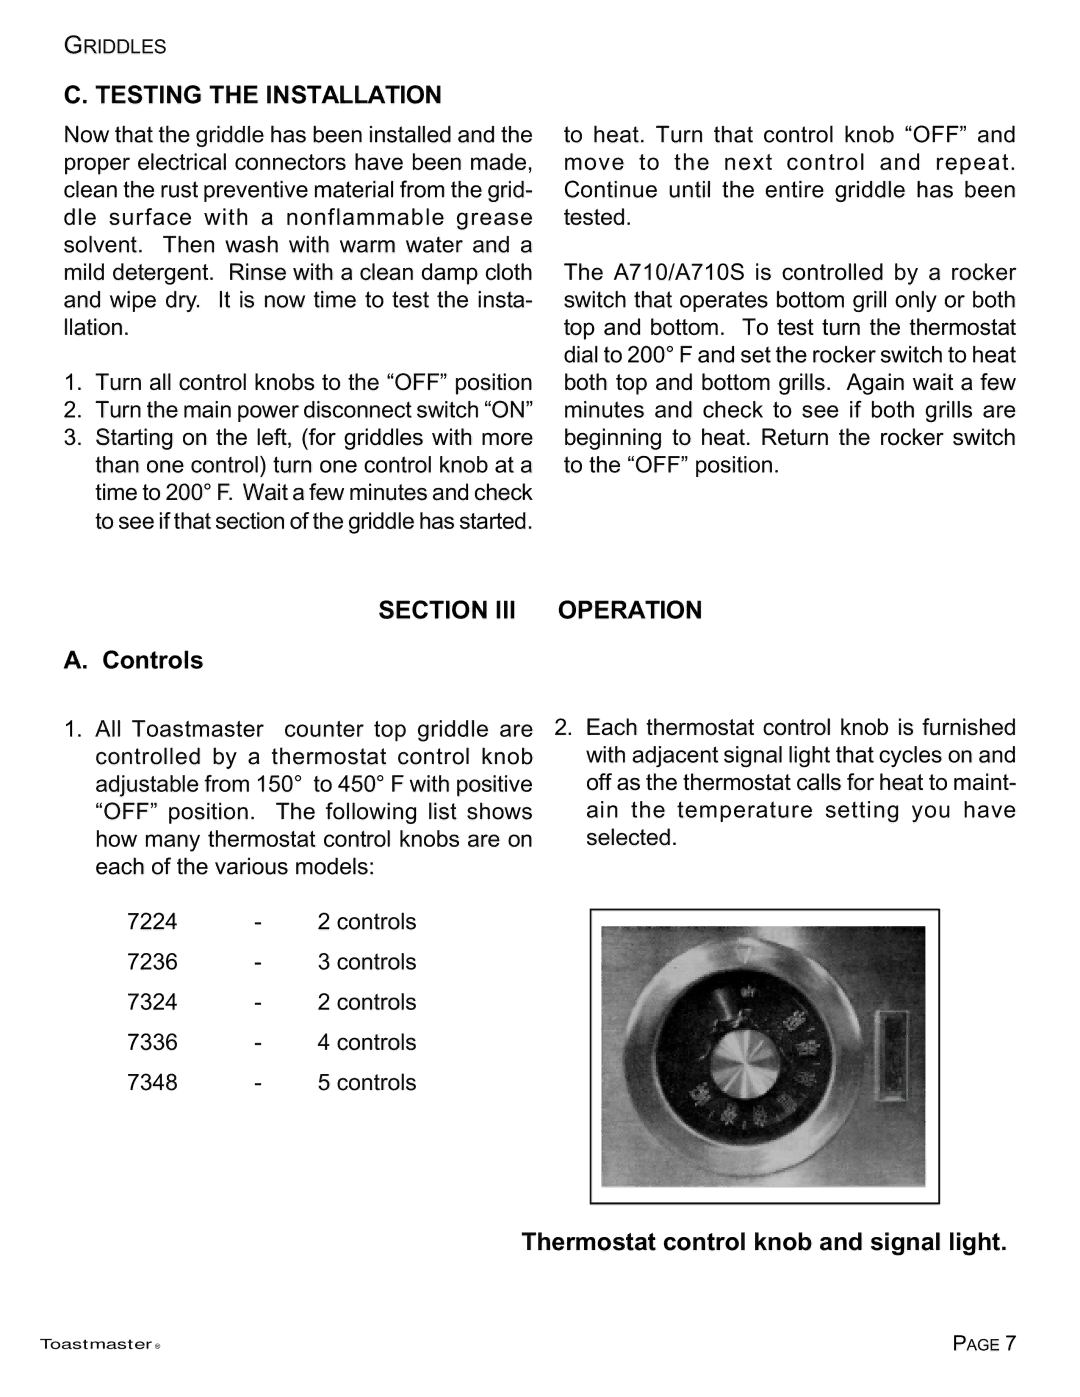
2.Each thermostat control knob is furnished with adjacent signal light that cycles on and off as the thermostat calls for heat to maint- ain the temperature setting you have selected.
Thermostat control knob and signal light.
Toastmaster ® | PAGE 7 |