Grow In Irrigation Program Setting:

Grow In Irrigation Program example: Create program 3 with stations 21–30 for 5 minutes each with no percent adjustment. Set the start time at 6:30 am and the end time at 4:00 pm. Set the delay for 2 hours and 15 minutes and the maximum simultaneous active station to 5.

1. Press the Scheduled Watering Key . The cursor is initially located at the program selection field. Use the

Input Dial to select the program (P01–P10) you want to create or modify. For this example, select program 3.

2. Press the Right Arrow Key to advance to the Percent Adjust field. Normally this setting will be 100% unless weather or other condition suggest that less or more irrigation is needed. Use the Input Dial

to adjust the setting. For this example, no adjustment is needed.

3.Press the Down Arrow to advance the cursor to the Hold: field. Use this function to suspend program operation. Select from None, Today, 0230days or Permanent. For this example, select None.

4. Press the Down Arrow

to advance the cursor to the Type: field. Use the Input Dial


to adjust


the setting. For this example, set the Type to Grow-In.


5. Press the Down Arrow to advance the cursor to the Start: field. This start time will indicate the starting

point of the Grow-In cycle. Use the Input Dial to select the start time value. Use the Left and Right

Arrow Keys to navigate between the Hours and Minutes fields. For this example, set the start time to 06:30am.

6. Press the Down Arrow to advance the cursor to the End: field. This end time will indicate the end point of

the Grow-In cycle. Use the Input Dial to select the end time value. Use the Left and Right Arrow

Keys to navigate between the Hours and Minutes fields. For this example, set the end time to

04:00pm.

7. Press the Down Arrow to advance the cursor to the Delay: field. This delay time will determine the wait

time between program cycles. Use the Input Dial to select the delay time value. Use the Left and

Right Arrow Keys to navigate between the Hours and Minutes fields. For this example, set the delay time to 02:15.

8. Press the Down Arrow

to advance the cursor to the Sta#: field. Use the Input Dial


to select


the correct value of the first station being irrigated. For this example, select station 21.


9.Press the Right Arrow to advance the cursor to the next value. This value will indicate the last station of the range. If irrigating only one station, this value should be the same as the first value. For this example, select station 30.

10.Press the Right Arrow to advance the cursor to the next entry field. This entry field will indicate the

runtime in hours, minutes and seconds (HH:MM:SS). Use the Input Dial


and the Right Arrow Key


to select the appropriate runtime value. For this example, set the runtime to 00:05.


11. Press the Down Arrow

to advance the cursor to the Simult: field. Use the Input Dial


to select


the maximum allowable simultaneous active station. For this example, set the value to 05.


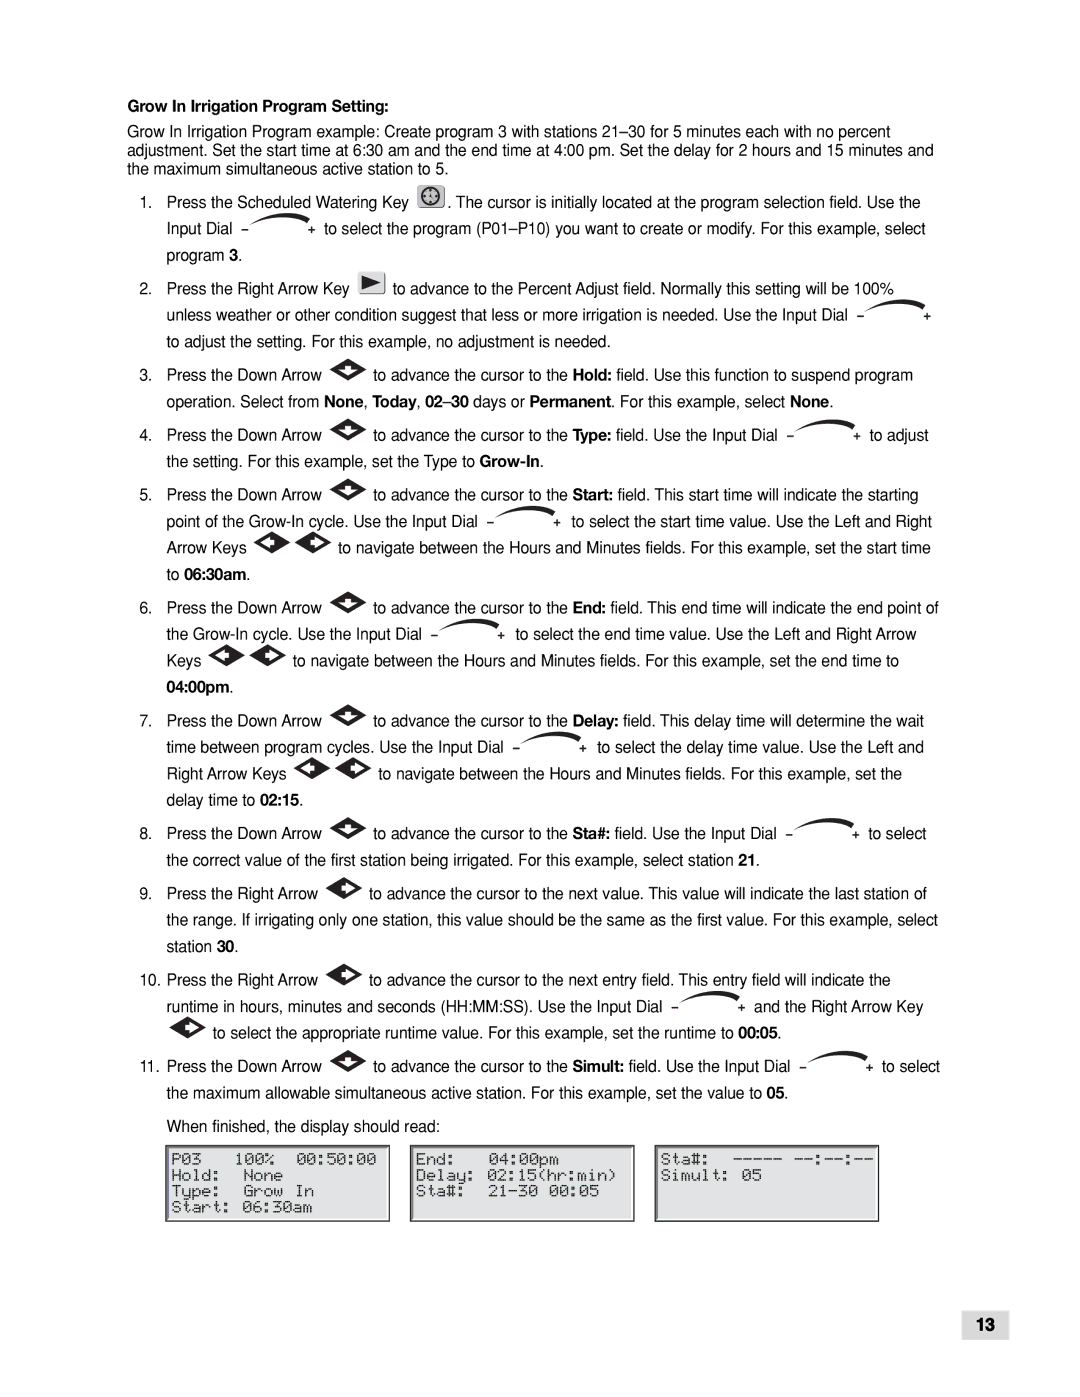
When finished, the display should read:

P03 100% 00:50:00

Hold: None

Type: Grow In

Start: 06:30am

End:

04:00pm

Delay: 02:15(hr:min)

Sta#: 21–30 00:05

Sta#: ----- --:--:--

Simult: 05

13

Page 13
Image 13
Toro TDC-100/200 manual Grow In Irrigation Program Setting, 0400pm

TDC-100/200 specifications

The Toro TDC-100 and TDC-200 stand out as innovative solutions for those seeking to enhance irrigation efficiency and landscape management. These models are designed with advanced technology that caters to the varying needs of urban and rural environments.

One of the main features of the Toro TDC-100 and TDC-200 is their ability to support smart irrigation practices. Both models come equipped with Toro's patented irrigation control technology, which enables users to schedule and control watering times effectively. Users can easily program the irrigation systems to align with specific weather conditions, ensuring that landscapes receive just the right amount of water without waste.

Additionally, the TDC series features an intuitive user interface with a large display for easy navigation. This user-friendly design allows operators to quickly adjust settings, monitor system performance, and troubleshoot any issues. The on-screen prompts guide users through the programming process, making it accessible even for those with limited technical knowledge.

Another noteworthy characteristic of the Toro TDC-100 and TDC-200 systems is their integration with various sensors. These models are compatible with soil moisture, rain, and wind sensors, which automate the irrigation processes based on real-time environmental conditions. This integration helps to conserve water resources and promotes healthier landscapes by providing optimal soil conditions.

The TDC-200 model takes efficiency a step further by offering advanced connectivity features. With smart technology, users can remotely access and control their irrigation systems from a smartphone or tablet. This capability ensures that users stay connected to their landscaping needs, even when they are away from the site.

Moreover, both models boast robust construction designed to withstand various weather conditions. The materials used in the TDC-100 and TDC-200 are durable yet lightweight, enhancing their reliability for long-term use. Furthermore, the systems have been engineered to guarantee optimal performance with minimal maintenance, ensuring peace of mind for users.

In conclusion, the Toro TDC-100 and TDC-200 irrigation systems offer a blend of smart technology, user-friendly design, and resilient construction. With features aimed at introducing efficiency and sustainability to irrigation practices, these models stand as reliable solutions for effective landscape management. Whether for commercial properties or residential gardens, the TDC series provides the tools necessary for responsible water use and superior plant health.