
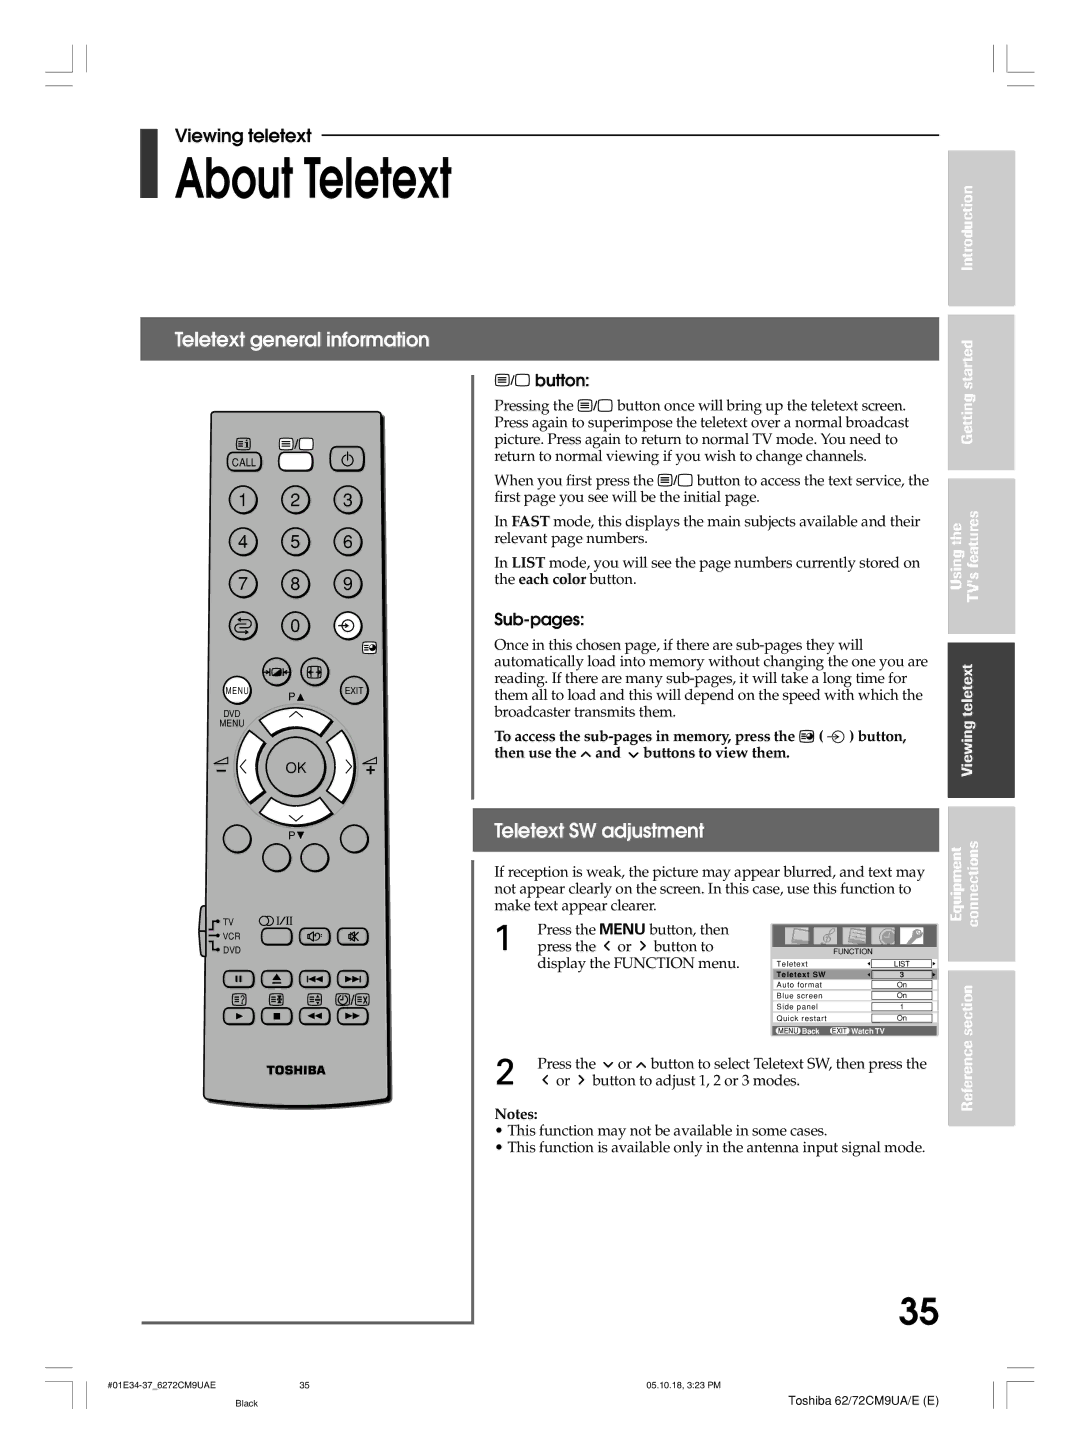
62CM9UA, 72CM9UA, 72CM9UE, 62CM9UE specifications
The Toshiba 62CM9UA is a remarkable television model that offers an impressive viewing experience for both casual viewers and audiophiles alike. Known for its advanced features, this television blends cutting-edge technology with sleek design, making it a significant addition to any living space.One of the standout features of the Toshiba 62CM9UA is its vibrant display technology. The television boasts a Full HD resolution, delivering exceptional picture clarity and detail. The screen offers a wide color gamut, ensuring that images appear life-like with vivid colors and deep contrasts. This level of picture quality is perfect for enjoying movies, sports, and television shows, as it enhances every visual detail and brings content to life.
In terms of audio performance, the Toshiba 62CM9UA is equipped with advanced sound technologies that provide an immersive sound experience. The built-in speakers are designed to deliver rich and clear audio, complementing the stunning visuals on screen. Additionally, the television supports various audio formats, allowing users to experience their favorite content with optimal sound quality.
Connectivity options are another strength of the Toshiba 62CM9UA. It comes with multiple HDMI and USB ports, making it easy to connect external devices such as gaming consoles, Blu-ray players, and sound systems. The inclusion of Wi-Fi capability allows users to access popular streaming services, providing a seamless way to watch their favorite shows and movies without the need for additional hardware.
User-friendly smart features are another highlight of the Toshiba 62CM9UA. The television operates on an intuitive interface that allows users to navigate easily through various applications and settings. Voice control capability through compatible smart assistants makes it convenient to manage content and settings without lifting a finger.
Durability and aesthetics are also well thought out in the design of the 62CM9UA. The television features a sleek and modern frame that fits stylishly in any home environment while maintaining a lightweight design for easy placement.
In summary, the Toshiba 62CM9UA is a feature-rich television with impressive display quality, excellent sound performance, robust connectivity options, and user-friendly smart capabilities. It caters to the needs of various users, making it a worthwhile investment for anyone looking to enhance their home entertainment experience.