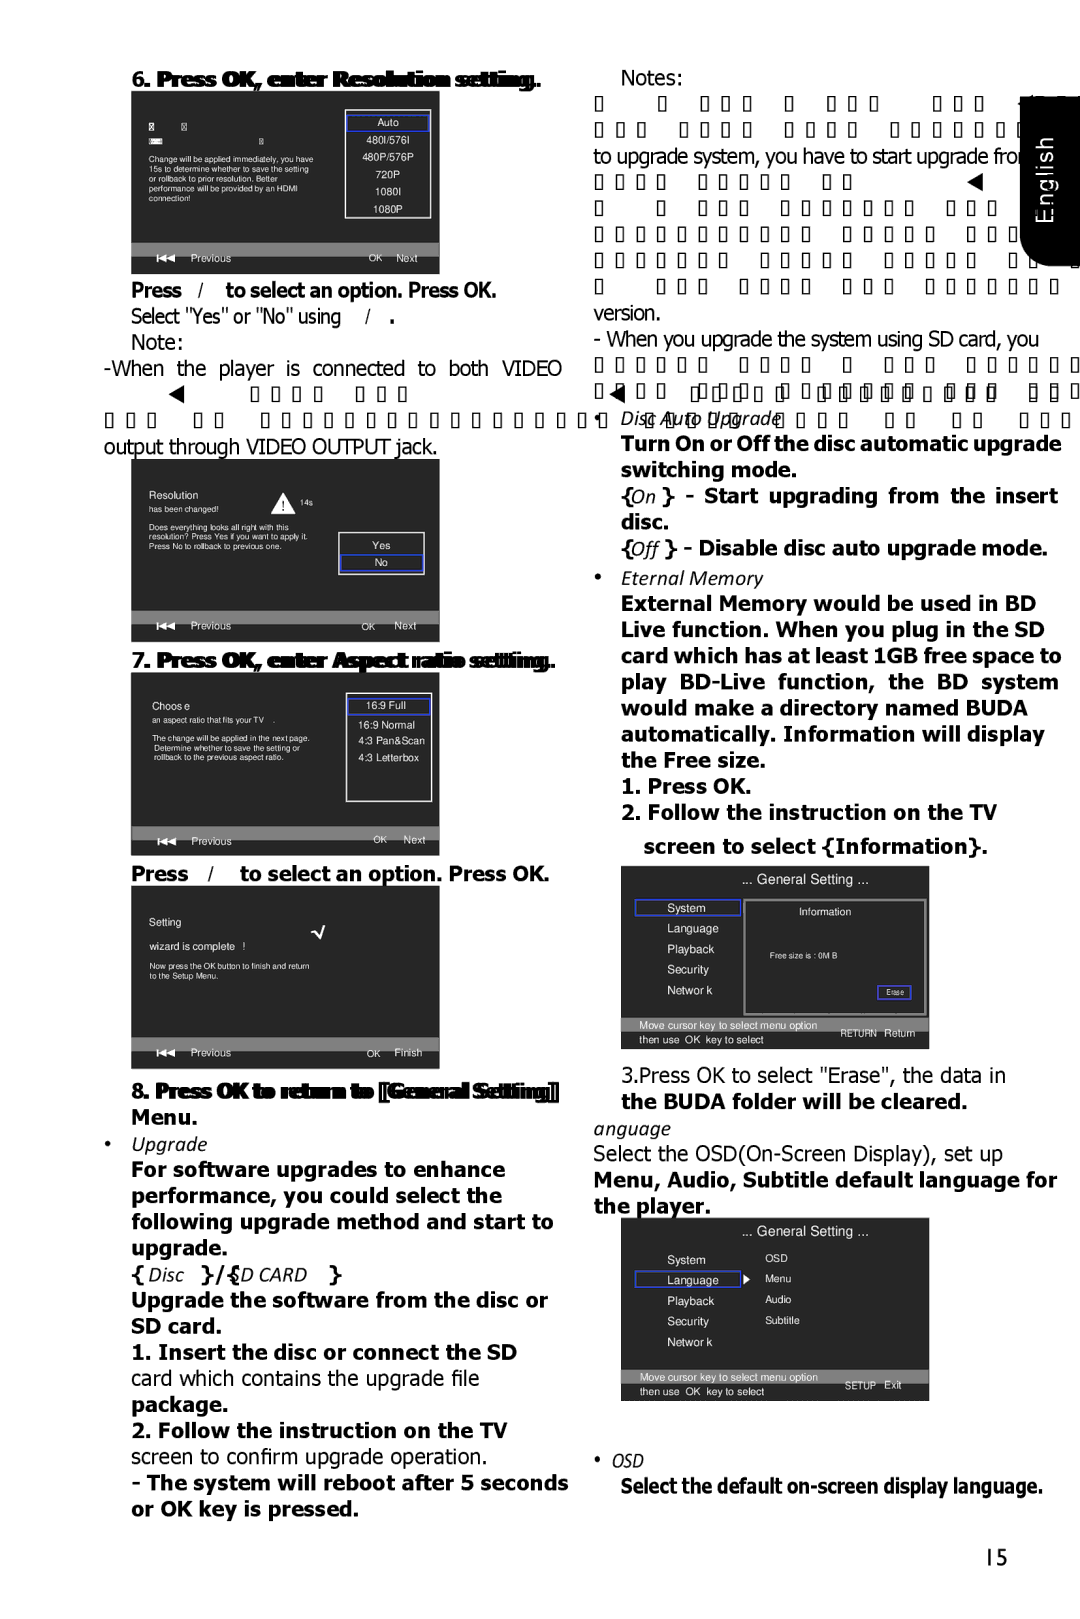
6. Press OK, enter Resolution setting.
|
|
Choose | Auto |
a resolution that fits your TV. | 480I/576I |
Change will be applied immediately, you have | 480P/576P |
15s to determine whether to save the setting | 720P |
or rollback to prior resolution. Better | |
performance will be provided by an HDMI | 1080I |
connection! | 1080P |
| |
Previous | OK Next |
|
|
Press /to select an option. Press OK. Select "Yes" or "No" using /.
Note:
Resolution | 14s |
|
|
has been changed! |
|
| |
|
|
| |
Does everything looks all right with this |
|
|
|
resolution? Press Yes if you want to apply it. | Yes |
| |
Press No to rollback to previous one. |
|
| |
|
| No |
|
Previous |
| OK | Next |
|
|
|
|
7. Press OK, enter Aspect ratio setting.
Choose |
|
|
16:9 Full | ||
an aspect ratio that fits your TV. | 16:9 Normal | |
| ||
The change will be applied in the next page. | 4:3 Pan&Scan | |
Determine whether to save the setting or | 4:3 Letterbox | |
rollback to the previous aspect ratio. | ||
Previous | OK | Next |
|
|
|
Press / to select an option. Press OK.
Setting
wizard is complete!
Now press the OK button to finish and return to the Setup Menu.
Previous | OK Finish |
8. Press OK to return to [General Setting] Menu.
•[Upgrade]
For software upgrades to enhance performance, you could select the following upgrade method and start to
| Notes: |
| |
- If set [Disc Auto Playback]to [Off], after you insert |
| ||
the disc that contains the upgraded information | English | ||
to upgrade system, you have to start upgrade from | |||
| |||
this option of SETUP Menu. |
| ||
- If the upgrade file package did not pass the |
| ||
verification, error prompt is displayed , check the |
| ||
package again (such as the package is not complete) |
| ||
- Make sure the firmware version is not an old |
| ||
version. |
| ||
- When you upgrade the system using SD card, you |
| ||
should make a new folder named UPG_ALL, and |
| ||
copy the upgrade file into this folder. |
| ||
• | [Disc Auto Upgrade] |
| |
| Turn On or Off the disc automatic upgrade |
| |
| switching mode. |
| |
| {On} - Start upgrading from the insert |
| |
| disc. |
| |
| {Off} - Disable disc auto upgrade mode. |
| |
• | [External Memory] |
| |
| External Memory would be used in BD |
| |
| Live function. When you plug in the SD |
| |
| card which has at least 1GB free space to |
| |
| play |
| |
| would make a directory named BUDA |
| |
| automatically. Information will display |
| |
| the Free size. |
| |
| 1. Press OK. |
| |
| 2. Follow the instruction on the TV |
| |
screen to select {Information}.
... General Setting ...
System | Screen Save | Off | |
| Information |
|
|
Language | Disc Auto Playback | On | |
Playback | CEC | On | |
| Free size is : 0MB |
|
|
Security | Disc Auto Upgrade | On | |
Network | Load Default |
| MoreErase... |
| |||
|
|
|
|
Move cursor key to select menu option | RETURN | Return | |
then use “OK” key to select | |||
|
|
3.Press OK to select "Erase", the data in the BUDA folder will be cleared.
[Language]
Select the
... General Setting ...
upgrade.
{Disc }/{SD CARD}
Upgrade the software from the disc or SD card.
1. | Insert the disc or connect the SD |
card which contains the upgrade file | |
package. | |
2. | Follow the instruction on the TV |
System OSD
Language | Menu |
Playback Audio
Security Subtitle
Network
Move cursor key to select menu option then use “OK” key to select
(QJOLVK
(QJOLVK
(QJOLVK
(QJOLVK
SETUP Exit
screen to confirm upgrade operation. |
- The system will reboot after 5 seconds |
or OK key is pressed. |
•[OSD]
Select the default
15