Getting Started

Inserting Batteries

AOpen the battery compartment.

BInsert two batteries type R03 or AAA, following the indications (+ / - ) inside the compartment.

CClose the cover.

CAUTION:

Never throw batteries into a fire.

Note:

-Be sure to use AAA size batteries.

-Dispose of batteries in a designated disposal area.

-Batteries should always be disposed of with the environment in mind. Always dispose of batteries in accordance with applicable laws and regulations.

-If the remote control does not operate correctly, or if the operating range becomes reduced, replace batteries with new ones.

-When necessary to replace batteries in the remote control, always replace both batteries with new ones. Never mix battery types or use new and used batteries in combination.

-Always remove batteries from remote control if they are dead or if the remote control is not to be used for an extended period of time. This will prevent battery acid from leaking into the battery compartment.

Using the Remote Control to Operate the System

30

30

Within about 6m (19 feet)

1 2 3

AAim the Remote Control directly at the remote sensor

(IR) on the front panel.

BDo not put any objects between the Remote Control and DVD Player while operating the DVD Player.

Finding your viewing channel

APress I/2ON/STANDBY on the DVD player to turn it on.

BTurn on the TV and set it to the correct video-in channel. You should see the blue DVD background screen.

Usually these channels are between the lowest

and highest channels and may be called FRONT, A/V IN or VIDEO. See your TV' s manual for more details.

Or, you may go to channel 1 on your TV, then press the Channel down button repeatedly until you see the Video In channel.

Or, the TV remote control may have a button that chooses different video modes.

Or, tune the TV until you can see the DVD player signal from the RF modulator (refer to your TV user manual).

CIf you are using external equipment, (such as audio system or receiver), turn it on and select the appropriate input source for the DVD player output.

Refer to the equipment user’s manual for detail.

Setting up Progressive Scan feature

(For Progressive Scan TV only)

The progressive scan display twice the number of frames per seconds than interlaced scanning (ordinary normal TV system). With nearly double the number of lines, progressive scan offers higher picture resolution and quality.

Before you start...

-Ensure that you have connected this DVD player to a progressive scan TV using the Y, PB, PR connection (see page 7).

-Ensure that you have completed the basic installation and set up.

ATurn on your TV and select the video input connected to the DVD player (refer to your TV user manual).

BPress 2ON/STANDBY on the remote control to turn on the DVD player.

The blue DVD background screen will appear on the TV.

CPress SETUP.

DPress /to select { Video }, then press .

Language

Aspect Ratio

: 4:3


View Mode

:Auto Fit

Video

TV System

:PAL


Video Out

Component

Audio

Smart Picture

RGB


P-Scan

Rating


Misc


EPress /to select { Video Out }, then press .

FSelect { P- Scan }, then press OK to confirm. The menu will appear on the TV.

Video Out

Activating Progressive Scan 1. Ensure your TV supports Progressive Mode

2.If there is a distorted picture on the TV, wait 15 seconds for automatic recover

Yes

No

English

Helpful hint: Press to go back to previous menu item. Press SETUP to exit the menu item.

12

Page 13
Image 13
Toshiba SD-185 manual Getting Started, Inserting Batteries, Using the Remote Control to Operate the System

SD-185 specifications

The Toshiba SD-185 is a versatile and compact DVD player that embodies the company's commitment to blending quality performance with user-friendly features. Launched as part of Toshiba's renowned line of multimedia products, the SD-185 caters to home entertainment enthusiasts looking for reliable playback of a variety of media formats.

One of the standout features of the Toshiba SD-185 is its compatibility with multiple disc formats. It supports not only standard DVDs but also CD-R/RW, Video CD, and MP3 playback. This flexibility allows users to enjoy a wide range of content, from classic films to personal music collections, enhancing the overall viewing experience.

Equipped with advanced video technologies, the Toshiba SD-185 ensures superior picture quality. It boasts a progressive scan feature, which significantly enhances video clarity and reduces motion blur during fast-paced scenes. This technology delivers a sharp and detailed image that is particularly beneficial for high-definition TVs. Furthermore, the player incorporates Toshiba's proprietary ColorStream technology, enabling enhanced color accuracy and brightness, enriching the viewing experience.

Audio features on the SD-185 are equally impressive. The player supports various audio formats, including Dolby Digital and DTS, to ensure immersive sound quality. The inclusion of built-in audio processing features allows users to experience their favorite films and music with rich soundscapes, bringing movies to life right in their living rooms.

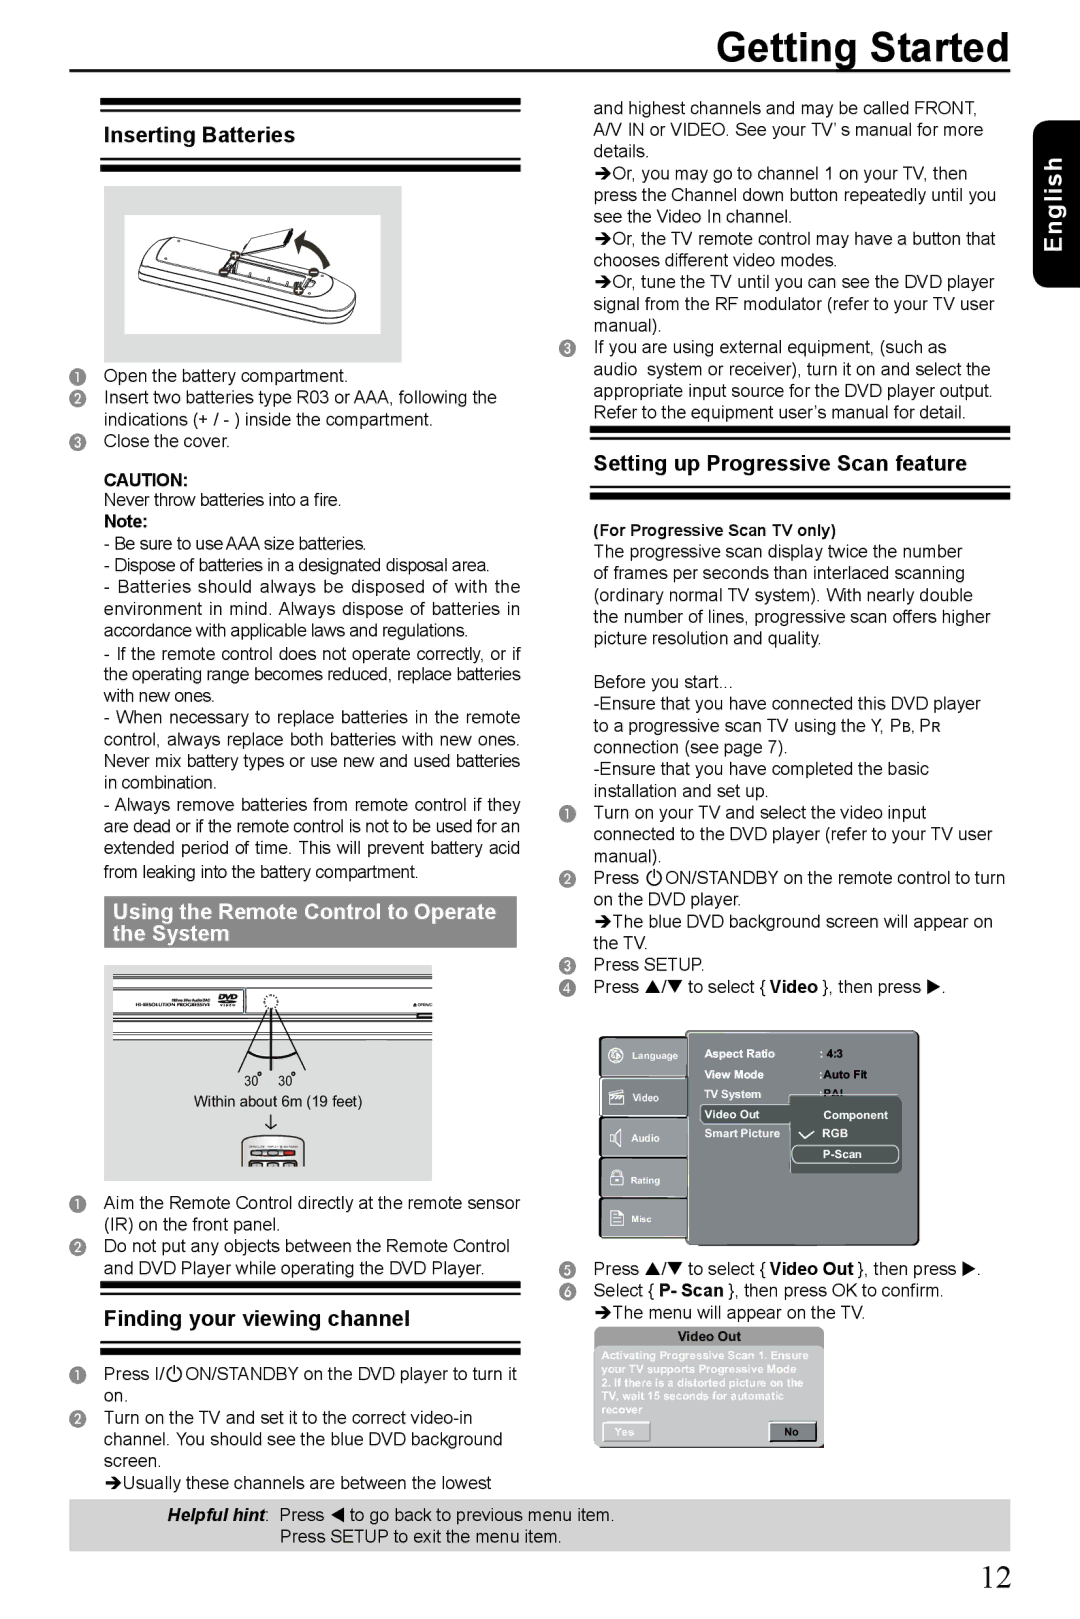
The SD-185 also prioritizes user convenience. Its ergonomic design includes an intuitive remote control, ensuring easy navigation through menus and settings. Additionally, it features on-screen displays that guide users through setup and playback options, making it accessible for individuals of all tech-savvy levels.

Connectivity is another key aspect of the Toshiba SD-185. It offers standard composite video outputs and S-video outputs, allowing for easy connection to a variety of television models. With these output options, users can seamlessly integrate the player into their existing home theater setups.

Overall, the Toshiba SD-185 stands out in the crowded DVD player market, combining essential features, advanced technologies, and user-friendly characteristics. Whether for casual viewing or special movie nights, this DVD player provides a reliable and high-quality option for home entertainment enthusiasts. Its combination of versatility, quality, and ease of use makes it a worthy addition to any media setup.