Line 6 GearBox 3.7 – GearBox with POD X3
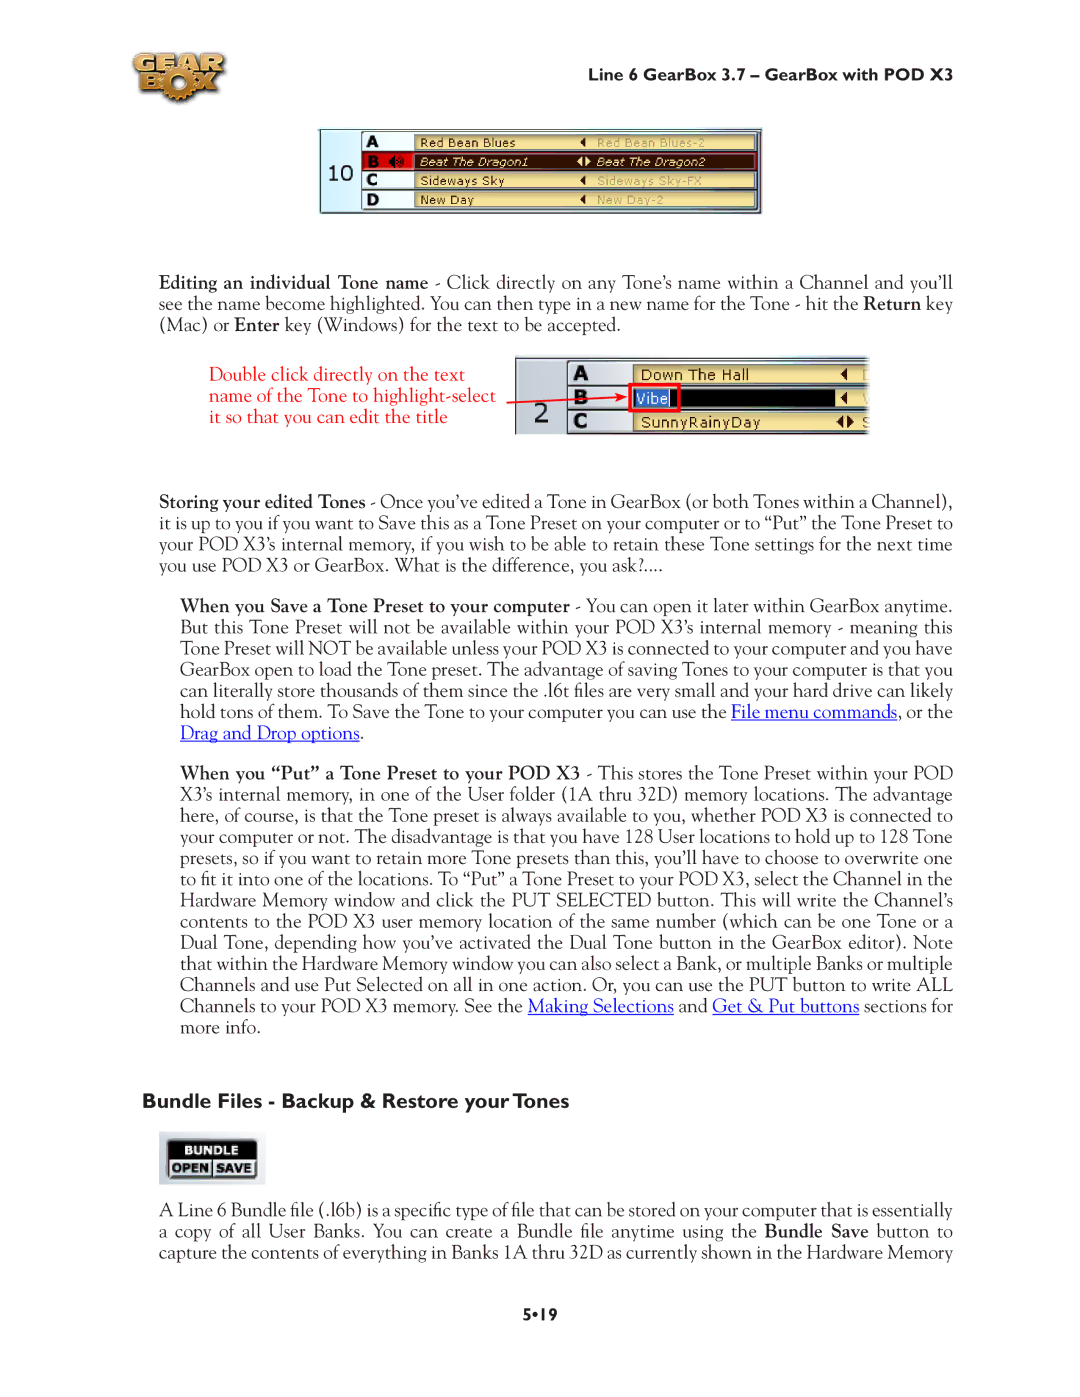
Editing an individual Tone name - Click directly on any Tone’s name within a Channel and you’ll see the name become highlighted. You can then type in a new name for the Tone - hit the Return key (Mac) or Enter key (Windows) for the text to be accepted.
Double click directly on the text name of the Tone to
Storing your edited Tones - Once you’ve edited a Tone in GearBox (or both Tones within a Channel), it is up to you if you want to Save this as a Tone Preset on your computer or to “Put” the Tone Preset to your POD X3’s internal memory, if you wish to be able to retain these Tone settings for the next time you use POD X3 or GearBox. What is the difference, you ask?....
When you Save a Tone Preset to your computer - You can open it later within GearBox anytime. But this Tone Preset will not be available within your POD X3’s internal memory - meaning this Tone Preset will NOT be available unless your POD X3 is connected to your computer and you have GearBox open to load the Tone preset. The advantage of saving Tones to your computer is that you can literally store thousands of them since the .l6t files are very small and your hard drive can likely hold tons of them. To Save the Tone to your computer you can use the File menu commands, or the Drag and Drop options.
When you “Put” a Tone Preset to your POD X3 - This stores the Tone Preset within your POD X3’s internal memory, in one of the User folder (1A thru 32D) memory locations. The advantage here, of course, is that the Tone preset is always available to you, whether POD X3 is connected to your computer or not. The disadvantage is that you have 128 User locations to hold up to 128 Tone presets, so if you want to retain more Tone presets than this, you’ll have to choose to overwrite one to fit it into one of the locations. To “Put” a Tone Preset to your POD X3, select the Channel in the Hardware Memory window and click the PUT SELECTED button. This will write the Channel’s contents to the POD X3 user memory location of the same number (which can be one Tone or a Dual Tone, depending how you’ve activated the Dual Tone button in the GearBox editor). Note that within the Hardware Memory window you can also select a Bank, or multiple Banks or multiple Channels and use Put Selected on all in one action. Or, you can use the PUT button to write ALL Channels to your POD X3 memory. See the Making Selections and Get & Put buttons sections for more info.
Bundle Files - Backup & Restore your Tones
A Line 6 Bundle file (.l6b) is a specific type of file that can be stored on your computer that is essentially a copy of all User Banks. You can create a Bundle file anytime using the Bundle Save button to capture the contents of everything in Banks 1A thru 32D as currently shown in the Hardware Memory
5•19
