Line 6 GearBox 3.7 – GearBox with POD X3

Re-Order- If you drag a selected Channel or Bank onto the dividing line between two Channels or Banks, the selected data is inserted at the target location, shuffling the other Channel/Bank data to fill in the location from where the selected came from. For example, if you select Bank 1 and drag and drop it on the dividing line between Banks 3 and 4, this results in the data formerly at Bank 1 moved to Bank 3, the data formerly in Bank 2 being moved to Bank 1, and the data formerly at Bank 3 being moved to Bank 2.

Drag and Drop between Banks
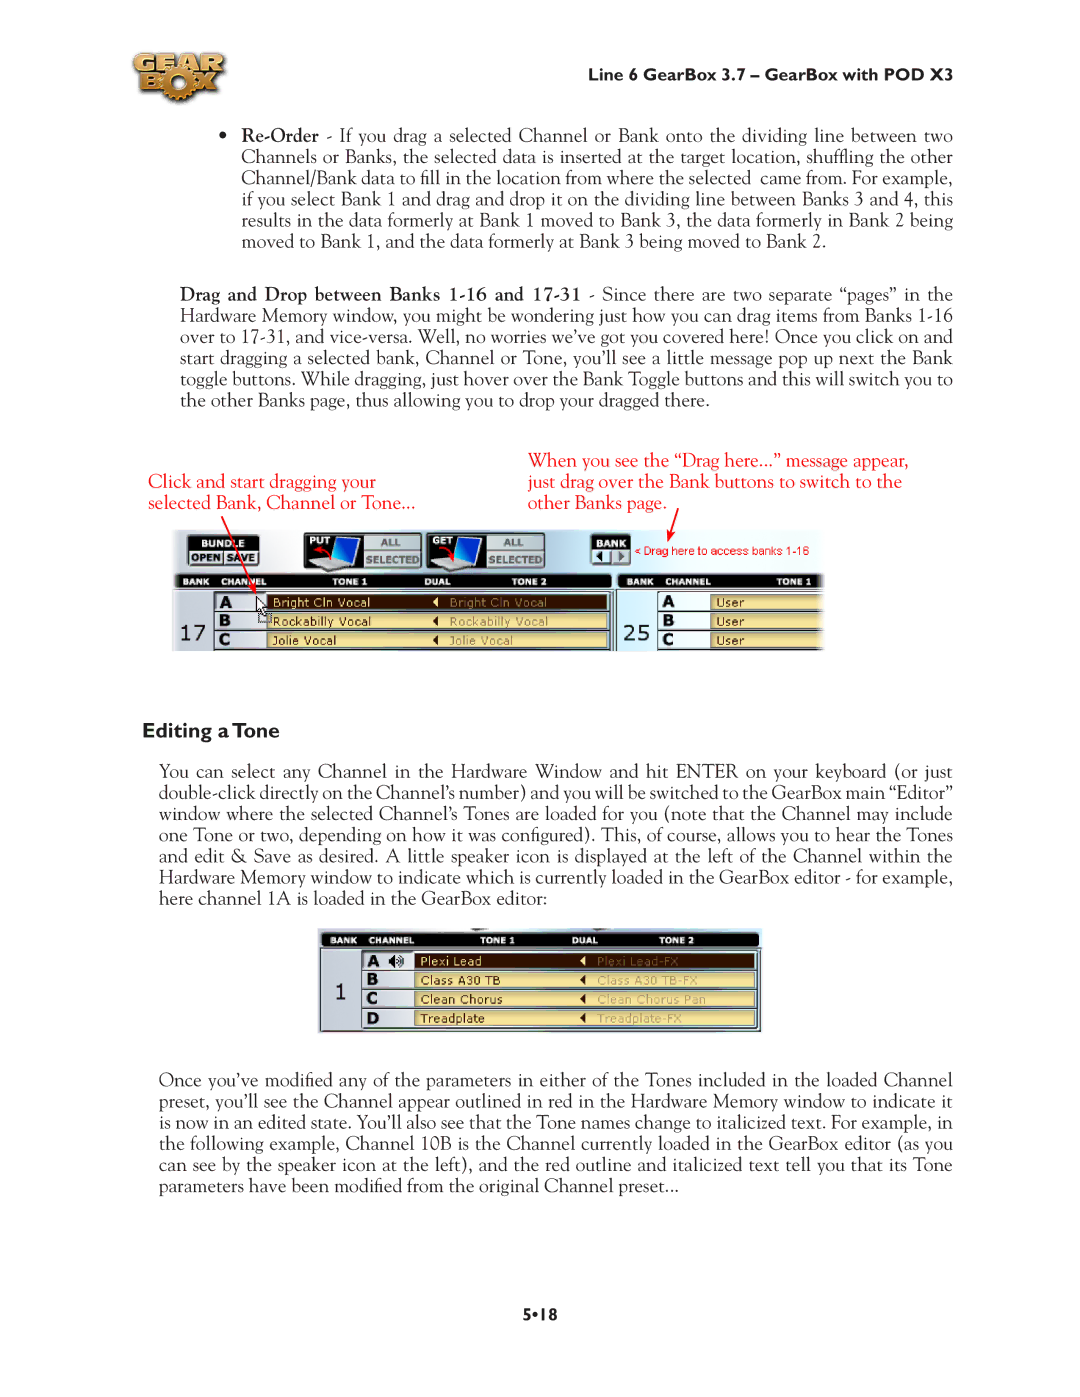
 1-16 and 17-31- Since there are two separate “pages” in the Hardware Memory window, you might be wondering just how you can drag items from Banks 1-16 over to 17-31, and vice-versa. Well, no worries we’ve got you covered here! Once you click on and start dragging a selected bank, Channel or Tone, you’ll see a little message pop up next the Bank toggle buttons. While dragging, just hover over the Bank Toggle buttons and this will switch you to the other Banks page, thus allowing you to drop your dragged there.

Click and start dragging your

When you see the “Drag here...” message appear,

just drag over the Bank buttons to switch to the

selected Bank, Channel or Tone...

other Banks page.

Editing a Tone

You can select any Channel in the Hardware Window and hit ENTER on your keyboard (or just double-click directly on the Channel’s number) and you will be switched to the GearBox main “Editor” window where the selected Channel’s Tones are loaded for you (note that the Channel may include one Tone or two, depending on how it was configured). This, of course, allows you to hear the Tones and edit & Save as desired. A little speaker icon is displayed at the left of the Channel within the Hardware Memory window to indicate which is currently loaded in the GearBox editor - for example, here channel 1A is loaded in the GearBox editor:

Once you’ve modified any of the parameters in either of the Tones included in the loaded Channel preset, you’ll see the Channel appear outlined in red in the Hardware Memory window to indicate it is now in an edited state. You’ll also see that the Tone names change to italicized text. For example, in the following example, Channel 10B is the Channel currently loaded in the GearBox editor (as you can see by the speaker icon at the left), and the red outline and italicized text tell you that its Tone parameters have been modified from the original Channel preset...

5•18

Page 103
Image 103
Line 6 3.7 manual Editing a Tone