Line 6 GearBox 3.7 – GearBox with POD X3
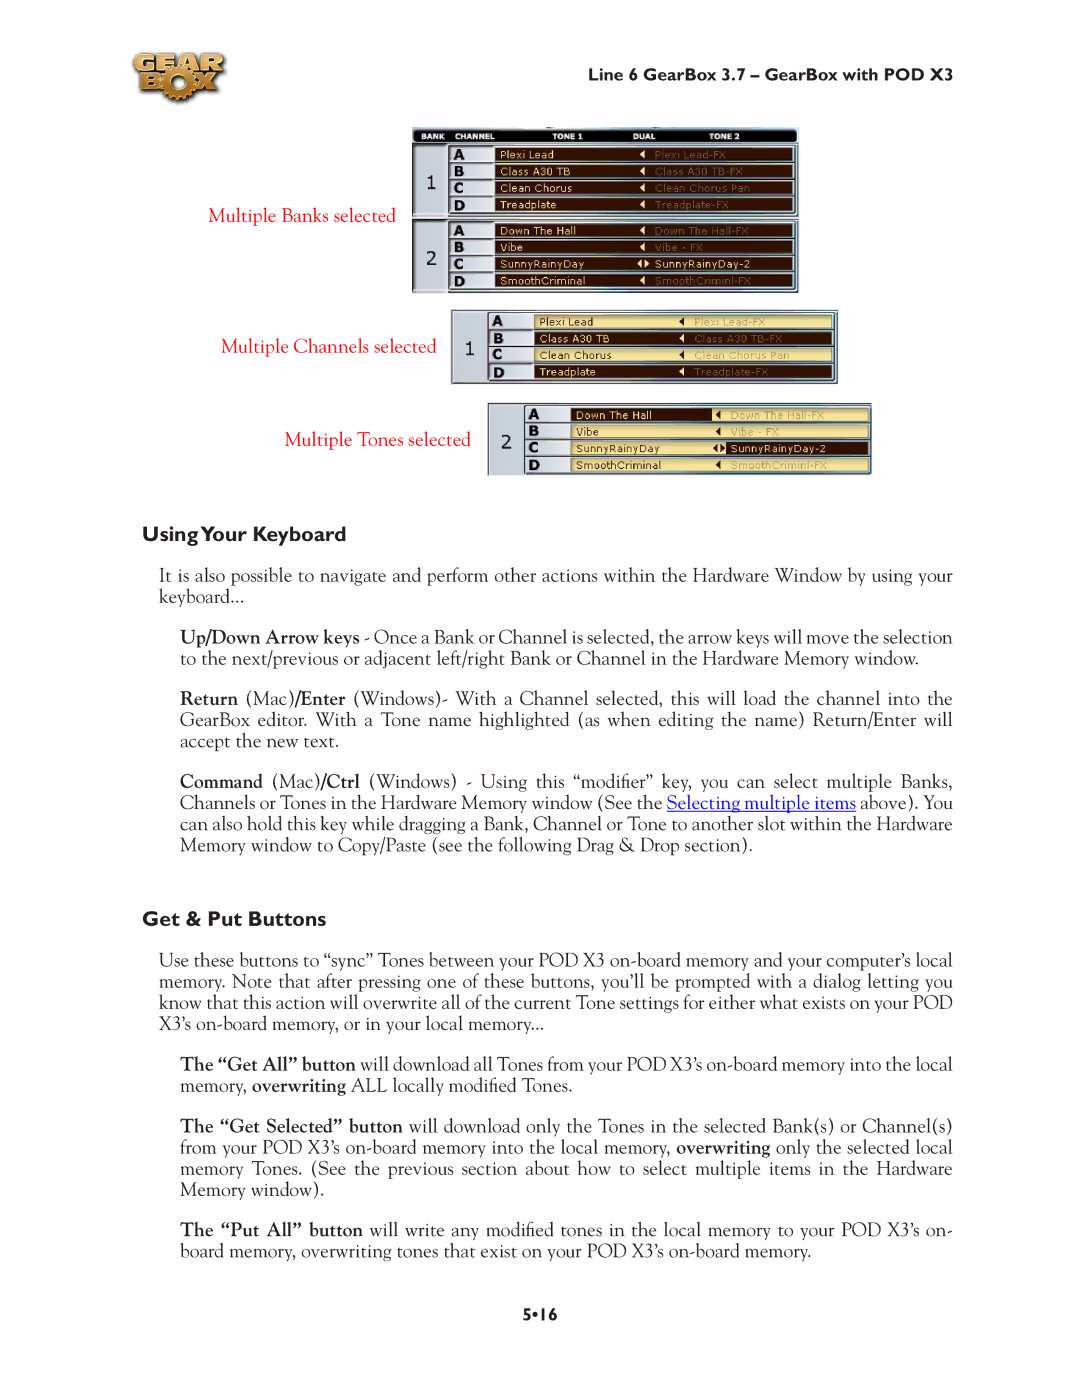
Multiple Banks selected
Multiple Channels selected
Multiple Tones selected
UsingYour Keyboard
It is also possible to navigate and perform other actions within the Hardware Window by using your
keyboard...
Up/Down Arrow keys - Once a Bank or Channel is selected, the arrow keys will move the selection to the next/previous or adjacent left/right Bank or Channel in the Hardware Memory window.
Return (Mac)/Enter (Windows)- With a Channel selected, this will load the channel into the GearBox editor. With a Tone name highlighted (as when editing the name) Return/Enter will accept the new text.
Command (Mac)/Ctrl (Windows) - Using this “modifier” key, you can select multiple Banks, Channels or Tones in the Hardware Memory window (See the Selecting multiple items above). You can also hold this key while dragging a Bank, Channel or Tone to another slot within the Hardware Memory window to Copy/Paste (see the following Drag & Drop section).
Get & Put Buttons
Use these buttons to “sync” Tones between your POD X3
The “Get All” button will download all Tones from your POD X3’s
The “Get Selected” button will download only the Tones in the selected Bank(s) or Channel(s) from your POD X3’s
The “Put All” button will write any modified tones in the local memory to your POD X3’s on- board memory, overwriting tones that exist on your POD X3’s
5•16
