If you are replacing your CD-ROM: connect DVD-ROM to the SCSI interface connector that the CD-ROM was connected to.
If DVD-ROM is not replacing a CD-ROM or is an addition to a CD-ROM: daisy-chain the DVD-ROM drive with a custom built SCSI interface cable (not supplied with kit). See Daisy-Chaining Section on page 5 for more information.
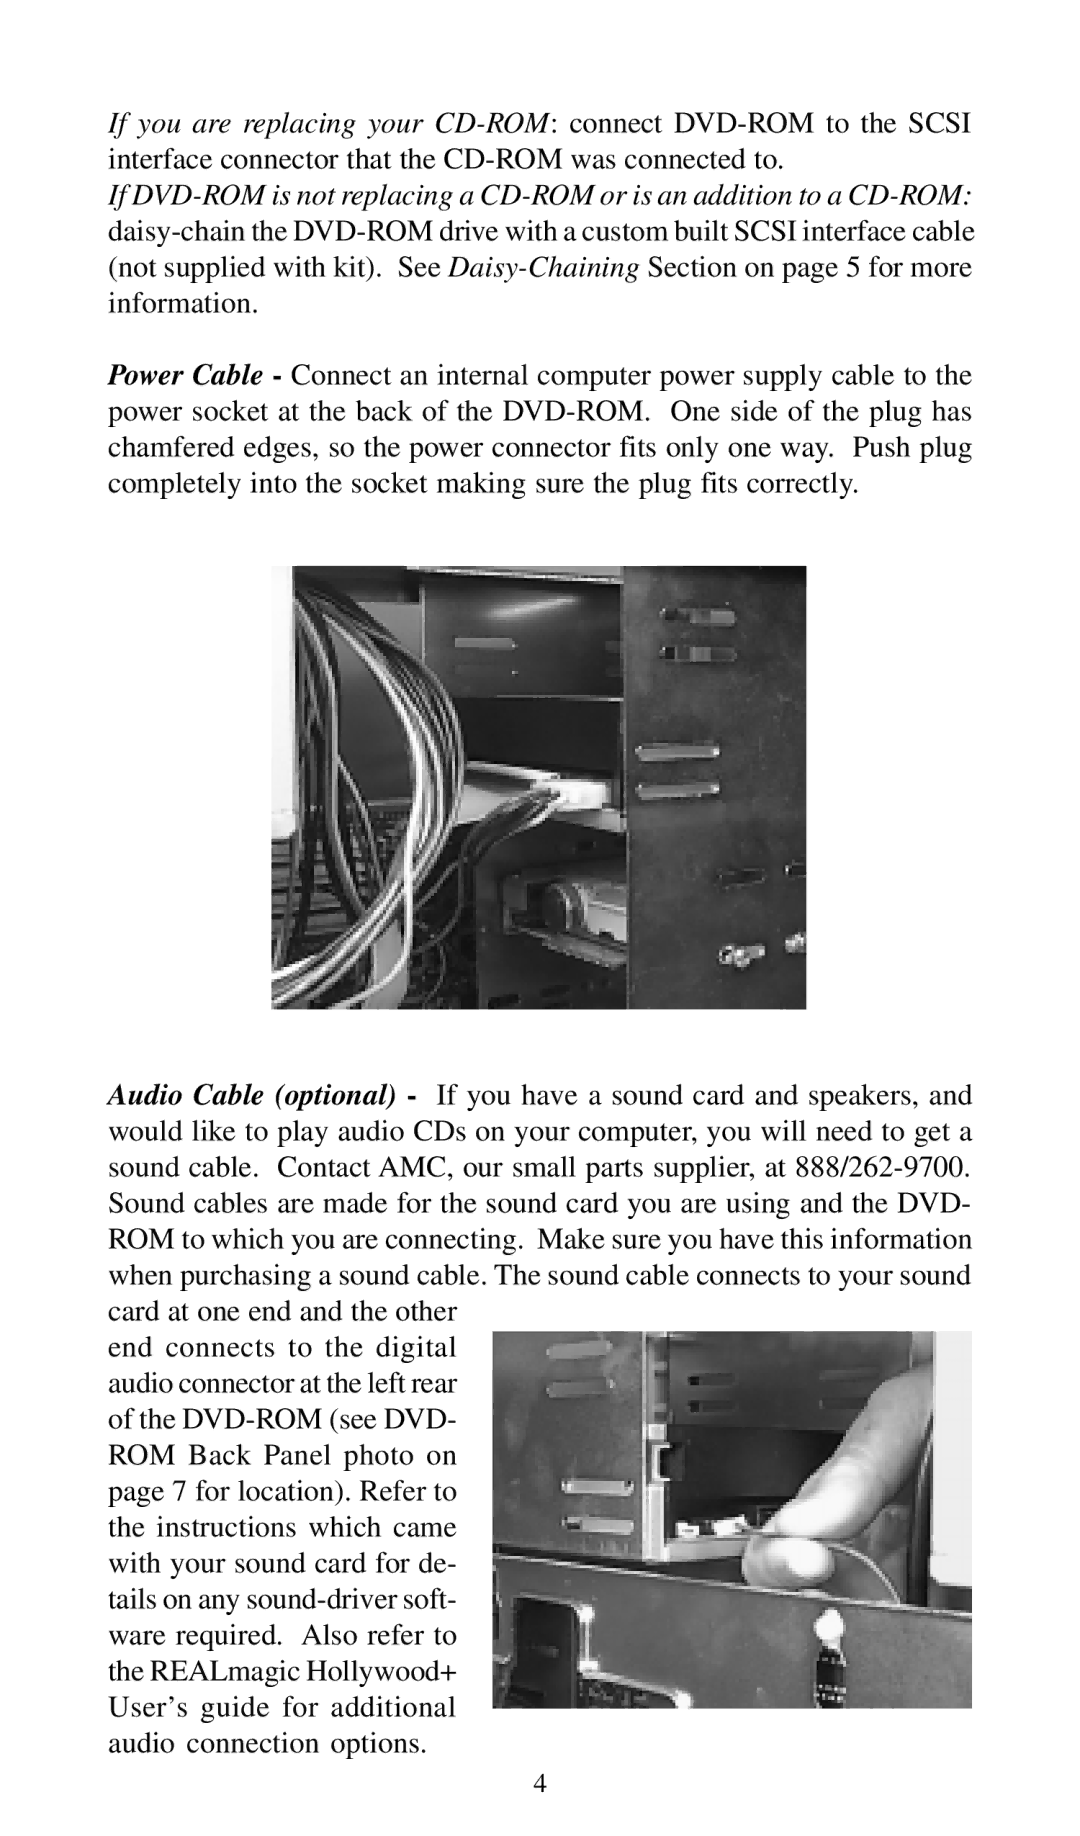
Power Cable - Connect an internal computer power supply cable to the power socket at the back of the DVD-ROM. One side of the plug has chamfered edges, so the power connector fits only one way. Push plug completely into the socket making sure the plug fits correctly.
Audio Cable (optional) - If you have a sound card and speakers, and would like to play audio CDs on your computer, you will need to get a sound cable. Contact AMC, our small parts supplier, at 888/262-9700. Sound cables are made for the sound card you are using and the DVD- ROM to which you are connecting. Make sure you have this information when purchasing a sound cable. The sound cable connects to your sound card at one end and the other
end connects to the digital audio connector at the left rear of the DVD-ROM (see DVD- ROM Back Panel photo on page 7 for location). Refer to the instructions which came with your sound card for de- tails on any sound-driver soft- ware required. Also refer to the REALmagic Hollywood+ User’s guide for additional audio connection options.